
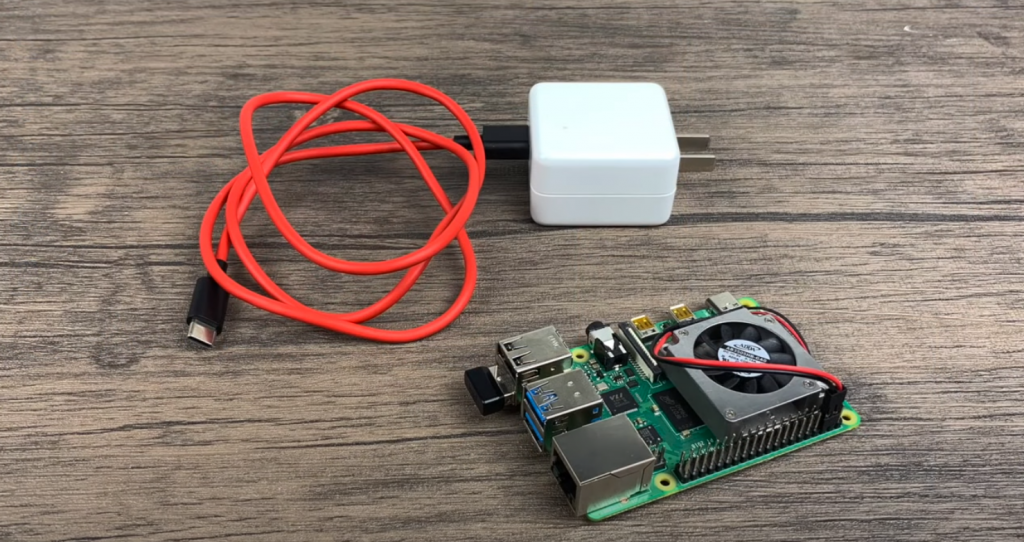
The Raspberry Pi 4 is much faster than past Raspberry Pi models, but what if you could squeeze much more out of the Broadcom BCM2711B0 processor than the standard 1.5GHz? The Raspberry Pi is known to overclock easily, and you can do so by editing the /boot/config.txt file. And with the latest software release, enthusiasts have reached 2.147 GHz, which is a new record as of today.
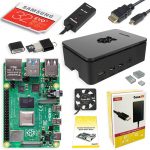 CanaKit Raspberry Pi 4 8GB Starter Kit includes the 8GB RAM version of the latest generation model of the Raspberry Pi family with 1.5GHz 64-bit quad-core CPU.
The previous software version limited the RPi 4 B processor to a maximum frequency of 2GHz, which is pretty good in and of itself. However, the latest update allowed to increase the bar by another 147 MHz. They were also able to increase the GPU clock speed to 750 MHz, which greatly increased the standard 500 MHz and 600 MHz clock speeds that were previously available.
After making these changes and consequently increasing the voltage, the system was stable throughout use, with one exception. When running the Phoronix 7zip test with this overclock, the system rebooted every time until the operation was complete. And overall, the results on every test run were much better.
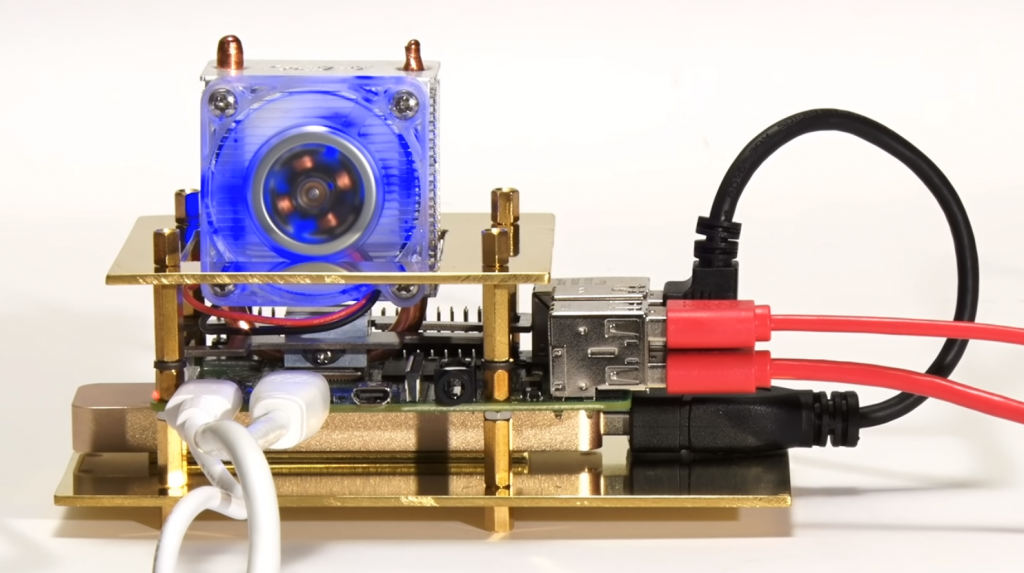
Thanks to active cooling, the Pi 4 stayed at comfortable temperatures, reaching only 109,4 degrees Fahrenheit at idle, and even in load testing, it didn’t come close to the 176-degree mark.
How Do You Reach 2147 MHz on the Pi 4?
To reach this clock speed, you need to download the latest beta firmware for your Raspberry Pi and enter the following commands at the command line.
sudo apt update
sudo apt dist-upgrade
sudo rpi-update
Note that the last command is the one that uploads the current firmware. If you try to do overclocking, you have to install the latest updates before editing the file. Then you need to go to the /boot/config.txt file and the [pi4] section and add:
over_voltage=6
arm_freq=2147
gpu_freq=750
You can edit the /boot/config.txt file by typing sudo nano /boot/config.txt at the command line or simply inserting the microSD card into the computer and editing the file from there.
After making the changes to config.txt:
- Reboot your Raspberry Pi 4 and enjoy higher speeds.
- If your system doesn’t boot, try lowering the frequency until you get a number that allows it to boot.
- Lower the numbers if something is running unstable.
Excessive Voltage: No Effect
Now you must be wondering what happens if you increase the overvoltage value above 6 (about 0.05 more volts for every 1 value). First, know that going over 6 will void your warranty, and you must add a line that says “current_limit_override = 1” in order for the system to use numbers greater than 6. Secondly, we can say that we tried to raise the value to 16, and while no negative effects were seen, no improvement was made either. The Raspberry Pi will not run at a higher clock frequency, even with much higher voltage flowing through it.
Tests: Good results
The Raspberry Pi was compared in three different states: the standard frequency was 1.5 GHz, with past firmware at a maximum of 2 GHz, and with the new firmware at 2147 MHz. On Linpack, which measures performance by solving complex equations, the Pi 4 achieved speeds of 1,280 Mflops at its highest speed, a 7.3% increase over the 2 GHz, and a 46.6% increase over the standard version.
There were also noticeable improvements in tests such as PyBench (measures Python performance), FFmpeg (video compression), and Sci-kit Learn (machine learning). You can see that there is a difference between 2147 and 2GHz, so if you have good cooling, you should try a new speed, especially if you do CPU-intensive tasks such as games or image identification.


I’m no stranger to overclocking. I’ve been doing it for years, and I’ve never had any problems. But when I tried to overclock my Raspberry Pi 4, I ran into some difficulties.
The first problem was that the Raspberry Pi 4 doesn’t have a traditional BIOS. This made it difficult to change the settings that I needed to change in order to overclock the device.
Another problem was that the Raspberry Pi 4 doesn’t have a lot of headroom for overclocking. I was able to get it up to 2 GHz, but any higher and it started to become unstable.
Despite these difficulties, I was still able to get some good performance out of my Raspberry Pi 4 by overclocking it. If you’re willing to put in the effort, you can too!
Thanks for sharing your experience, Bill!