
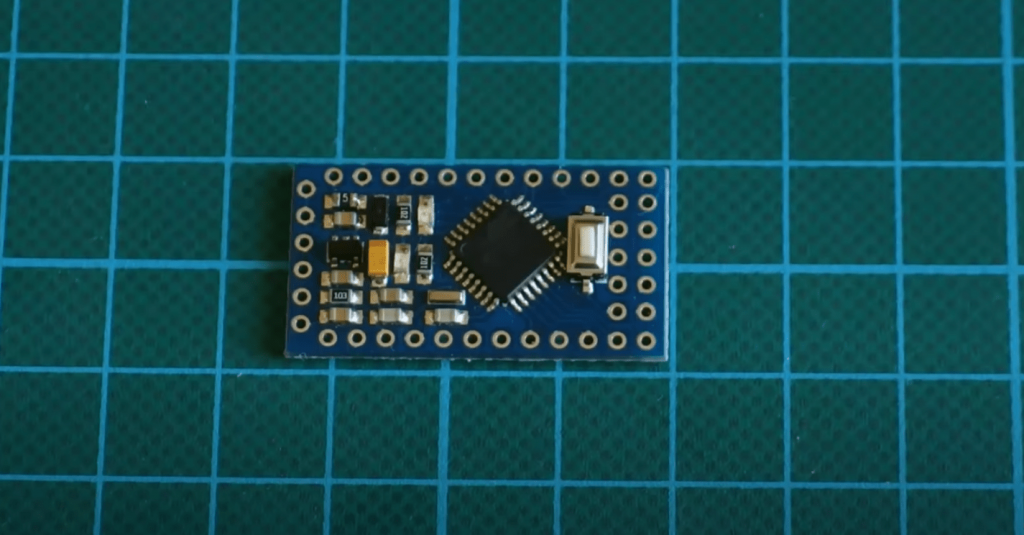
Arduino Pro Mini is one of the most miniature boards of the Arduino family and yet can be used incomplete projects. It is based on the ATmega168 microcontroller and later on the ATmega328 microcontroller. The board contains 14 digital inputs, outputs (6 of which can be used as PWM outputs), and 6 analog inputs. The Arduino Pro Mini is an Arduino Nano without the built-in FTDI FT232RL (or CH340G) converter. Therefore the firmware is loaded with a programmer or a converter.
There are several ways to load the firmware on this microcontroller:
- Via another Arduino board which has a built-in USB-UART
- With a special programmer
- Using a USBasp programmer
The last two methods are very similar. The only difference is the type of programmer. So in this article, we will only look at flashing with another Arduino and a special programmer.
Flashing the Arduino Pro Mini with Arduino Uno or Nano
To flash one Arduino via another, we need 2 Arduino boards, connection wires, a USB cable, and a computer. I will show you how to flash Arduino Pro Mini with Arduino Nano, but you can also use other Arduino boards like Uno, Mega, etc., with the same instruction.
First, we have to configure our board, which will act as a programmer. To do this, we connect it to the computer’s USB port and switch to the Arduino IDE. There is already a ready-made sketch written specifically for this purpose in the examples.
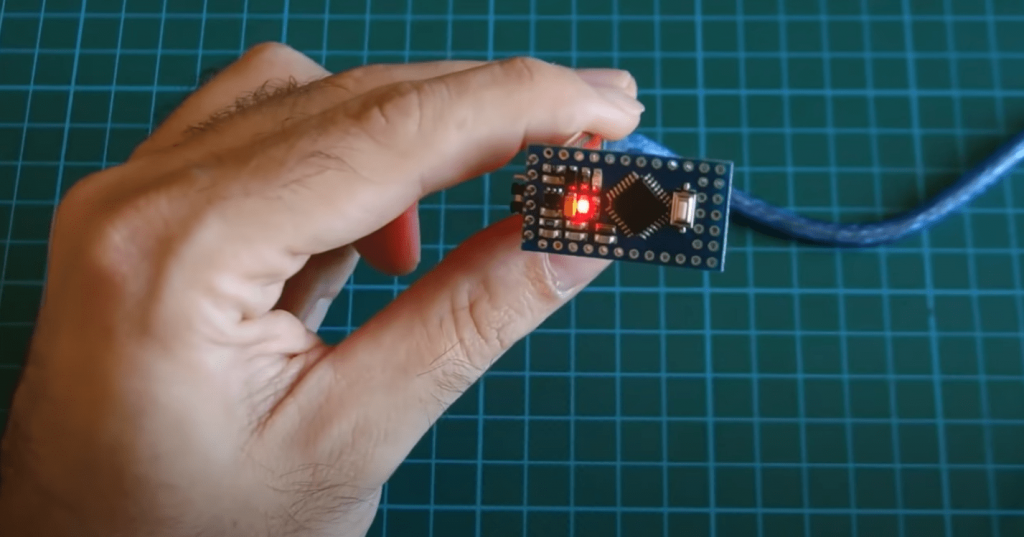
Select this sketch and flash it. Now we are ready to connect the Arduino Pro Mini. Connect as follows:
Arduino Nano -> Arduino Pro Mini
+5v -> Vcc
GND -> GND
D10 -> RST
D11 -> D11
D12 -> D12
D13 -> D13
Next, we need to set in the menu “Tools” our flashing board and the type of programmer “Arduino as ISP”.
Now we can flash our Arduino Pro Mini. Open or write the desired firmware. Be careful! The standard download button does not work for us. By default, it pours the firmware without using the programmer. So we will overwrite the microcontroller that is supposed to be a programmer. Go to the Sketch >> Load via the programmer to avoid this.
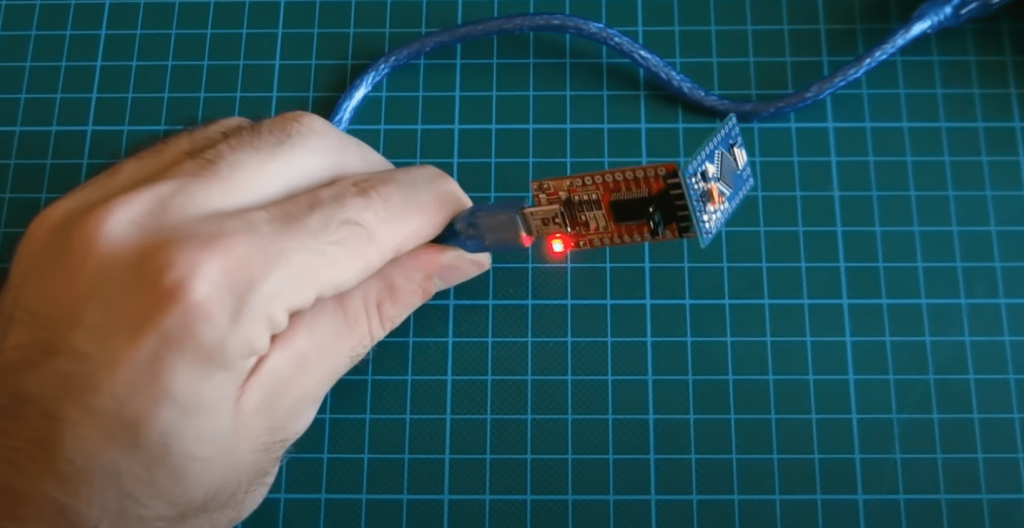
Flashing the Arduino Pro Mini with a CH340 Programmer
If you use the Arduino Pro Mini often, this programmer will make flashing much easier and faster.
The CH340 chip is used for the USB-to-Serial conversion. A special driver must be installed to be correctly detected by the computer. Download and install the CH340 driver.

It is elementary to flash the Arduino with a programmer. But, first, you need to connect the programmer to the Arduino Pro Mini as follows:
Arduino <-> Programmer
Vcc <-> Vcc
GND <-> GND
RX1 <-> TXD
TX0 <-> RXD
Connect the programmer to the computer and check that it does not require drivers. Suppose it is detected as an “unidentified device” download and install the driver. You can easily find it by typing “*your programmer model* driver” in the search engine. For example, “CP2102 driver”. Next, you start the Arduino IDE. Choose your board model. Then go to Tools -> Programmer and select your programmer. Then you open the required sketch and load it with the menu item Sketch -> Load via the programmer.
If your programmer does not support the software reset, you have to manually press the reset button on your Arduino Pro Mini at the time of compiling the sketch. This should be done as soon as the Arduino IDE shows a line compiled by the sketch.
That’s it. We have successfully flashed the Arduino Pro Mini with the programmer.
Flashing the Arduino Pro Mini with a PL2303HX Converter
To flash the Arduino Pro Mini, you need to connect to the PL2303HX according to the diagram shown in the picture. There is nothing complicated. The main thing is not to mix up the power connection. If your Arduino Pro Mini works with 3.3V, connect to this pin. Otherwise, the board will fail. In this case, the operating voltage is 5V, so the board is powered from 5V.
XD <-> RXD
RXD <-> TXD
VCC <-> +5V
GND <-> GND
For the example we load Blink, this example is in the Arduino IDE.
Then select the board and the port to which the PL2303HX converter is connected.
When loading the sketch, when the message “Loading” appears, you have to press the Reset button on the board. Sometimes, one press does not work, and you have to make two short presses.
After that, you will see that the download was successful.
If you need to program the Arduino Pro Mini often, you can save on a programmer and buy one with a DTR output. You don’t need to press the Reset button all the time when loading a sketch. The loading will take place in standalone mode.
Final Words
Programming Arduino Pro Mini is not that hard. There are nuances, knowing about which Arduino Pro Mini programming is not much more complicated than Arduino Nano sketch uploading.


The Arduino Pro Mini is a great little board for simple projects. I’ve used them for everything from controlling LEDs to automating my home.
One of my favorite things to do with the Arduino Pro Mini is controlling LEDs. You can use the Pro Mini to control a strip of RGB LEDs, or even create your own custom light show. If you want to get really creative, you can even use the Pro Mini to control a laser pointer.
Another great use for the Arduino Pro Mini is automating your home. You can use it to control lights, appliances, and even security systems. With a little bit of coding, you can make your home automation system as simple or complex as you want it to be.