
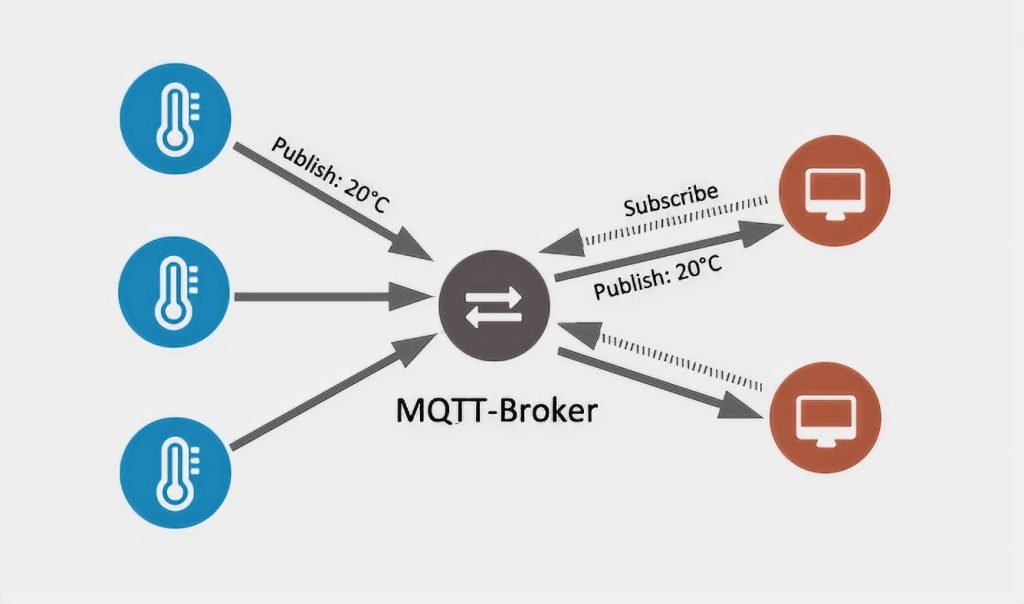
MQTT (Message Queue Telemetry Transport) – a protocol for data exchange over TCP/IP via port 1883 (if encryption is used, then 8883/SSL). The message exchange is performed between clients, who in turn can be both publishers (publisher) and subscribers (subscriber) of messages, and the broker himself on the Mosquitto application.
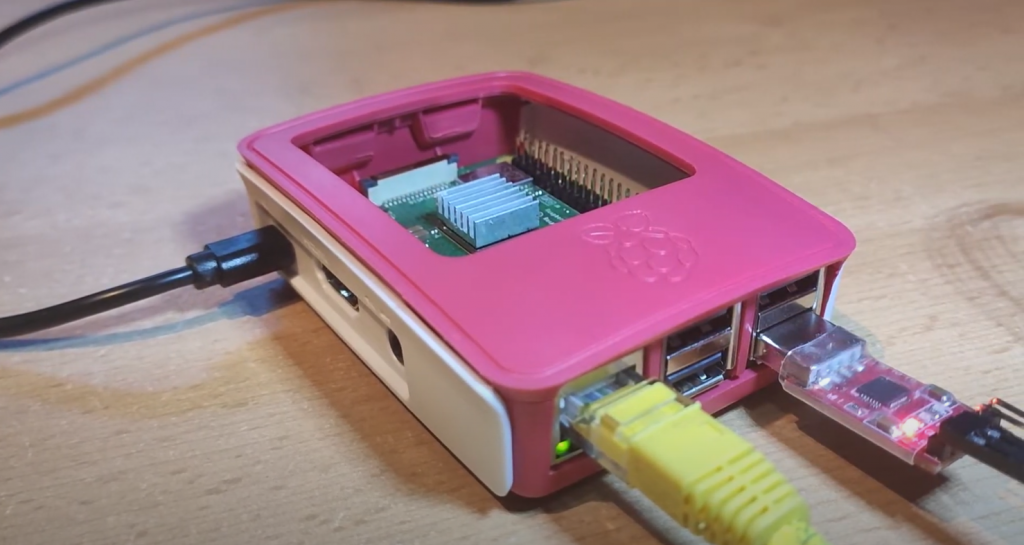
For single-board computers on Linux, there are several MQTT brokers. One of the most popular is Mosquitto. Today we will figure out how to install the server room and client room as well as how to test the MQTT protocol. This manual is great for Raspberry Pi with Raspbian and Orange Pi with Armbian system installed.
Updating the System
First of all, we need to update the system before starting the installation. Connect to our Pi by SSH and enter:
sudo apt-get update
sudo apt-get upgrade
Broker and Client Mosquitto Installation
Unfortunately, the usual “apt-get” libraries of Raspberry Pi (Orange Pi) do not contain the latest Mosquitto software version. Therefore, we will need to update the libraries before installing them. If the server does not have the latest version of the broker, there may be errors in the process.
We add the key and update the repository. We enter these lines one by one. Sometimes you will have to enter a password from your user and press Y to accept the installation.
sudo wget http://repo.mosquitto.org/debian/mosquitto-repo.gpg.key
sudo apt-key add mosquitto-repo.gpg.key
cd /etc/apt/sources.list.d/
sudo wget http://repo.mosquitto.org/debian/mosquitto-jessie.list
sudo apt-get update
Install the MQTT server:
sudo apt-get install mosquitto
Install the MQTT client:
sudo apt-get install mosquitto mosquitto-clients
After the mosquitto installation, the server will automatically start when the system boots up.
Stop the Server to Configure
After installation, the MQTT server is immediately started. We need to leave it to make further adjustments.
sudo /etc/init.d/mosquitto stop
Customize
Open the settings file.
sudo nano /etc/mosquitto/mosquitto.conf
and replace its contents with the following:
# Place your local configuration in /etc/mosquitto/conf.d/
#
# A full configuration file is at
# /usr/share/doc/mosquitto/examples/mosquitto.conf.example

pid_file /var/run/mosquitto.pid

persistence true
persistence_location /var/lib/mosquitto/

log_dest topic

log_type error
log_type warning
log_type notice
log_type information

connection_messages true
log_timestamp true

include_dir /etc/mosquitto/conf.d
Save, close the program nano, and exit back to the terminal (Ctrl+O, Enter, Ctrl+X).
Start the MQTT server
sudo /etc/init.d/mosquitto start
Note: When you run a Mosquitto server in a Linux or Windows virtual machine in the appropriate cloud solution, you will need to make sure that the network filtering available in that virtual machine, which controls both inbound and outbound communications, is properly configured to allow both inbound and outbound communications on port 1883. It would help if you authorized both inbound and outbound communications on port 1883.
Check the MQTT Broker
To test our MQTT broker, we will need the MQTT client. These can be smartphones with MQTT clients, which are connected to the same Wi-Fi network. But we will use a simpler way – connect to the server with 2 terminals in parallel.
We need the first terminal to subscribe to the top hello/world, the second terminal sent a message to this top, and the first terminal received it.
So, in the first terminal, where you did all the settings, we subscribe to the channel hello/world:
mosquitto_sub -d -t hello/world
We open the second window of the terminal, connect to our server via SSH, and send a message to the hello/world channel:
mosquitto_pub -d -t hello/world -m "Hello from Terminal window 2!"
As a result, a message will appear in the first window:
Hello from Terminal window 2!
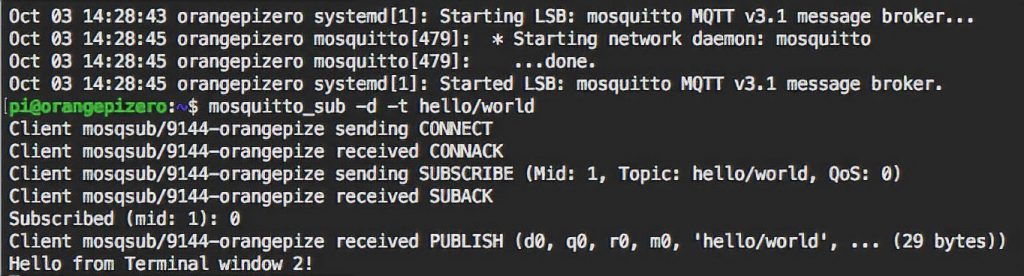
Congratulations! Your MQTT broker works!
MQTT Server Status
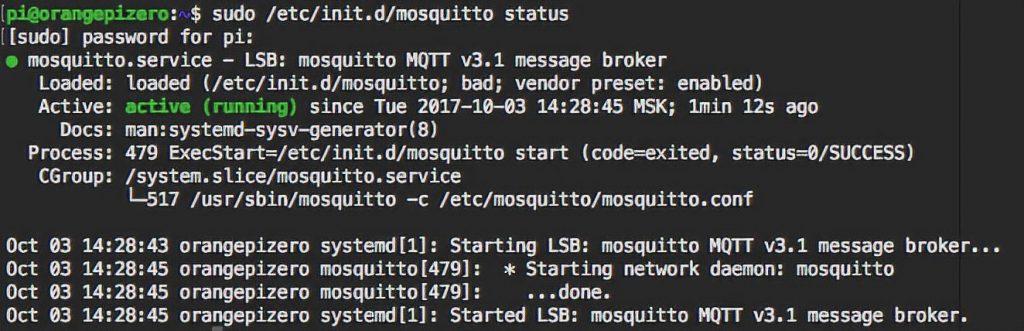
You can always check the status of your MQTT broker through the terminal:
sudo /etc/init.d/mosquitto status
After this command, the terminal will display detailed information about your server status.
Setting a Password for MQTT
For tests and small projects, you can use a connection to the MQTT server without a password, but in large systems, you need to add a login and password to improve security. This is done quite simply.
For clients to connect to your broker only by login and password, you need to create a configuration file containing the user name and an encrypted password. Enter it in the console:
sudo mosquitto_passwd -c /etc/mosquitto/passwd <username>
Instead of
Now you need to change the system access settings. To do this you need to edit /etc/mosquitto/conf.d/default.conf file on your pi. You can use any text editor for this. I prefer nano. That’s why I import it into the console:
sudo nano /etc/mosquitto/conf.d/default.conf
We add 2 lines to the opened file:
allow_anonymous false
password_file /etc/mosquitto/passwd
Save and close the file. To do this, press Ctrl+X in nano, select Y, and press Enter. As you can see in this config, we have specified in which file we store users and passwords to connect to our MQTT broker, and also, we have forbidden connection to the server for all users without login and password.
Now we need to restart the MQTT server. To do this, we enter into the console:
sudo systemctl restart mosquitto
Setup is complete – your system security is now at the highest level!


