
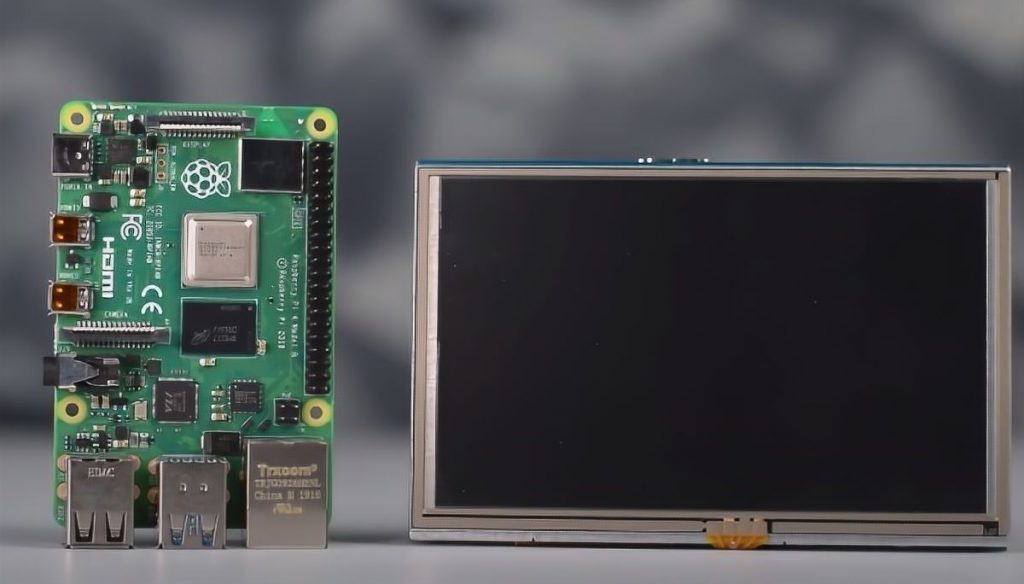
This article will show you how to connect and configure a touch screen to work with Raspberry Pi. For example, we will use a five-inch HDMI screen RPA05010R with 800×480 pixels resolution.
This screen can be connected to any computer and used as a small external monitor, but if you connect it to Raspberry Pi and set it up correctly, it will have the touchscreen function available.
 This is a 5-inch resistive touch screen designed for Raspberry Pi 3 2 Model B RPi 1 B B+ A A+. Can work for RPI 4 with an adapter.
Structure
Let’s look at the main elements on the back of the display:
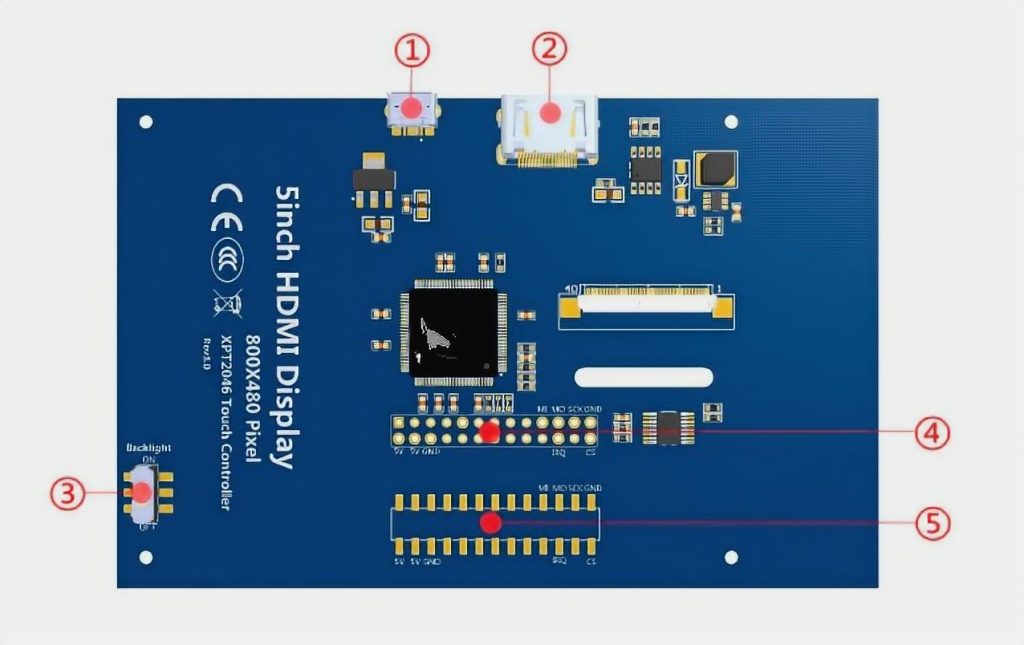
- MicroUSB connector for power connection, the screen needs 5V. You can also connect the power through the connector 4, detailed description of the connector pins is given in the table below.
- HDMI connector for connection of non-standard devices.
- The switch “Backlight Power” allows you to turn on and off the screen’s backlighting in cases when you need to save battery power.
- Connector 13*2 Pin: Allows you to connect power from Raspberry Pi, as well as send Touchscreen signals from the display back to the microcomputer.
- Additional interface for connecting to the display contacts.
Connection
The display can be connected in two main ways. You can simply connect an HDMI cable and power to it. In this case, the display will work as a normal monitor.
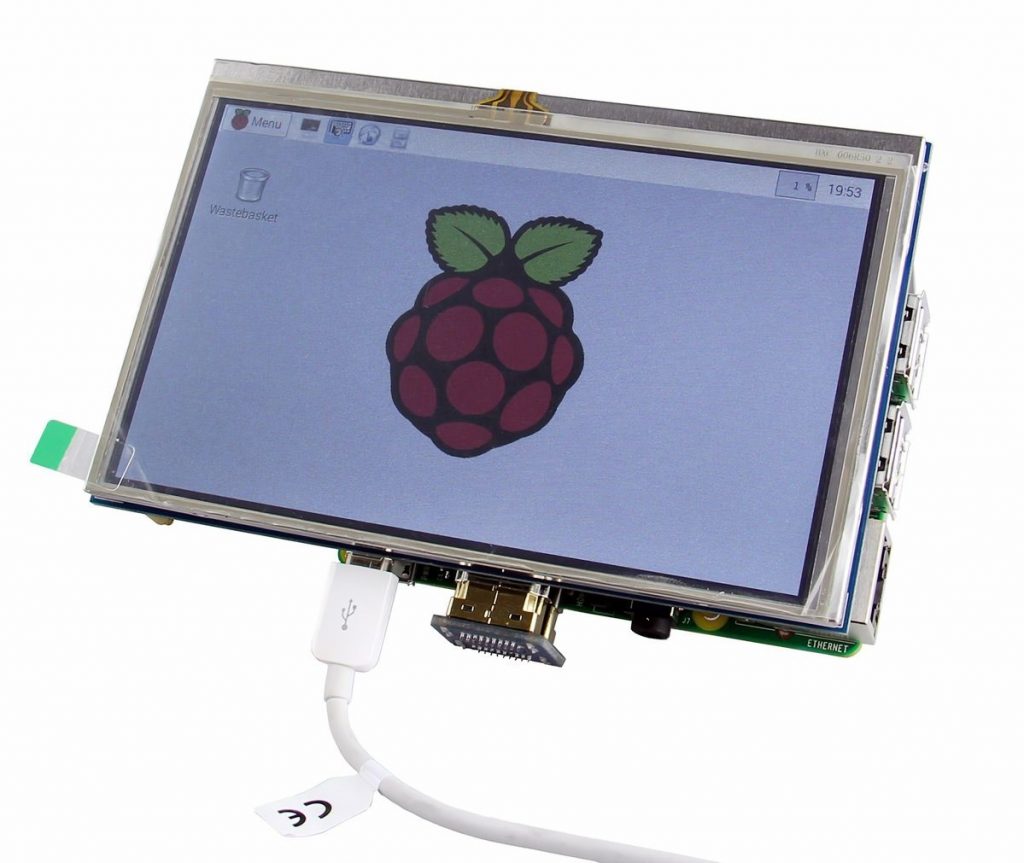
Or you can connect it to the Raspberry Pi socket as an expansion board. In this case, the display will be powered by the microcomputer, and it will also have the Touchscreen function. This connection option will be perfect for Raspberry Pi 3B/2B/B+ models.
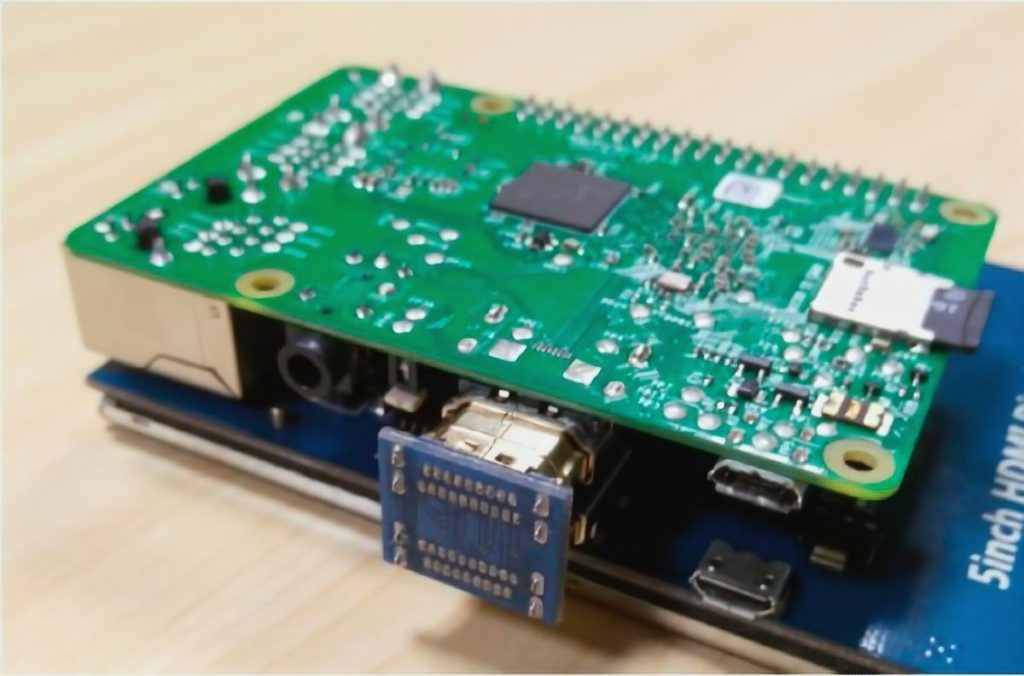
Connect the display to the microcomputer socket, as shown in the picture below. The edge pins of the Raspberry Pi should match.
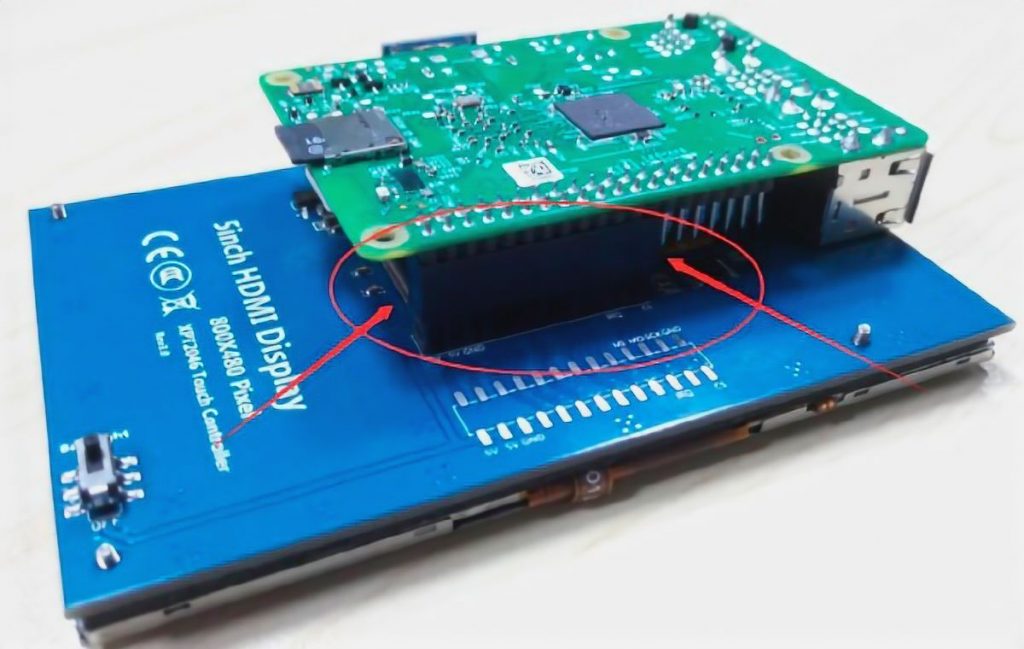
Also, connect the display to Raspberry Pi using the HDMI adapter that is included. If you connected the pins correctly in the first step, the HDMI connectors of the display and the microcomputer should be exactly opposite each other.
Driver Installation
1. The very first thing we need to do to configure is to change the config.txt file in the root directory of the system. For this purpose, you can remove the SD card from Raspberry Pi, insert it into your main computer, make changes in the text editor, and save. Either do it through the command line without turning off your microcomputer, if you can connect to it over SSH or if you have an external monitor connected.
You need to add the following lines to the config.txt file:
# --- added by elecrow-pitft-setup ---
hdmi_force_hotplug=1
max_usb_current=1
hdmi_drive=1
hdmi_group=2
hdmi_mode=1
hdmi_mode=87
hdmi_cvt 800 480 60 6 0 0 0 0
dtoverlay=ads7846,cs=1,penirq=25,penirq_pull=2,speed=50000,keep_vref_on=0,swapxy=0,pmax=255,xohms=150,xmin=200,xmax=3900,ymin=200,ymax=3900
display_rotate=0
# --- end elecrow-pitft-setup ---
Save, close the file, insert the memory card back into Raspberry Pi, connect the display and power. The system starts to load.
2. After the system boots up, you will see your desktop, but the image will only take up a part of the screen. For the screen to work properly, you need to install the driver at the command line. To do this, start the terminal by clicking the icon in the top menu, or connect to Raspberry Pi via SSH.
No matter how you got to the microcomputer’s command line, the command to download the driver will be the same. Type the following command and press Enter:
git clone https://github.com/Elecrow-keen/Elecrow-LCD5.git
After you finish downloading the driver, you need to install it – enter the following commands one by one and press Enter after each:
cd Elecrow-LCD5
sudo ./Elecrow-LCD5
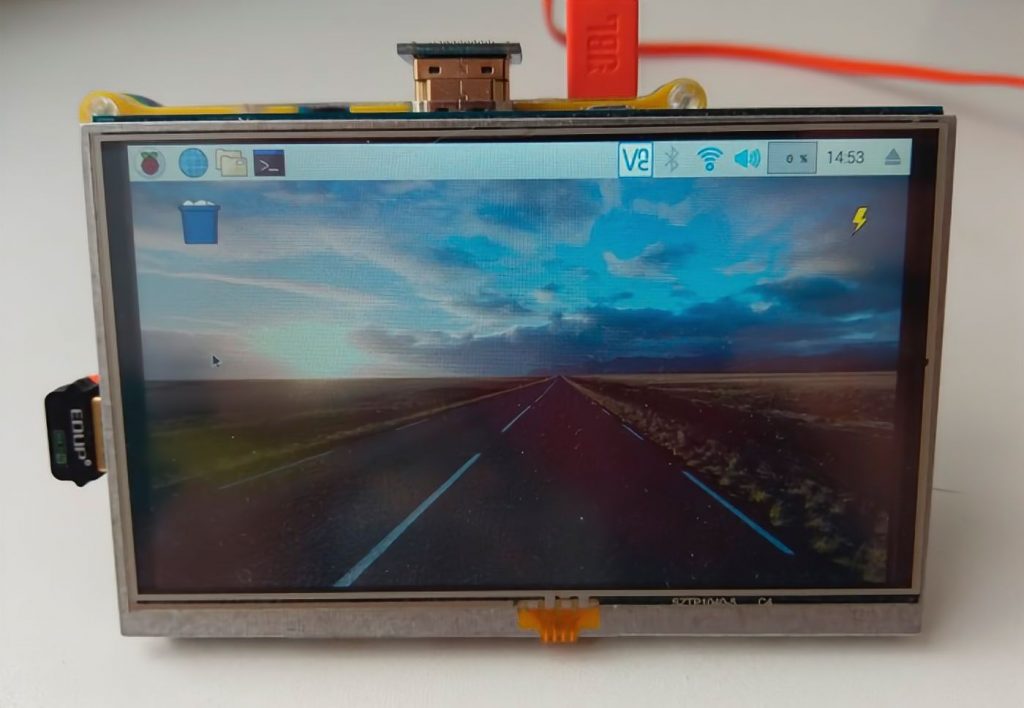
After rebooting, the image will be full screen as in the photo:
Touch Screen Calibration
For the touch screen functions to work, you need to install the driver. To do this, enter the following command in the terminal:
sudo apt-get install -y xinput-calibrator
After installing the driver, you should calibrate the screen. To do this, open the main menu and go to “Preferences -> Calibrate Touchscreen”:
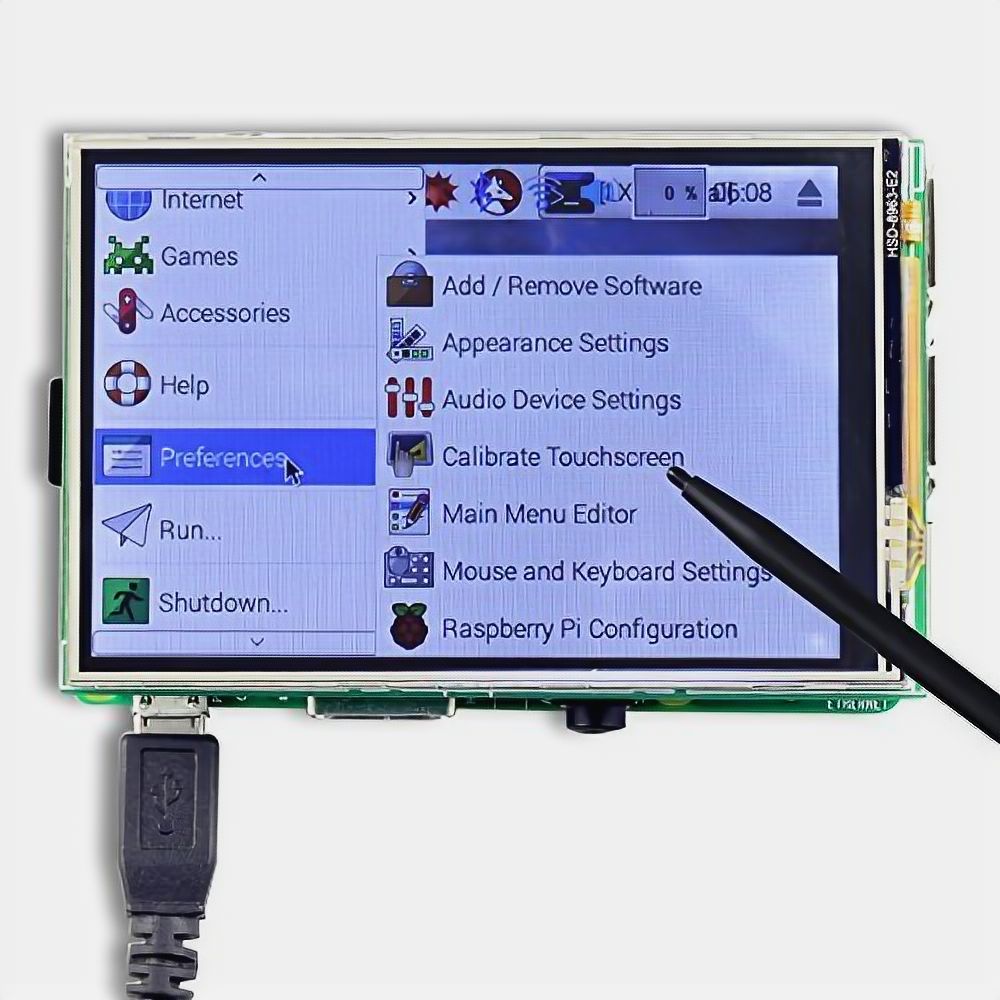
The screen calibration program will start. You should follow the instructions and press the stylus several times on the screen in the desired places:
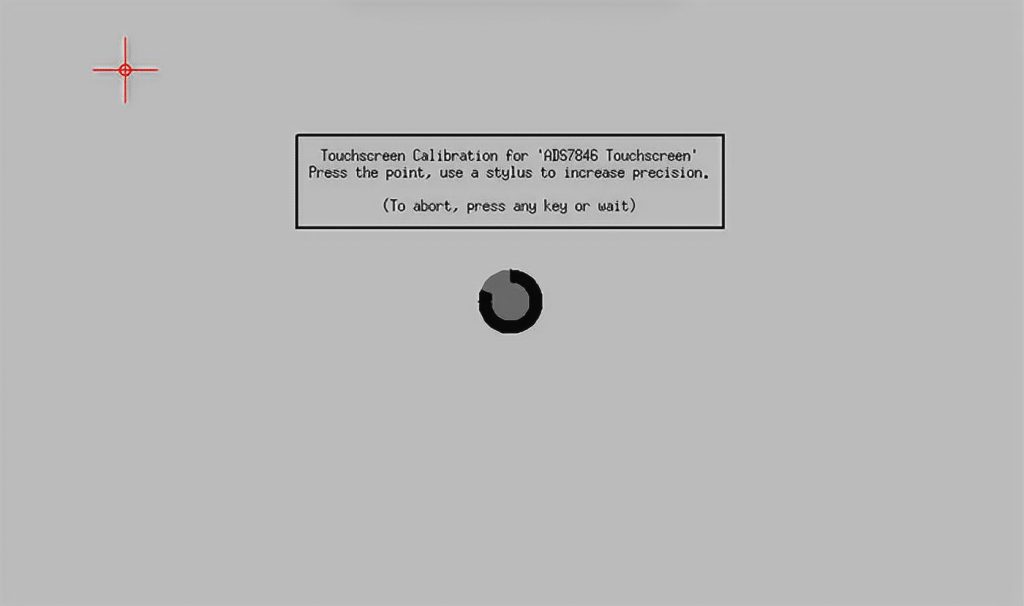
Now check how well the touchscreen works. If the keystrokes are not accurate, then please restart the system and recalibrate the screen.
Setting the Resolution
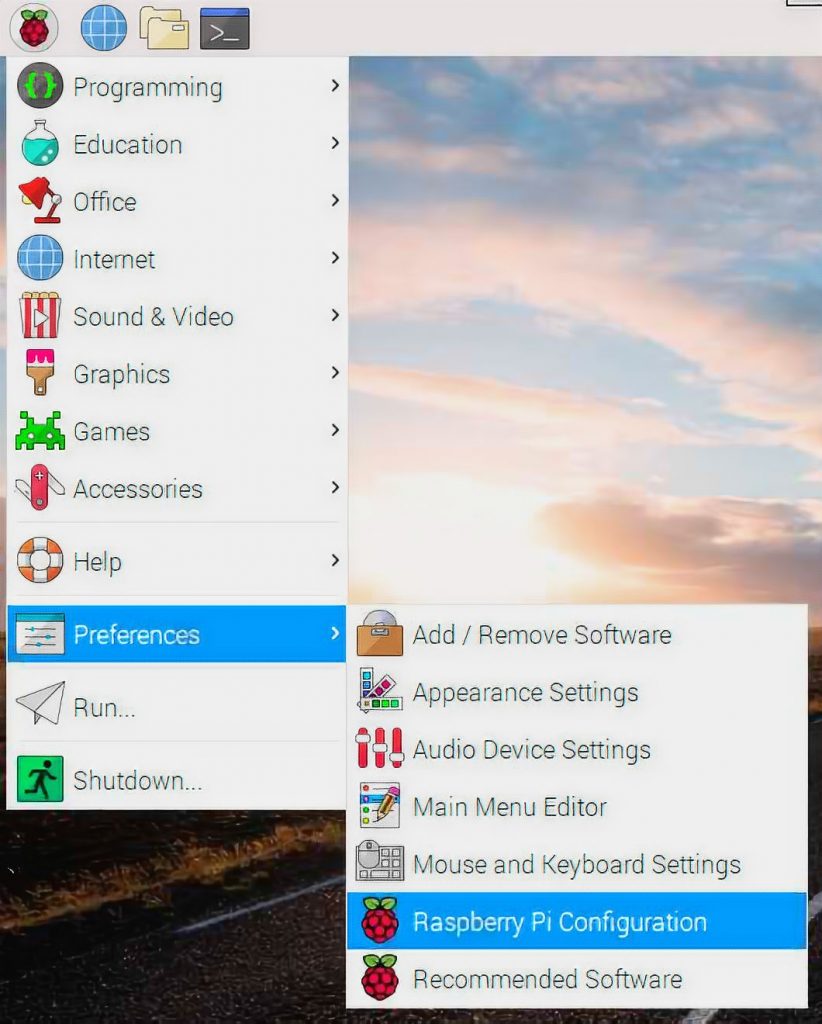
You have installed the necessary drivers and made the image work full screen and touchscreen, but most likely, the system still uses the old screen resolution. To change it, open the main settings in the main menu:
In the window that appears, click the “Set Resolution” button:
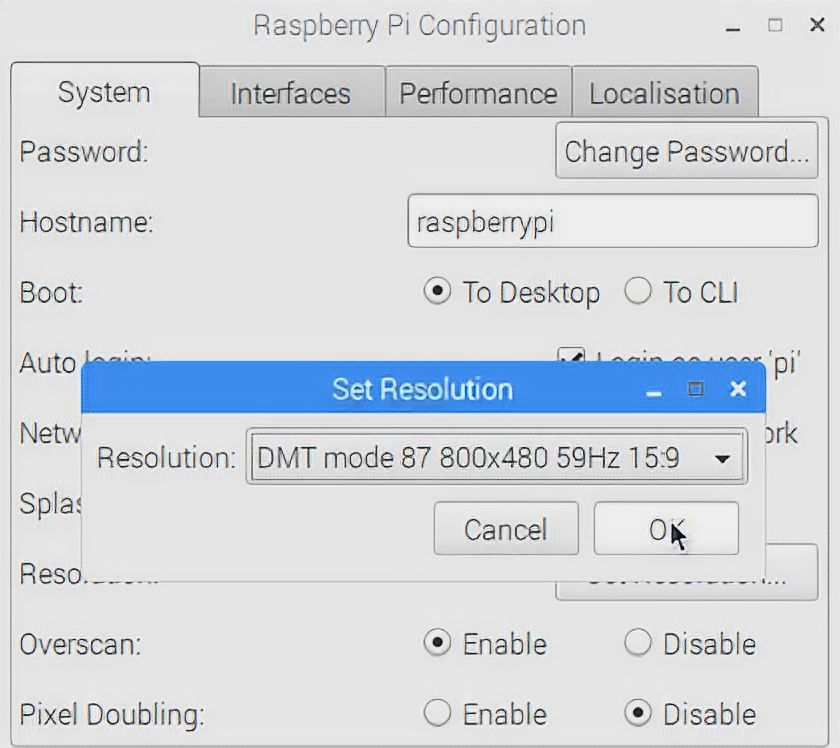
In the drop-down menu, select 800×480 resolution and click OK! Now your touch screen is fully ready to work. You can go on to create your projects!
Raspberry Pi Touchscreen Setup Comparison
The table below provides a comparison of various indicators related to Raspberry Pi touchscreen setups. These indicators include screen size, resolution, touch technology, interface, and price. The information is intended to help users choose the most suitable touchscreen for their Raspberry Pi projects.
| Touchscreen Model | Screen Size (inches) | Resolution | Touch Technology | Interface | Price (USD) |
|---|---|---|---|---|---|
| Raspberry Pi 7-Inch Touchscreen Display | 7 | 800×480 | Resistive | DSI | $60 |
| Waveshare 10.1-Inch HDMI LCD | 10.1 | 1280×800 | Capacitive | HDMI | $110 |
| Adafruit 2.8-Inch PiTFT Plus | 2.8 | 320×240 | Capacitive | SPI | $35 |
| Official Raspberry Pi 7-Inch Touch Display | 7 | 1024×600 | Capacitive | DSI | $80 |
| UCTRONICS 3.5-Inch Touchscreen | 3.5 | 480×320 | Resistive | GPIO | $25 |
The table compares five different Raspberry Pi touchscreen models. Here’s what the columns represent:
- Touchscreen Model: The name or model of the touchscreen display.
- Screen Size (inches): The physical size of the display in inches.
- Resolution: The screen resolution in pixels (width x height).
- Touch Technology: The type of touch technology used in the display (e.g., resistive or capacitive).
- Interface: The interface used to connect the touchscreen to the Raspberry Pi (e.g., DSI, HDMI, SPI, or GPIO).
- Price (USD): The price of the touchscreen display in US dollars.
By comparing these indicators, users can assess which touchscreen suits their specific project requirements in terms of size, resolution, touch technology, connectivity, and budget.
Final Words
Setting up a Raspberry Pi touchscreen can be a fun and rewarding project for any tech enthusiast. With the right equipment and software, you can easily turn your Raspberry Pi into a portable device with a touch interface. Whether you’re looking to create a DIY tablet or simply improve your Raspberry Pi experience, a touchscreen display can make a world of difference. Just be sure to follow the steps carefully and take your time to ensure everything is properly installed and configured. With a little patience and perseverance, you’ll be enjoying your new Raspberry Pi touchscreen in no time!


Raspberry Pi touch screen programming is a great way to get started with coding and electronics. It’s easy to set up and you can do a lot with it. In my opinion, the best part about the Raspberry Pi is that it’s so versatile. You can use it for all sorts of projects, from building a simple computer to creating complex robots.