A blinking check engine light and rough running engine got you down? I replaced the camshaft position sensor, but your ride isn’t running. Don’t worry; we’ve got your back. Replacing a failed cam sensor is just the first step in getting your engine purring again. You must do a few critical things after the repair to ensure success. We’ll walk you through the post-replacement protocol step-by-step, from clearing diagnostic trouble codes to performing essential relearn procedures. With a Haynes manual and basic tools, that finicky engine will be smoothed out quickly. More work under the hood will get you back on the road.
Executive Summary
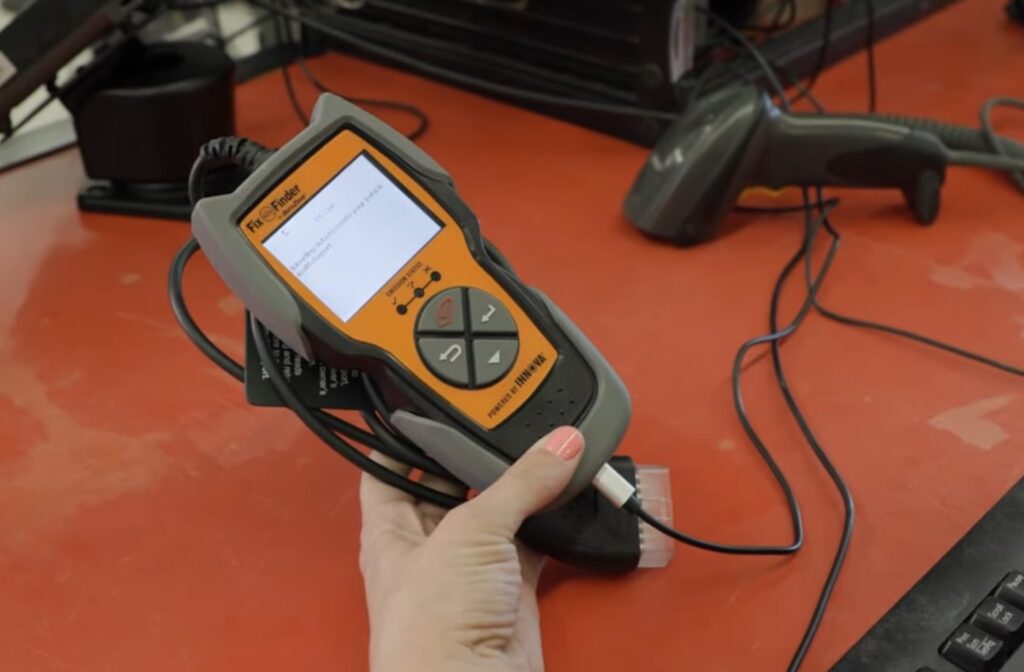
Replacing the camshaft sensor is only the first step. After installing the new sensor, you need to clear any diagnostic trouble codes related to the lousy cam sensor by disconnecting the battery or using an OBD2 scanner. Then, complete an idle relearn procedure so the engine computer can relearn inactive parameters. You may also need to relearn a crankshaft position sensor so the engine computer relearns the correlation between the cam and crank sensors. Finally, verify that there are no pending codes and take a test drive to ensure the issue is resolved. With these critical steps, your ride will run smoothly again after the camshaft sensor replacement.
Symptoms of a Faulty Camshaft Position Sensor
The camshaft position (CMP) sensor is a critical engine management component that monitors the rotation of the camshaft, which is responsible for opening and closing the intake and exhaust valves. A failing CMP sensor can cause a variety of performance and drivability issues. Recognizing the common symptoms of a bad camshaft position sensor can help identify the problem and prevent further engine damage.
Check Engine Light Illuminates
One of the first and most obvious signs of a bad camshaft position sensor is the check engine light being switched on. An error code related to the CMP sensor will be stored by the powertrain control module (PCM). Standard diagnostic trouble codes associated with a faulty CMP include P0340, P0341, and P0344. The check engine light is the PCM alerting the driver that it receives inconsistent data from the CMP sensor.
Engine Stalling or Misfiring
Since the CMP sensor provides vital timing information to the PCM, a failing sensor can cause misfiring, stalling, and rough idling. The PCM needs accurate CMP data to time the spark plug firings and fuel injections properly. If the sensor signal is erratic or missing, the engine can mistakenly misfire or stall during idling or driving situations. Misfiring and stalling indicate the engine is struggling to operate with poor camshaft timing inputs from a bad CMP.
Hard Starting Issues
Problems cranking or starting the engine can indicate a failing camshaft position sensor. The CMP sensor identifies cylinder positioning so the PCM knows which cylinder is ready for the spark plug to fire to start the engine. A bad CMP sensor can send incorrect cylinder position data, resulting in extended cranking times as the engine struggles to start. A fuel smell from unburned fuel will often accompany the no-start condition.
Poor Acceleration and Reduced Power
Sluggish acceleration and lack of power, especially at higher RPMs, are common symptoms of a worn-out camshaft position sensor. The CMP sensor monitors the speed and rotation of the camshaft. A faulty sensor can inaccurately report camshaft speed. This causes delayed ignition timing and loss of engine power. Drivers may notice significantly reduced ability during highway merging, passing maneuvers, and steep inclines if the CMP sensor malfunctions.
Decreased Fuel Economy
An engine with a failing camshaft position sensor can experience reduced fuel economy. Incorrect camshaft timing interferes with proper fuel combustion. Unburned fuel enters the exhaust system, increasing emissions and reducing fuel economy. Misfires caused by faulty CMP sensor data also diminish efficiency. Drivers may notice a sharp decline in miles-per-gallon if the camshaft sensor malfunctions.
Diagnosing a Failing Camshaft Position Sensor
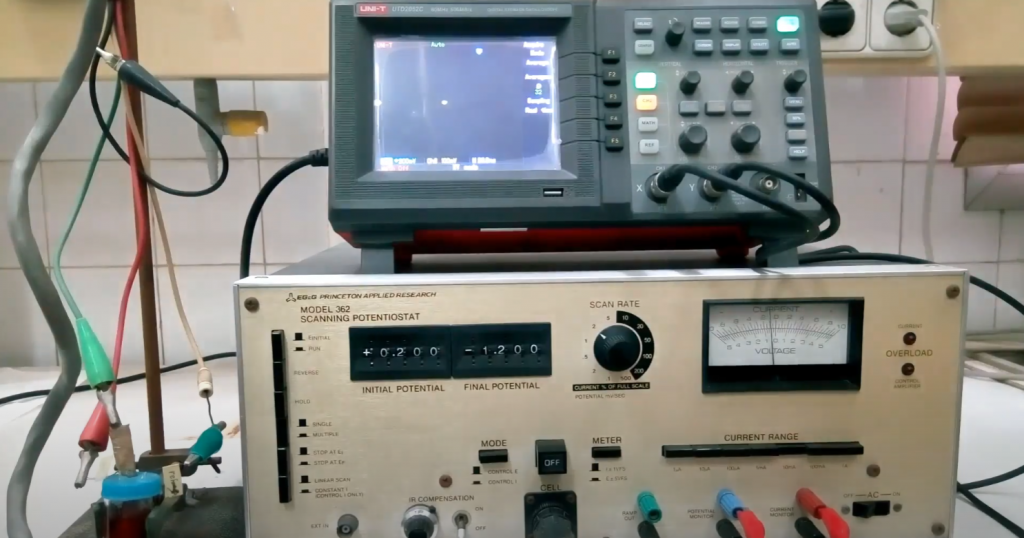
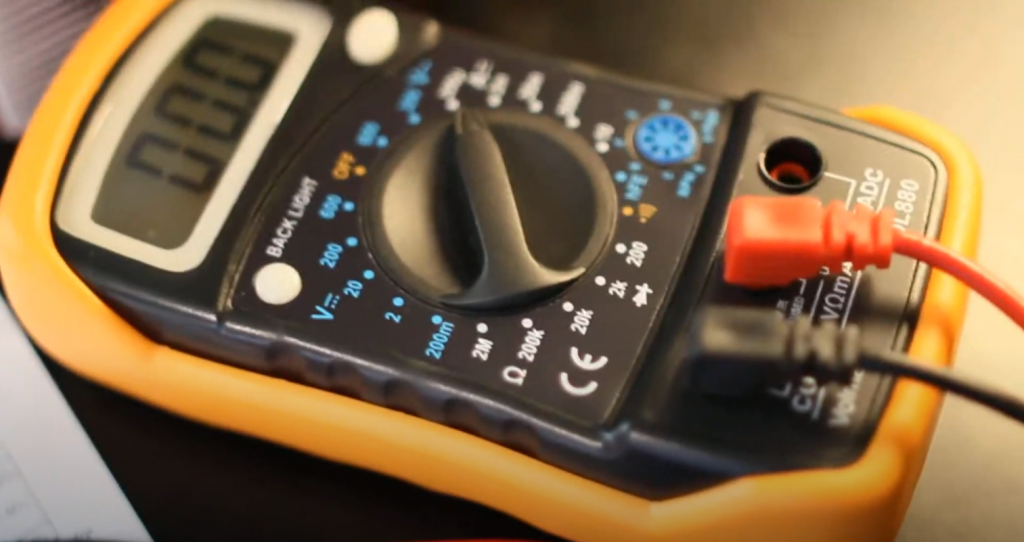
Noticing one or more of these symptoms typically indicates a problem with the camshaft position sensor. The CMP sensor and wiring should be tested to confirm it is the source of trouble codes. Consult your vehicle repair manual. Resistance tests and scope pattern readings can verify if the sensor is within specifications. Replacing the camshaft position sensor and using new O-rings and sealant will usually resolve these performance issues if it is internally damaged.
Replacing the Camshaft Position Sensor
The camshaft position (CMP) sensor is a critical component that can wear out over time and miles. Replacing a bad camshaft position sensor is necessary to restore proper engine performance and prevent additional issues like stalling or misfires. Follow these steps to return your CMP sensor safely.
Gather the Required Tools and Supplies
Replacing the CMP sensor requires some essential hand tools and supplies:
- New camshaft position sensor specific to your vehicle
- Ratchet and socket set
- Pliers
- Clean shop rags
- Small brush or scraper
- Dielectric grease
- Replacement O-ring
- Vehicle repair manual
Ensure you have all the necessary tools before starting. Consult your vehicle repair manual for any special instructions.
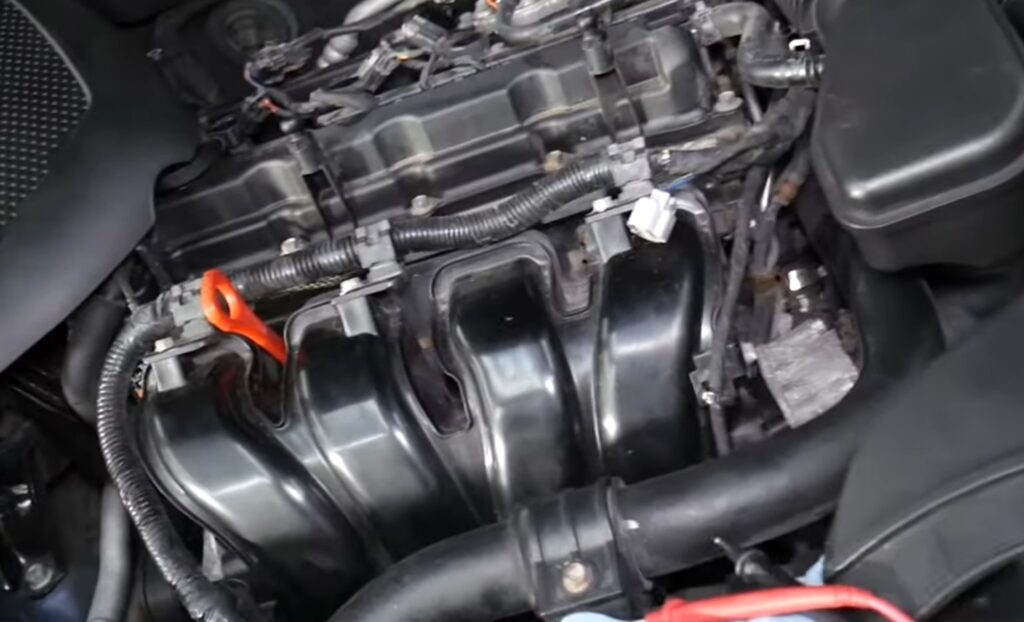
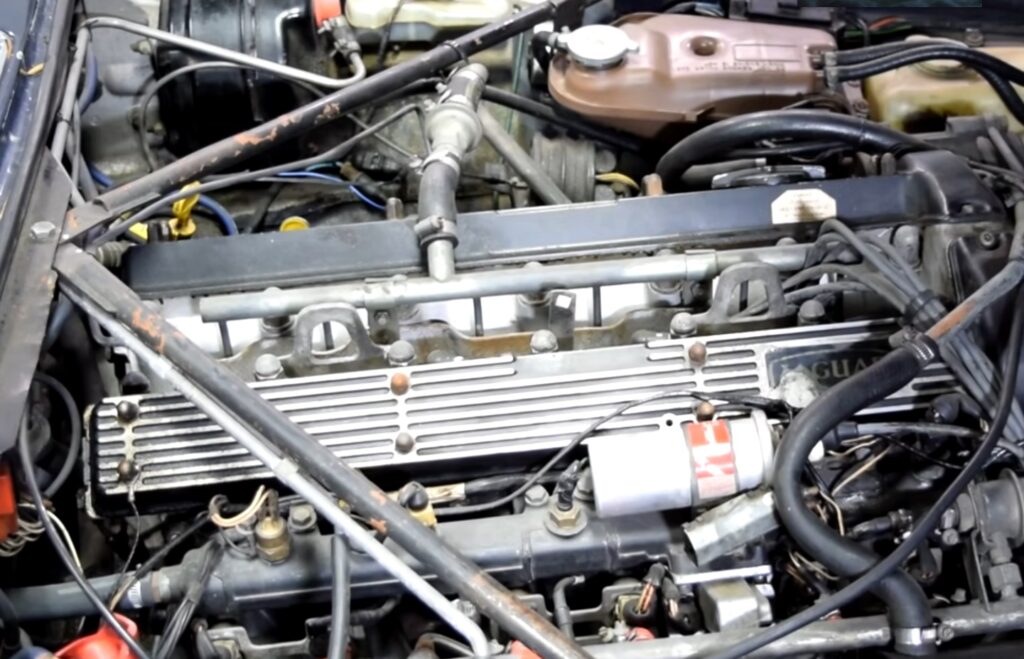
Locate the Camshaft Position Sensor
Camshaft position sensor locations differ depending on vehicle make and model. Some common areas include the engine timing cover, the valve cover, and the cylinder head. Refer to your repair manual for the exact position of your CMP sensor. Sensors mounted in the timing cover are usually more challenging to access.
Disconnect the Electrical Connector
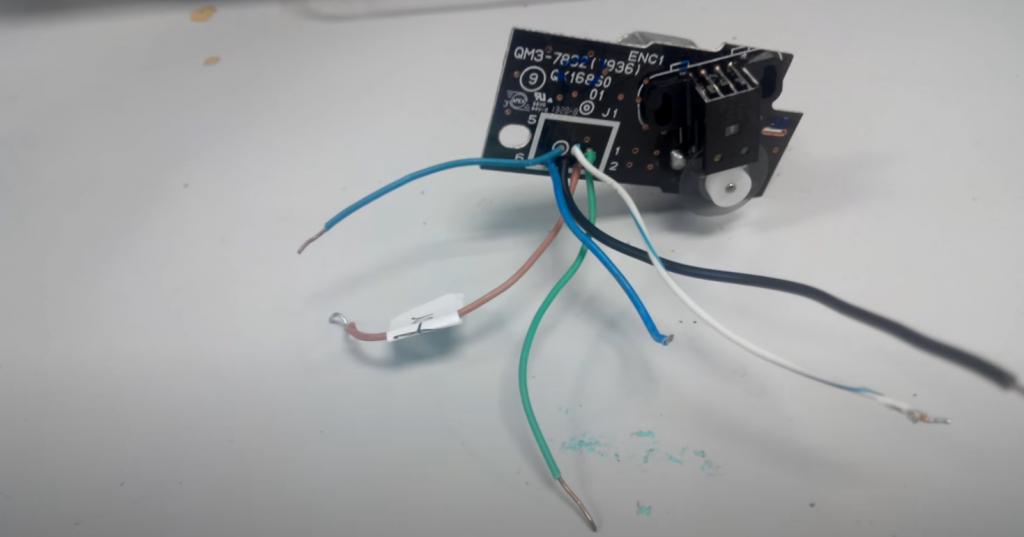
Locate the wiring connector attached to the CMP sensor. Disconnect the connector from the sensor. Be careful not to damage the connector or wiring during removal.
Remove the Old Camshaft Position Sensor
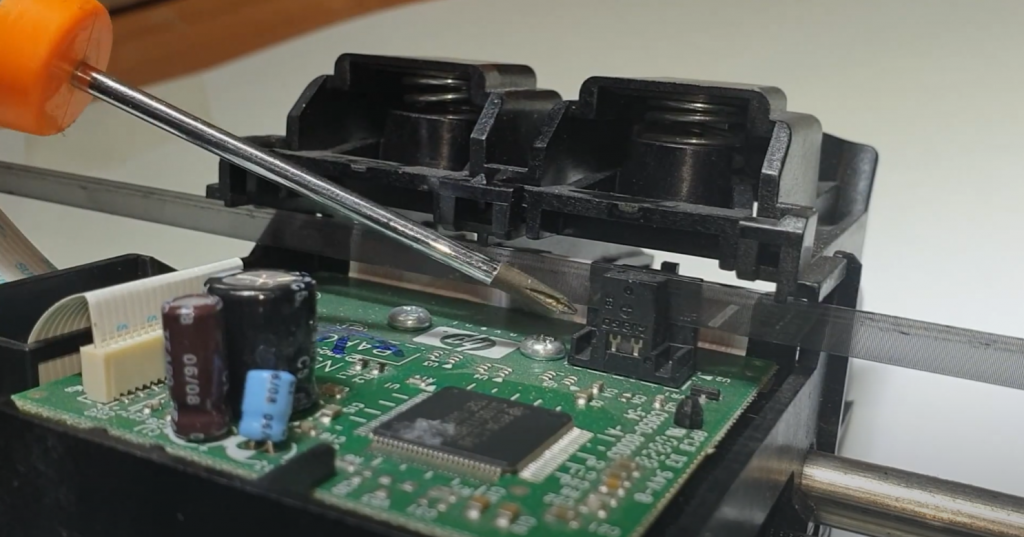
Using a ratchet, socket, and any necessary extensions, unbolt and remove the retaining bolt(s) that hold the sensor in place. Carefully detach the old sensor from the engine. Twist the sensor slightly to break it free if necessary. Use a brush or scraper to clean the machine’s mounting area gently.
Install the New Camshaft Position Sensor
Compare the new replacement sensor to the old one to ensure they match. Apply a small amount of dielectric grease inside the electrical connector if recommended. Line up the new sensor and start the retaining bolts by hand. Tighten the bolts to factory torque specs with a torque wrench. Stay under-tightened. Reconnect the wiring harness to the sensor. Ensure the connector locks fully into place.
Verify Proper Operation
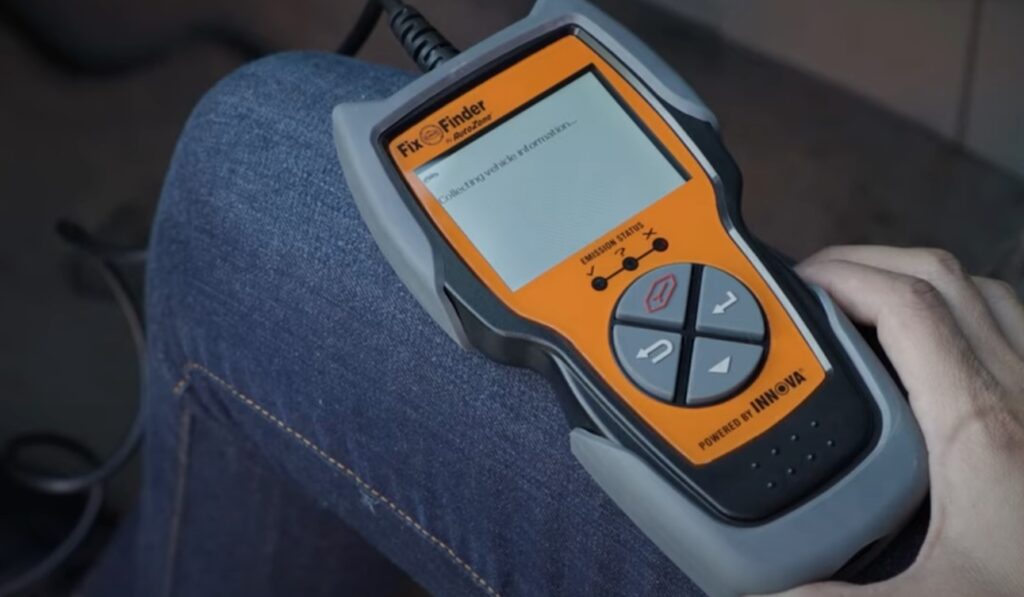
With the new camshaft sensor installed, start the engine and allow it to reach the average operating temperature. Use an OBD2 scanner tool to check for trouble codes. The engine computer may need time to relearn the camshaft position. Test drive the vehicle and verify average acceleration and performance have been restored. If any issues remain, recheck sensor connections and run further diagnostics.
Replacing a failed camshaft position sensor is a relatively straightforward repair. Pay close attention to sensor mounting locations and electrical connections during the replacement process. Take care not to bend or damage the sensor. Following the proper installation steps will get your engine running smoothly again.
Tips for a Successful Replacement
Use a High-Quality Replacement Sensor
Not all replacement camshaft position sensors are created equal. Purchase your new sensor from a reputable parts supplier, and verify it is an OEM or OEM-equivalent part designed for your exact vehicle make and model. Avoid cheap aftermarket sensors that do not meet original manufacturer specifications and quality standards. Installing an incompatible or subpar sensor could result in the same failure codes and problems quickly returning. Spending extra bucks on the proper camshaft sensor pays off in the long run.
Carefully Follow Installation Instructions
Closely following the camshaft sensor installation procedure is critical. Torque the retaining bolt(s) to the factory spec with a torque wrench. Under or over-tightening can damage the sensor. Check that electrical connections are fully latched and secure. Skipping a step or taking shortcuts could negatively impact sensor function and lead to the same issues. Refer to your repair manual.
Use Dielectric Grease on Connectors
Adding a small dab of dielectric grease inside the camshaft position sensor’s electrical connector helps prevent corrosion from moisture and ensures conductivity. Dielectric grease prevents voltage leaks from the sensor’s wiring to the ground. Decline in the connector can interrupt the signal to the PCM and cause sensor failure or intermittent problems.
Ensure Proper Oil Seals on the Sensor Housing
Ensure the new O-rings or gasket properly seals the sensor housing on camshaft sensors that bolt into the cylinder head or engine block. Engine oil leaking into the sensor can contaminate internal components and electrical connections. Follow your manual’s seal replacement procedures to prevent oil from reaching the sensor.
Test Drive to Confirm Normal Operation
The actual test of a successful camshaft sensor replacement is taking a thorough test drive. Run the engine through RPM ranges and under varying loads. Accelerate moderately from a stop—cruise at highway speeds. Listen and feel for missing, hesitation, or lack of power. If driveability issues persist, further diagnosis of the cam sensor circuit and connections is needed to pinpoint installation errors.
Attention to detail and following best practices for camshaft position sensor replacement improves the odds of a smooth repair. Quality parts, proper installation, sealing sensitive components, and testing operation are crucial to eliminating troublesome check engine lights and performance issues.
FAQ
When should I do a crankshaft position sensor relearn after the cramshaft sensor replacement?
If both the camshaft and crankshaft position sensors were replaced, complete the crank relearn after replacing the cam sensor. Relearning the crank sensor ensures the engine computer accurately correlates the positions of the crank and cam sensors, which is vital for proper timing and combustion. But a crank relearn may also be required, even if the cam sensor was replaced. Consult your vehicle repair manual to verify if a crank relearn is needed for your specific model. The relearn procedure forces the computer to detect the current positions of both sensors.
Related Video: CAR DOES NOT START AFTER CRANKSHAFT POSITION SENSOR REPLACEMENT OR NOT RUNNING RIGHT FORD LINCOLN
Summing Up
Replacing a failed camshaft position sensor is only the starting point in getting your engine running again. Clearing codes, relearning idle and crankshaft positions, and test driving are critical follow-up steps after the repair. Don’t just bolt on the replacement part and call it good. Take the extra time to follow the proper post-replacement procedure. With codes cleared, the engine computer reset, and a road test confirming smooth operation, you can feel confident the cam sensor replacement fixed the issue. Your engine will be back to peak performance. So don’t fret over that blinking check engine light—a new camshaft sensor and a few key steps will have you back on the road in no time.