
 | 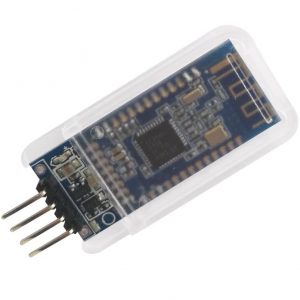 | 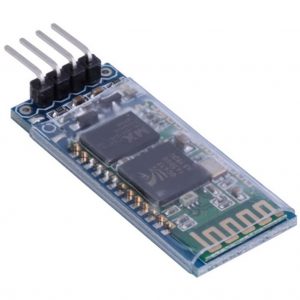 |
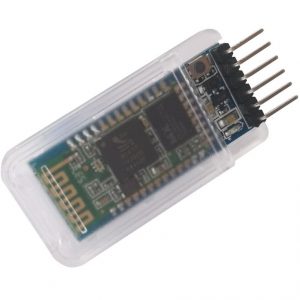
| DSD TECH HC-05 | DSD TECH HM-10 | HiLetgo HC-06 RS232 |
|
|
|
When the average person hears the term “Bluetooth”, they may think of an audio headset or speakers. Both of these devices use Bluetooth technology. Electronics enthusiasts, however, know that this short-range communication method can be used for much more than listening to your favorite podcast.
Bluetooth can transmit information in dozens of interesting, innovative ways. One of our favorite Bluetooth uses to connect an Arduino-based robot or another control device to a smartphone.
Get started with Bluetooth technology for your next Arduino project.
Buyer’s Guide
How Does Bluetooth Communication Work from Arduino to Arduino?
Using Bluetooth serial signals, your smartphone controls the Arduino just as if the two had a hardware connection. Apps like Bluetooth Terminal and ArduinoRC do a great job of turning your smartphone into an interface device.
And it gets even better. With the right settings, you can enable two Arduino boards to communicate with each other completely without a computer or smartphone. Arduino to Arduino communication is a bit more complicated to use correctly, but it opens up significant control possibilities.
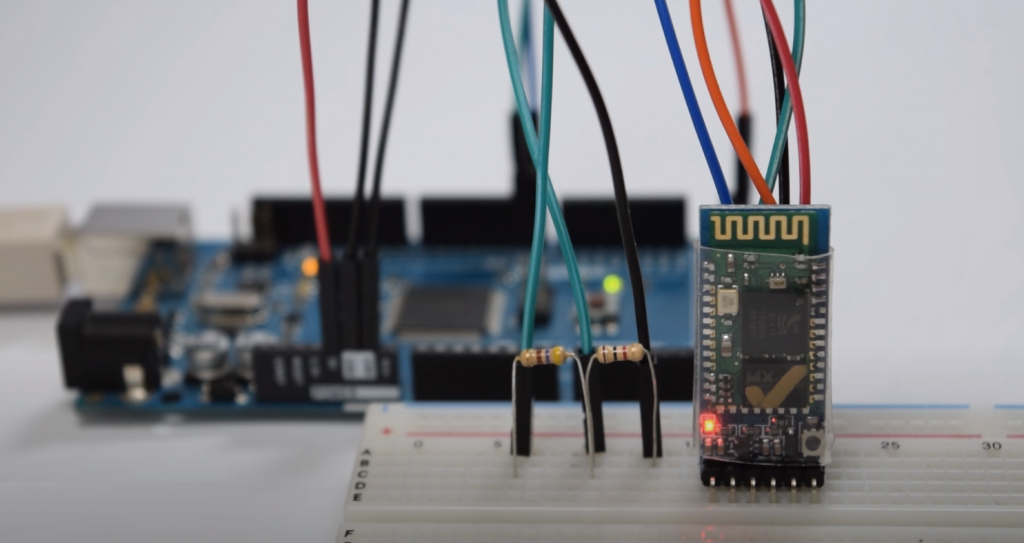
Construct Circuits
To do this, you’ll need to construct two identical breadboards, as seen in the Fritzing diagram above. Each uses Arduino Nano to transmit data via an HC-05 Bluetooth module, causing the other plug-in board to receive that data and respond by flashing its LED. You can send a signal from one Arduino to the other via the computer’s serial port, but the button input provides a quick key to transmit a character wirelessly.
You will need the following to build your circuits:
- 2x Arduino Nano
- 2x plug-in boards
- 2x HC-05 Bluetooth modules
- 2x buttons
- 2x 1k resistors
- 2x 2k resistors
- 2x 20k resistors
- 1x Jumper cable
- 2x mini USB cables
Note: You can interchange any of these parts based on your preferences. For example, an Arduino Uno will work just as well as a Nano. In the schematic, you can see that we used a voltage divider on the Rx pin of the HC-05. HC-05 modules operate at 3.3 V., So we decided to prevent too much voltage from getting to the pin.
Connect the modules
By opening a second instance of the Arduino IDE, you can work with two separate boards simultaneously.
Once you’ve finished setting up the circuit, you’ll need to set up your two Bluetooth modules to communicate with each other. Here are the next steps:
Transmit the HC-05_AT_MODE_01 code, which you can find here, to one of your Arduino boards. Then put the HC-05 Bluetooth module in to AT mode by powering up the module while pressing down on the board’s button.
The LEDs will blink slowly during startup. Open a serial monitor in your Arduino IDE and type “AT”. If everything works properly, you will get the response “OK” from the terminal.
Type “AT+ROLE=” to set your HC-05 as the master. With AT+CMODE=1 you enable the connection with any other shield.
Reset the unit, and your HC-05 – now master – will connect to the other HC-05 that is normally set as a slave module.
If you need to change a master to a slave, establish a serial connection as described above and enter AT+ROLE=0. It is also possible to use an HC-06 module that operates only in slave mode. Use the code from step 1 for more details. You can also connect the two modules together using this extended instruction.
If you are working with two such Arduino boards, it can be especially helpful to load two Arduino IDE instances (through a shortcut, not through file/new or file/open in the IDE). This allows you to load programs and monitor serial ports at the same time, making both programming and troubleshooting easier.
Load and test program
Pressing a button turns on the light on another Arduino Nano. Sticky notes identify the serial port used to keep the two apart when programming.
Once you have your HC-05/Arduino connected, load the software found here onto each Arduino and follow the steps below:
- Open a serial monitor for each IDE instance, then experiment by typing “O” and “F” (upper case).
- The other board should respond by turning the LED on and off. Press the key. This will send the character “B” to the other board; the LED will flash briefly.
- You can also type “B” into the serial monitor to test this functionality.
- Once everything is working correctly, you can disconnect each board again and plug them into opposite sides of the room; they will blink back and forth.
Now that your two Arduino boards are connected, it’s time to get creative. Maybe you control your robot with a smartphone via Bluetooth, but you’d rather have a real keyboard. Perhaps you’d like to develop a personalized computer interface that is controlled remotely. Bluetooth technology can add a new, portable dimension to your robotics project.
Useful Video: Tutorial on Bluetooth sensor HC-05 with Arduino
Final Words
The use of wireless communication is greater than ever as the world moves to a more connected society. Computers, Arduino, and other devices can now send information without cables or a physical connection. The Bluetooth module is just one of many wireless modules connected to Arduino boards, allowing them to send and receive data. Thanks for reading!
I’m always on the lookout for new ways to use my Arduino. So when I found the BC417 Bluetooth module, I was excited to try it out.
The BC417 is a small, inexpensive Bluetooth module that you can connect to your Arduino. It’s easy to set up and use, and it opens up a whole new world of possibilities for your projects.
I’ve used the BC417 to control LEDs, motors, andservos wirelessly from my phone. I’ve even used it to send data from sensors wirelessly to my computer. The possibilities are endless!
I recently decided to incorporate a Bluetooth module into one of my Arduino projects. I was a little intimidated at first, since I had never worked with Bluetooth before, but it turned out to be surprisingly easy!
The first step was to pick out a compatible module. I did some research and settled on the HC-05. It’s a popular choice and relatively inexpensive.
Once I had the module, I followed the instructions for wiring it up to my Arduino. Then I downloaded a library and wrote some code to test it out. Within minutes, I was able to send data wirelessly from my Arduino to my computer!
Overall, I’m very happy with how well the Bluetooth module worked. It was simple to set up and use, and it opens up a whole new range of possibilities for my projects.
hc05 is useless if you (in the future) want to control from your phone or any other modern device.
you need to support bluetooth 4.0 as minimum.
Thanks for your comment, Driek!