
 In today’s review, we will look at one of the cheapest and most popular single-board computers – Orange Pi Zero.
This microcomputer can not boast of high performance. Still, it has a compact size, ultra-low power consumption, and can perform those tasks, for which implementation Arduino or ESP8266 platform will not be enough. The power of the microcomputer of Raspberry Pi 3 level or its more expensive and productive brothers will be excessive.
A Bit of History
The origins of the Orange Pi line of microcomputers go back to 2014 when Chinese company Lemaker released its clone of the increasingly popular Raspberry Pi, the Banana Pi M1 single-board computer.
Shortly after that, there was a split among the developers. One part continued to produce specialized and no longer positioned for the home user “development boards” under the Lemaker brand. SinoVoip continued to develop a line of Banana Pi microcomputers, the total number of models in which has already exceeded a dozen. Finally, Shenzhen Xunlong Software, managed by Steven Zhao, created the Orange Pi line, focusing on low prices.
The tactic proved to be a winner – today, Orange Pi is one of the most famous brands among single-boarders, and the number of sales of the Orange Pi Zero model alone in the Shenzhen Xunlong Software store has exceeded 8000 copies since its release in November 2016.
Features
| Processor | Allwinner H2+ ARM Cortex-A7 Quad Core 1.2 GHz H.265/HEVC |
| Graphic processor | Mali400MP2 GPU @ 600Mhz with OpenGL ES 2.0 support |
| Memory capacity | DDR3 256Mb (standard) or 512Mb (shared with GPU) |
| Built-in memory capacity | microSD-Card up to 64GB, NOR Flash |
| LAN | 10/100 Mb/s Etdernet RJ45 POE (disabled by default) |
| Wi-Fi | XR819, IEEE 802.11 b/g/n |
| Video output | TV output (output 9 of 13) |
| Audio input | Microphone (pins 11 and 12 of 13) |
| Audio output | Pins 7 and 8 of 13 (right and left respectively) |
| USB | USB 2.0 PORT, USB OTG and two USB 2.0 ports pins 3, 4, 5 and 6 |
| Other | IC port (pin 13 of 13) |
| Peripherals | 26-pin expansion board: GPIO (General Purpose Input/Output Interface), Power (+5V, +3.3V and GND), some pins can be used as UART, I2C, SPI or PWM 13 pins, 2 x USB, IR, AUDIO(MIC, AV) |
| Buttons | Power |
| Indicators | Power and status |
| Power | 5V 2A via micro-USB (OTG) |
| Dimensions | 1,88 x 1,81 inches |
| Weight | 0,84oz (26g) |
| OS | Android, Lubuntu, Debian, Raspbian |
All miniature single-board computers have more or less the same characteristics. The difference lies in minor details like the presence or absence of an Ethernet port, or Bluetooth, or the number of connectors for connecting external peripherals.
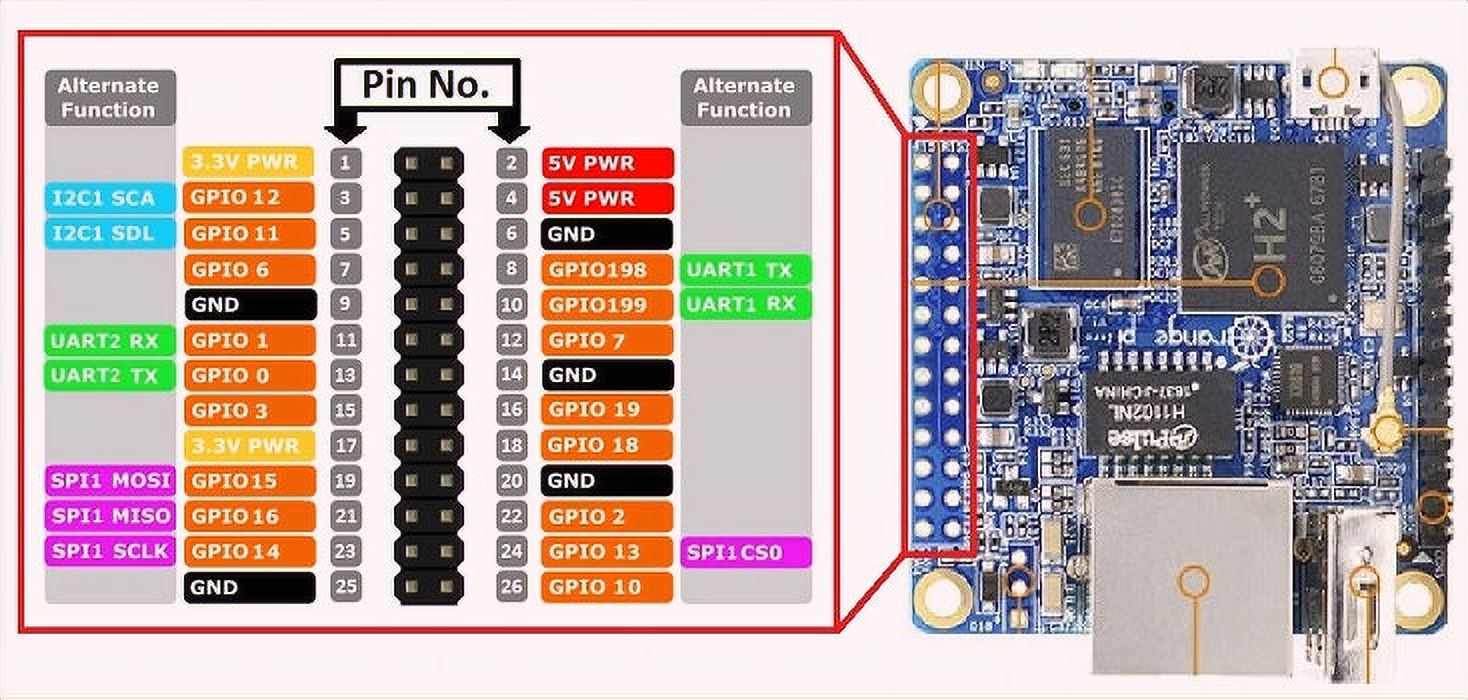
Orange Pi Zero has two GPIO combs, one for 13 pins and one for 26 pins. The 13-pin comb is used to connect the Interface Board – an expansion board with additional USB ports, analog AV output, microphone, and IR port. The 26-pin comb is available for user peripherals, and its pinout is shown in the illustration above.
Appearance and Package Contents
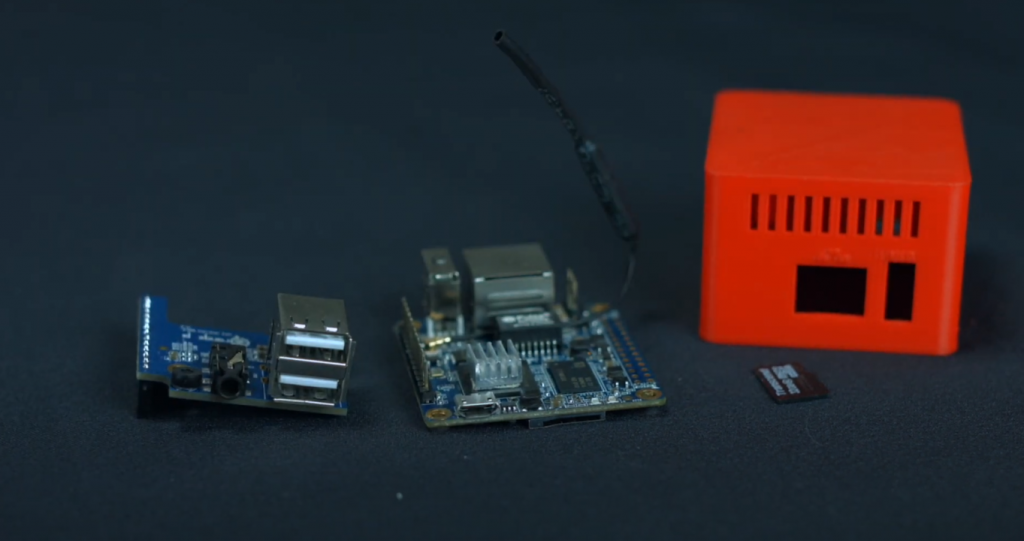
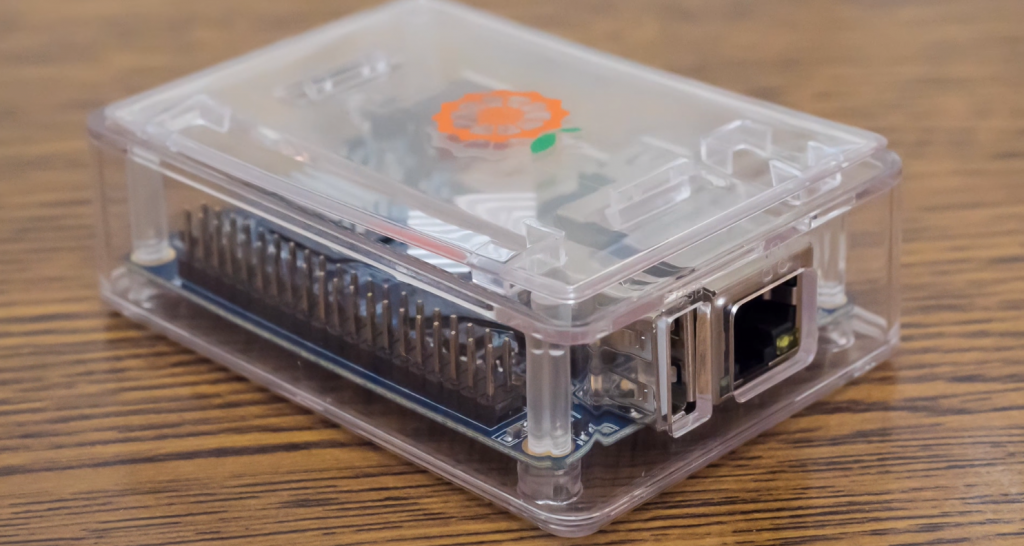
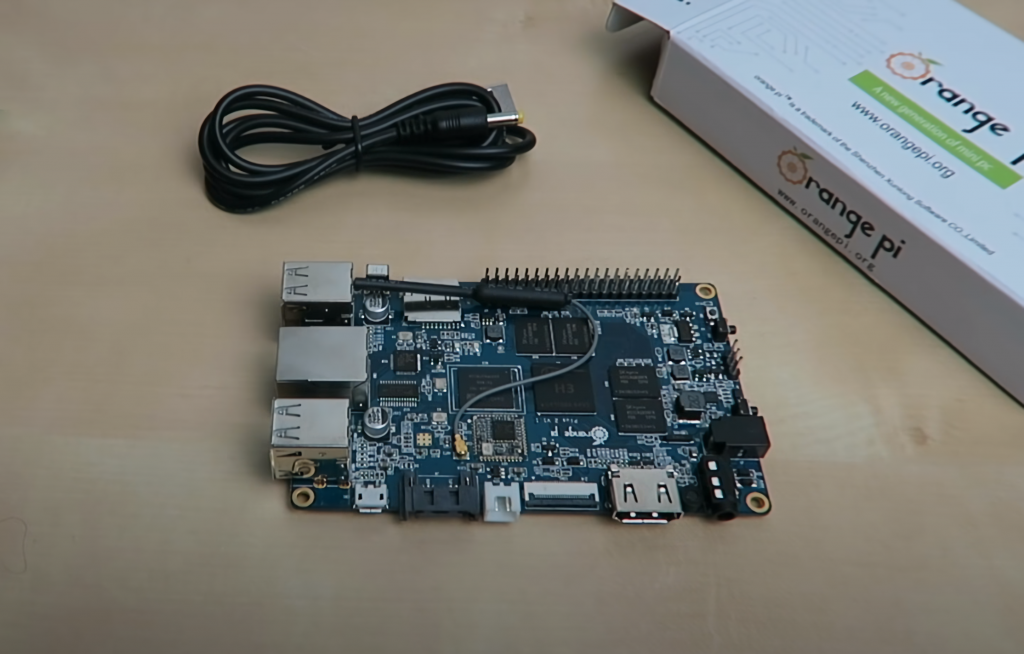
I ordered my copy of the Orange Pi Zero as a kit consisting of the microcomputer itself, an Interface board, and a plastic case.
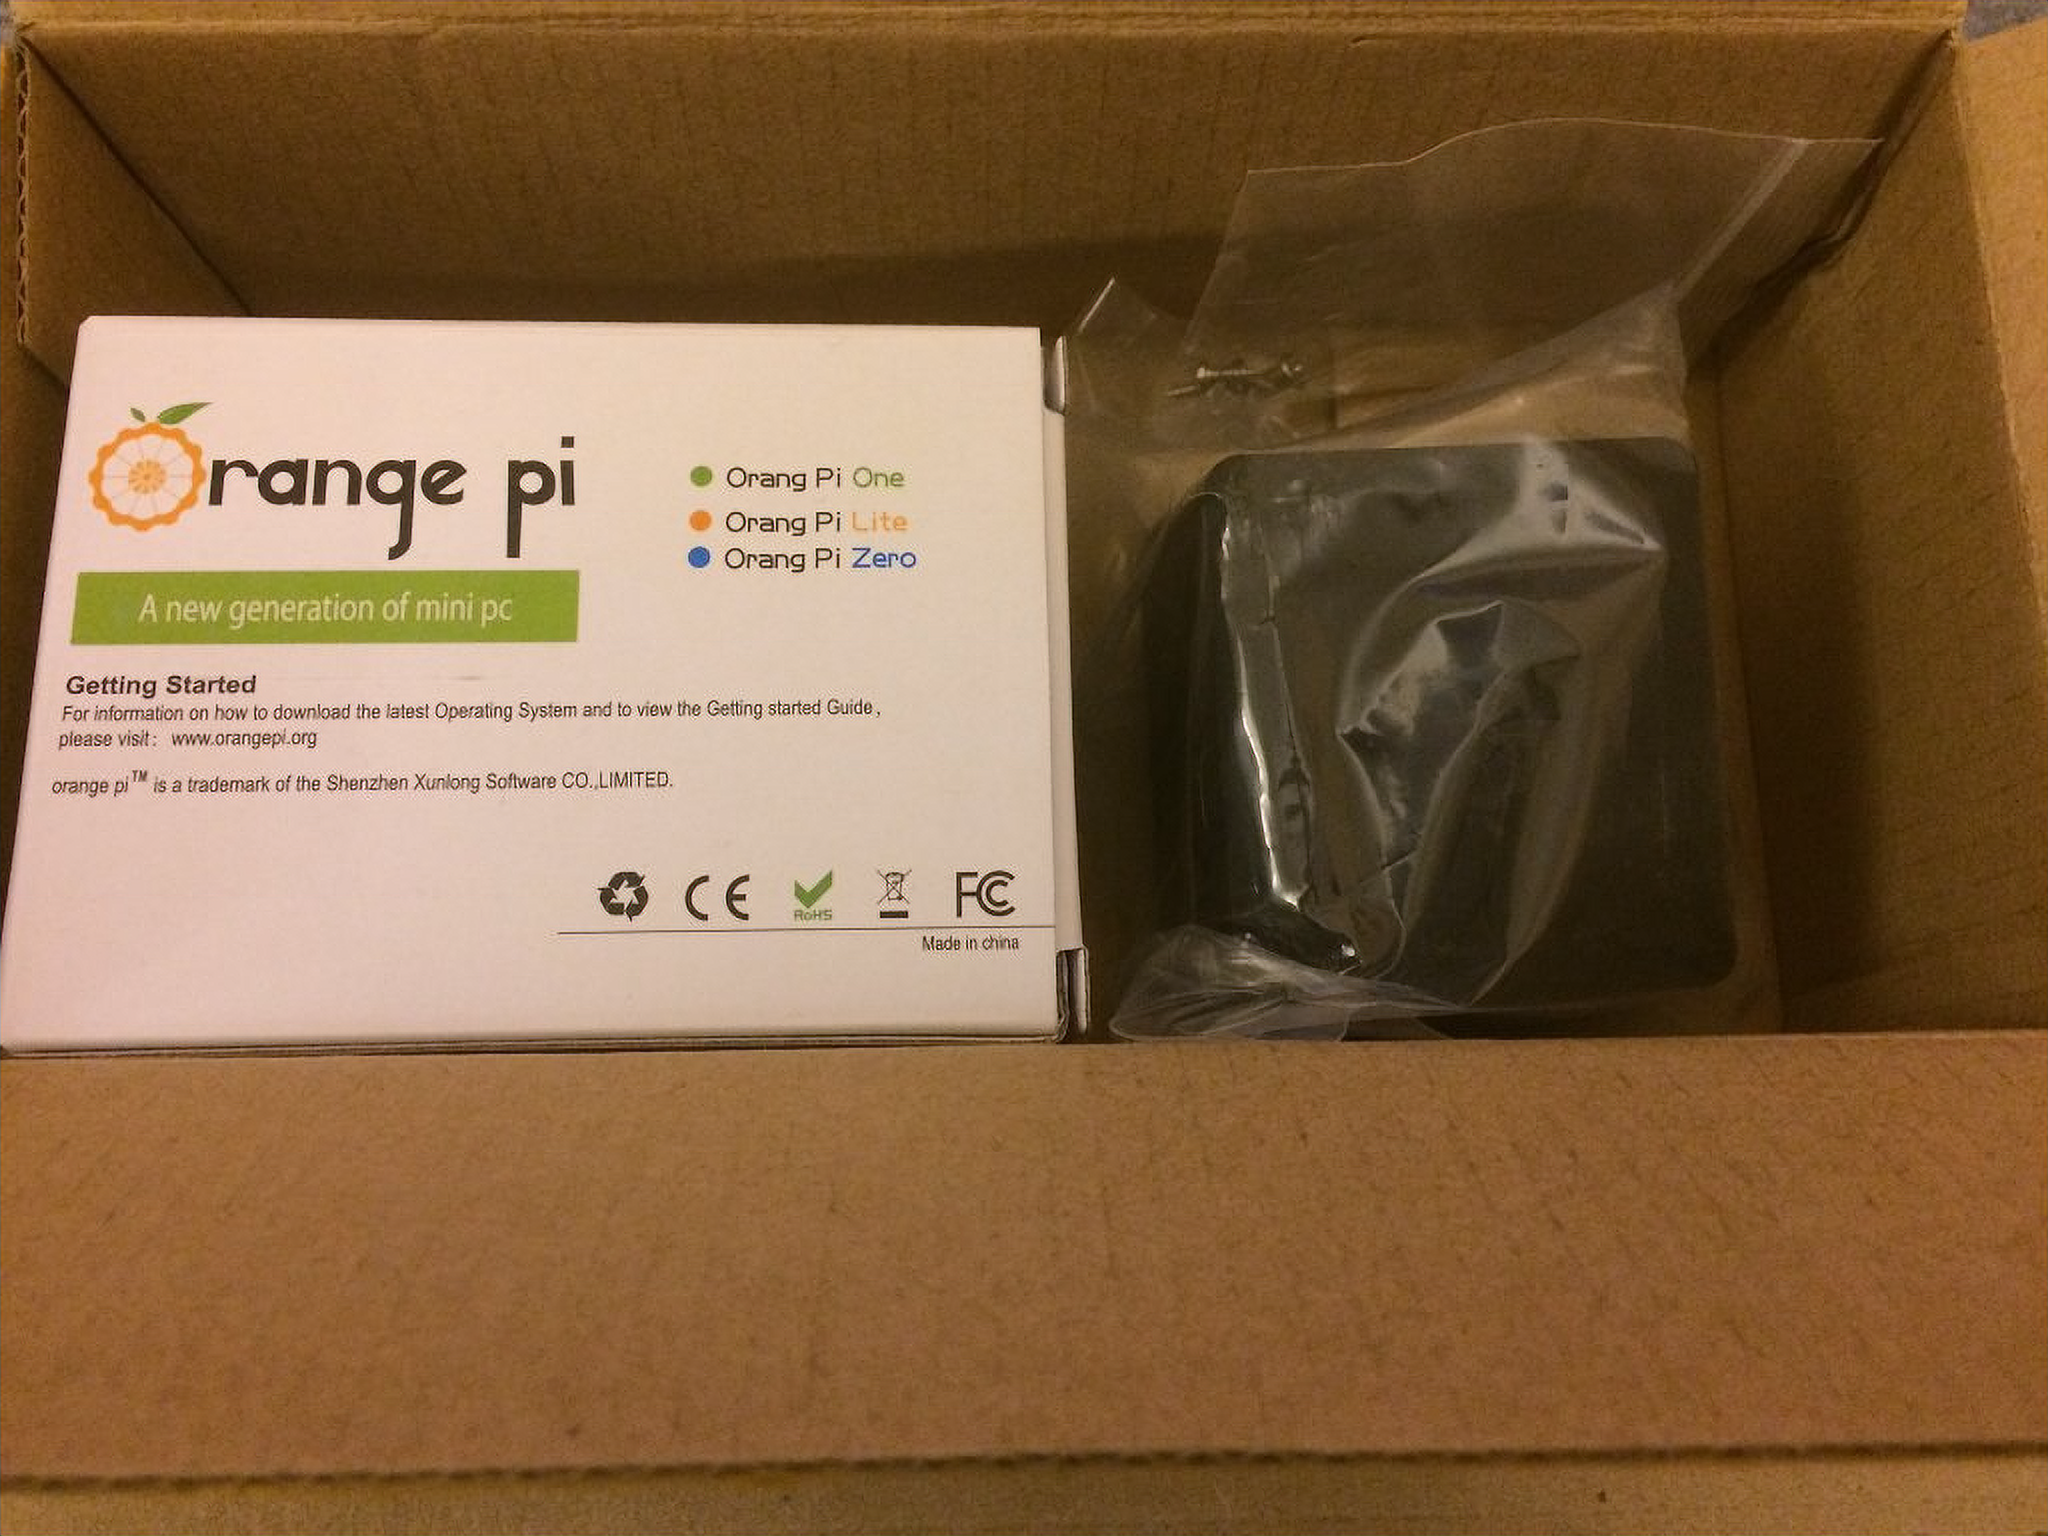
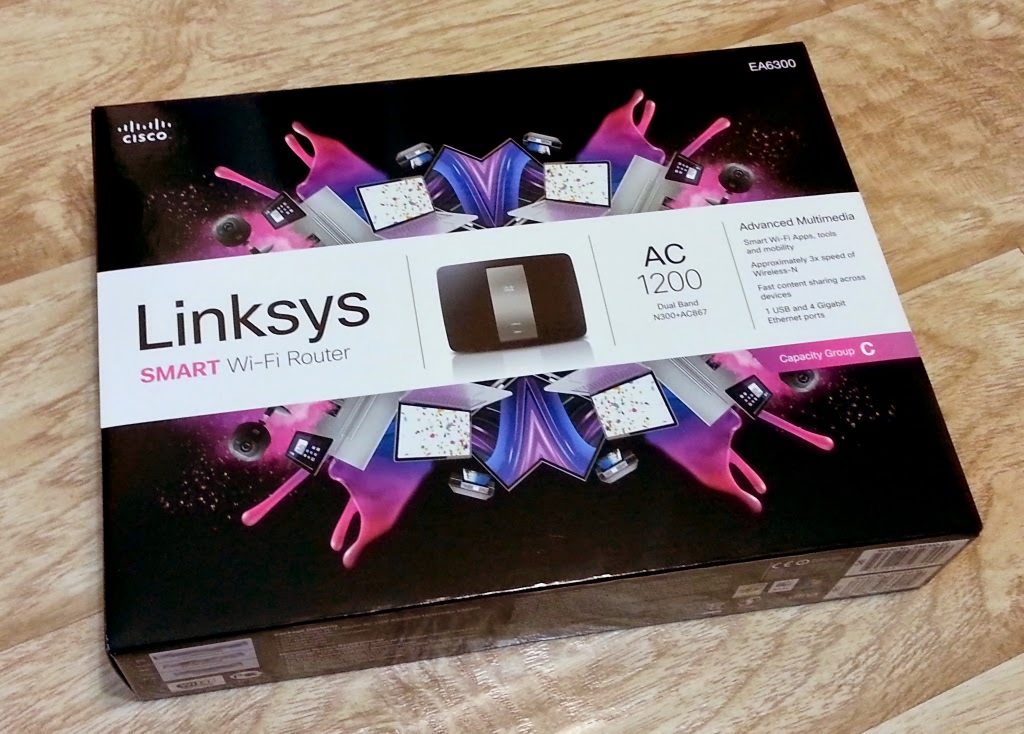
The package does not differ from that of the Raspberry Pi 3. The electronic components are sealed in anti-static bags and packed in separate cardboard boxes with branding. The plastic case is shipped unpackaged in a simple polyethylene bag.
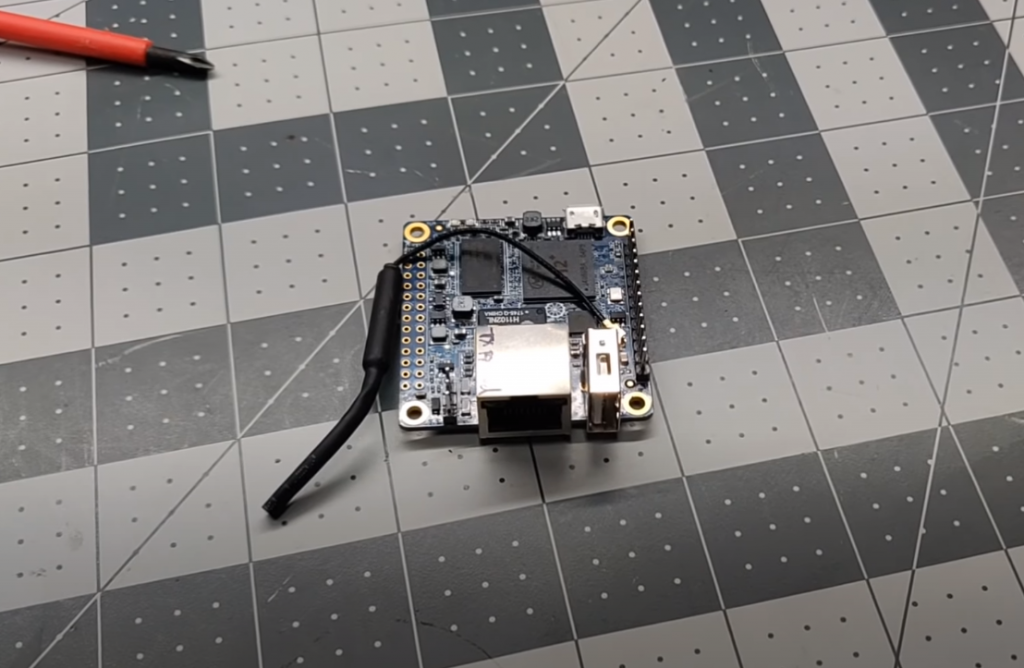
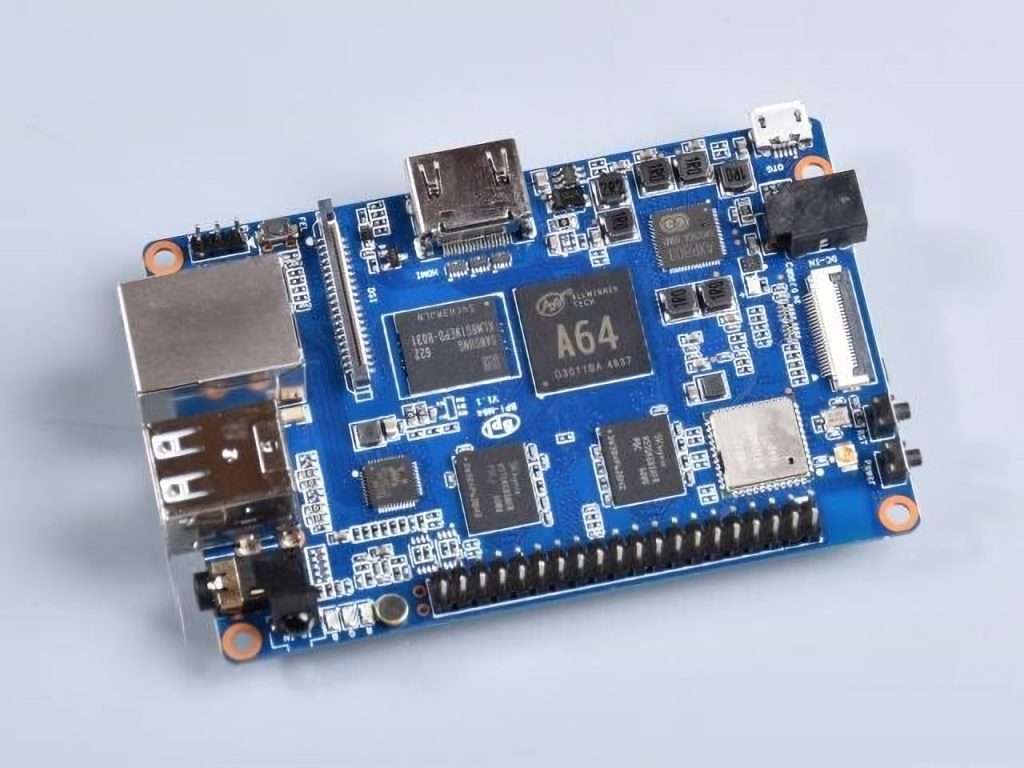
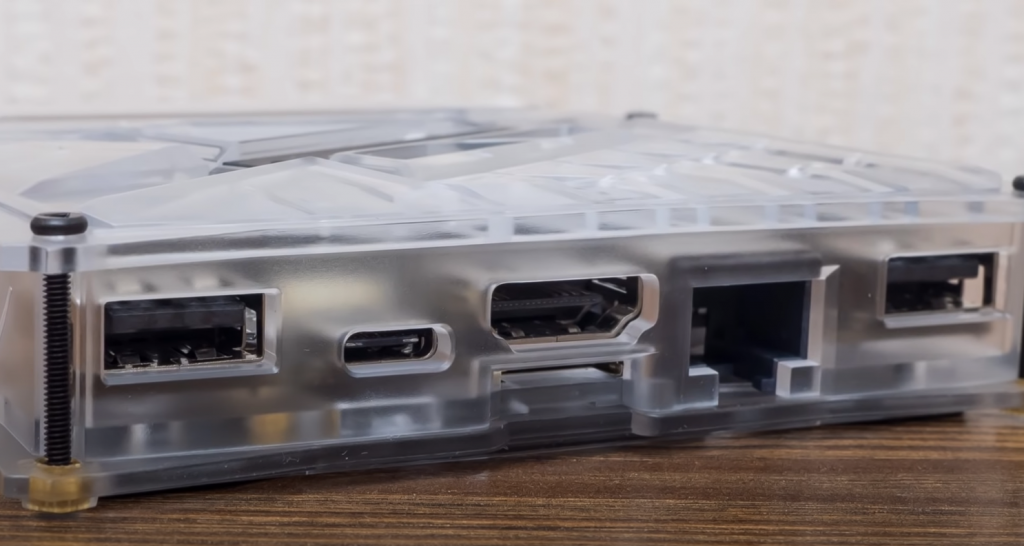
Orange Pi Zero has one USB 2.0 port and a 100 megabit Ethernet interface with PoE (Power over Ethernet) technology, which allows you to power the device directly through the Ethernet cable. This technology is most often used in video surveillance and requires a PoE-enabled network switch.
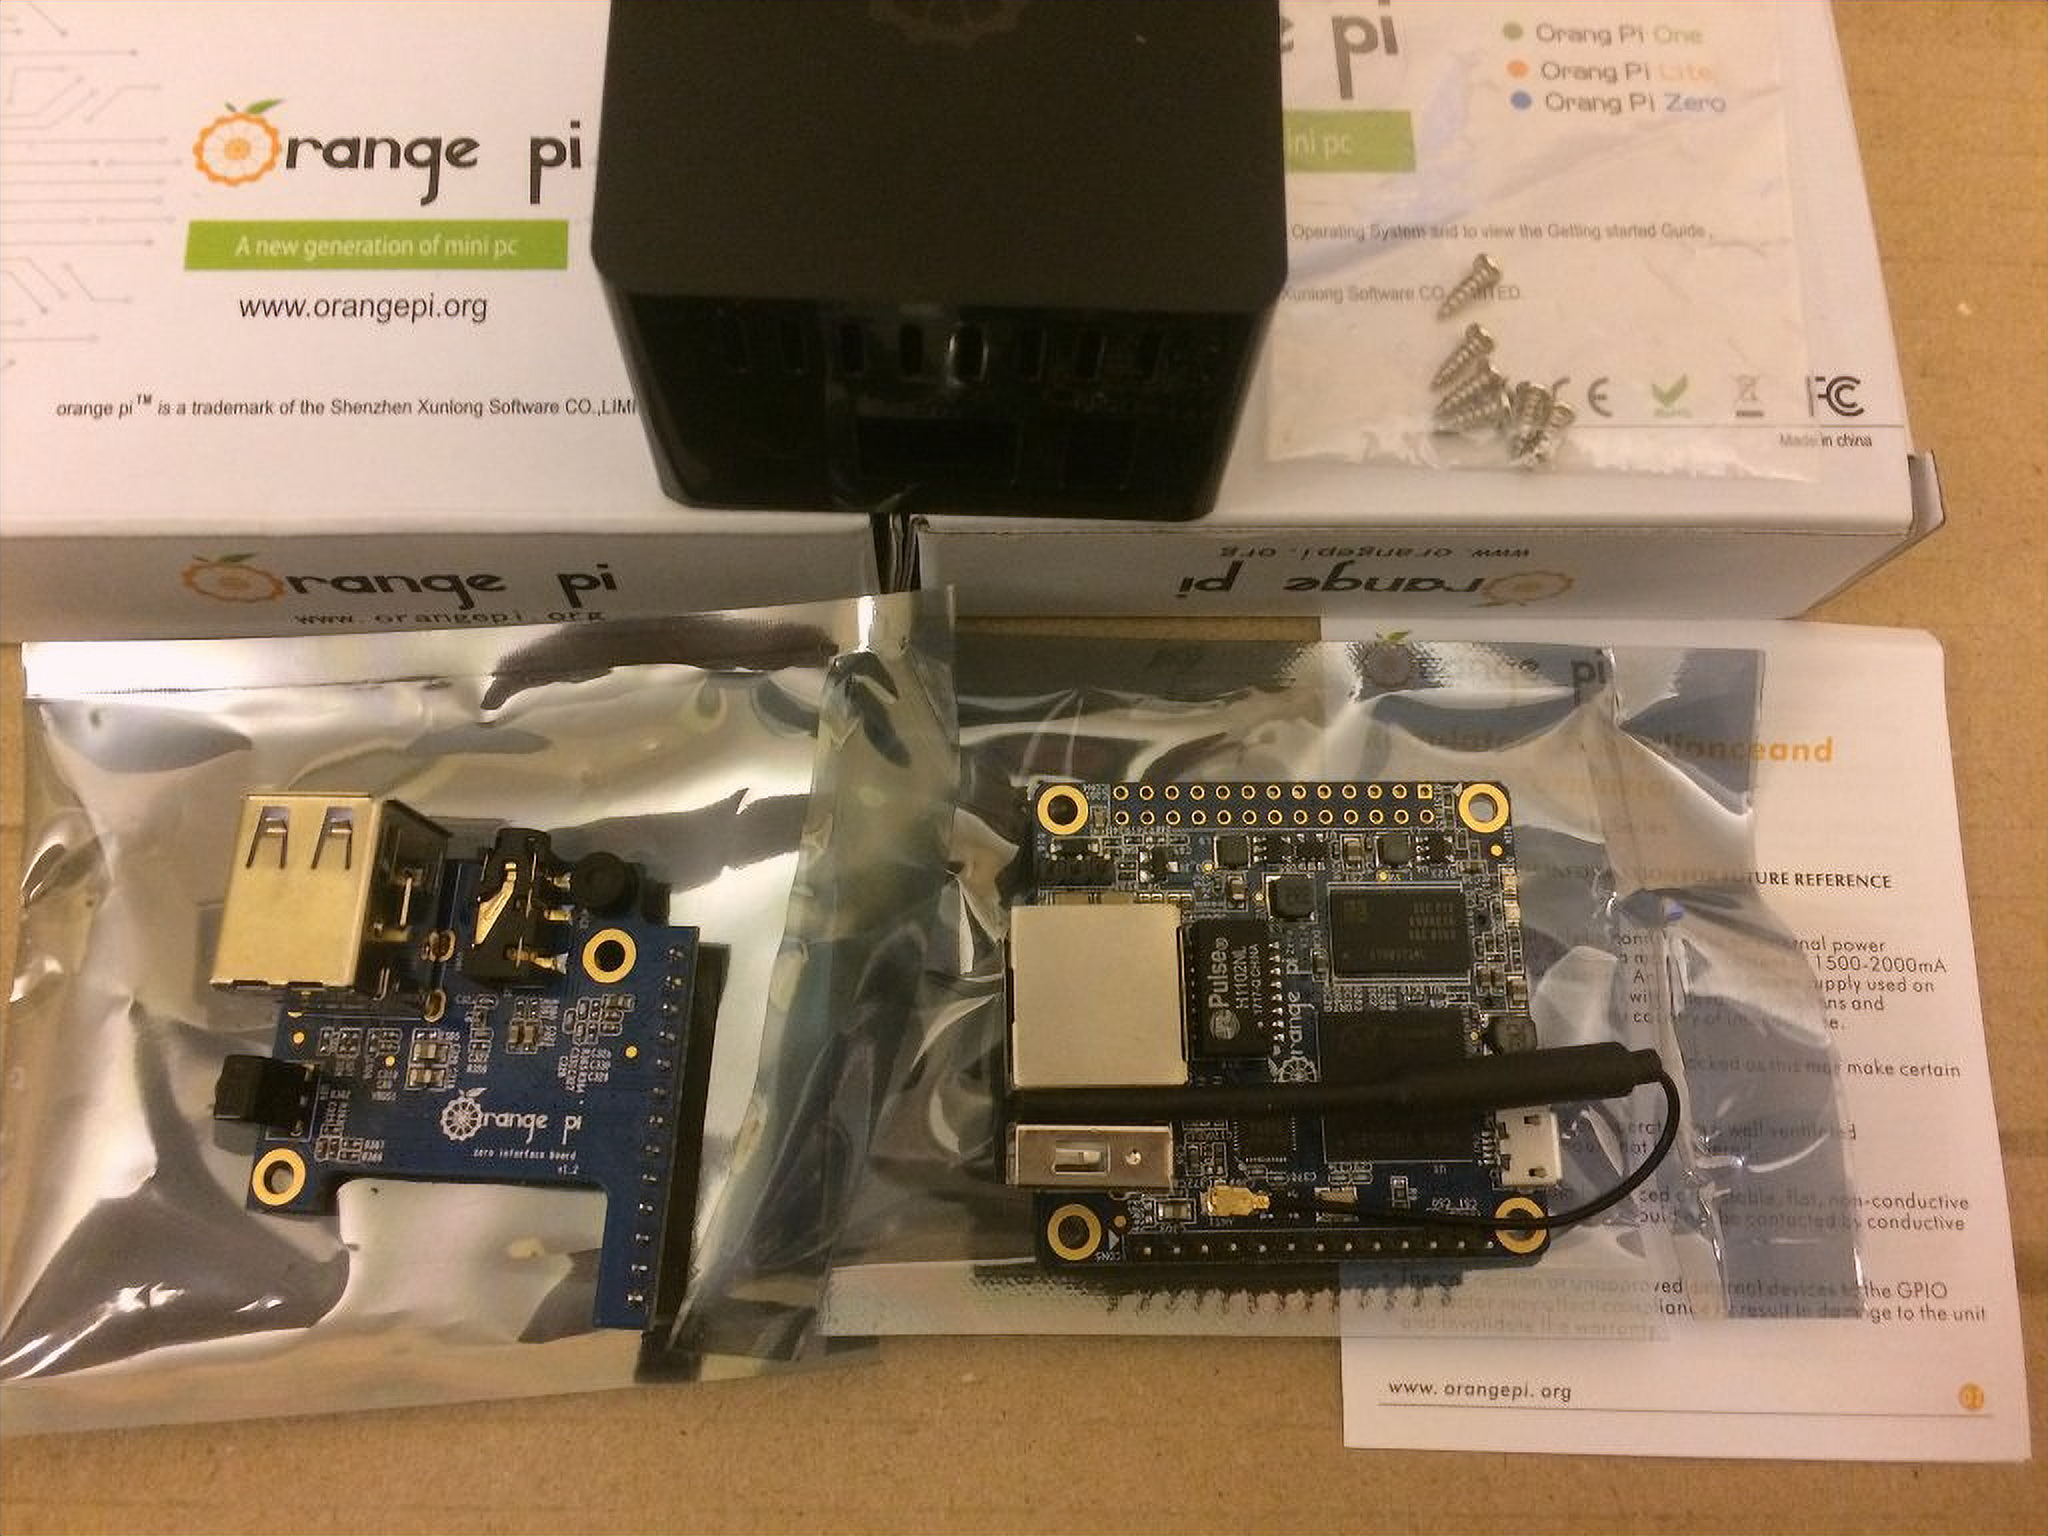
The largest chip is the Allwinner H2+ SoC, and next to it is a 256MB or 512MB RAM module, depending on the Orange Pi Zero version. And the small square chip is the Allwinner XR819 chip, a cheap and compact Wi-Fi module. Usually, Wi-Fi modules are combined with Bluetooth modules, but the XR819 does not support Bluetooth. You have to keep it in mind and if you are going to use Bluetooth-connected peripherals, make sure you buy a USB adapter beforehand.
The GPIO interface is represented by two combs: a 13 pin one for the expansion card connection and a 26 pin one for everything else. The 26 pin comb is not unsoldered by default: the person who wants to use the GPIO periphery is supposed to solder the connectors himself and decide whether they will be directed upwards or beveled corner ones.
Finally, the board has a debug UART connector and a connector for a removable Wi-Fi antenna. A primitive antenna is already included and can be seen in the photo above. The I-PEX connector is rather awkwardly located – it is almost impossible to reach it with your fingers, so to remove the antenna, you have to pry its connector with something like a screwdriver.
The circuit board’s backside is a slot for microSD cards and a sticker with a bar code.
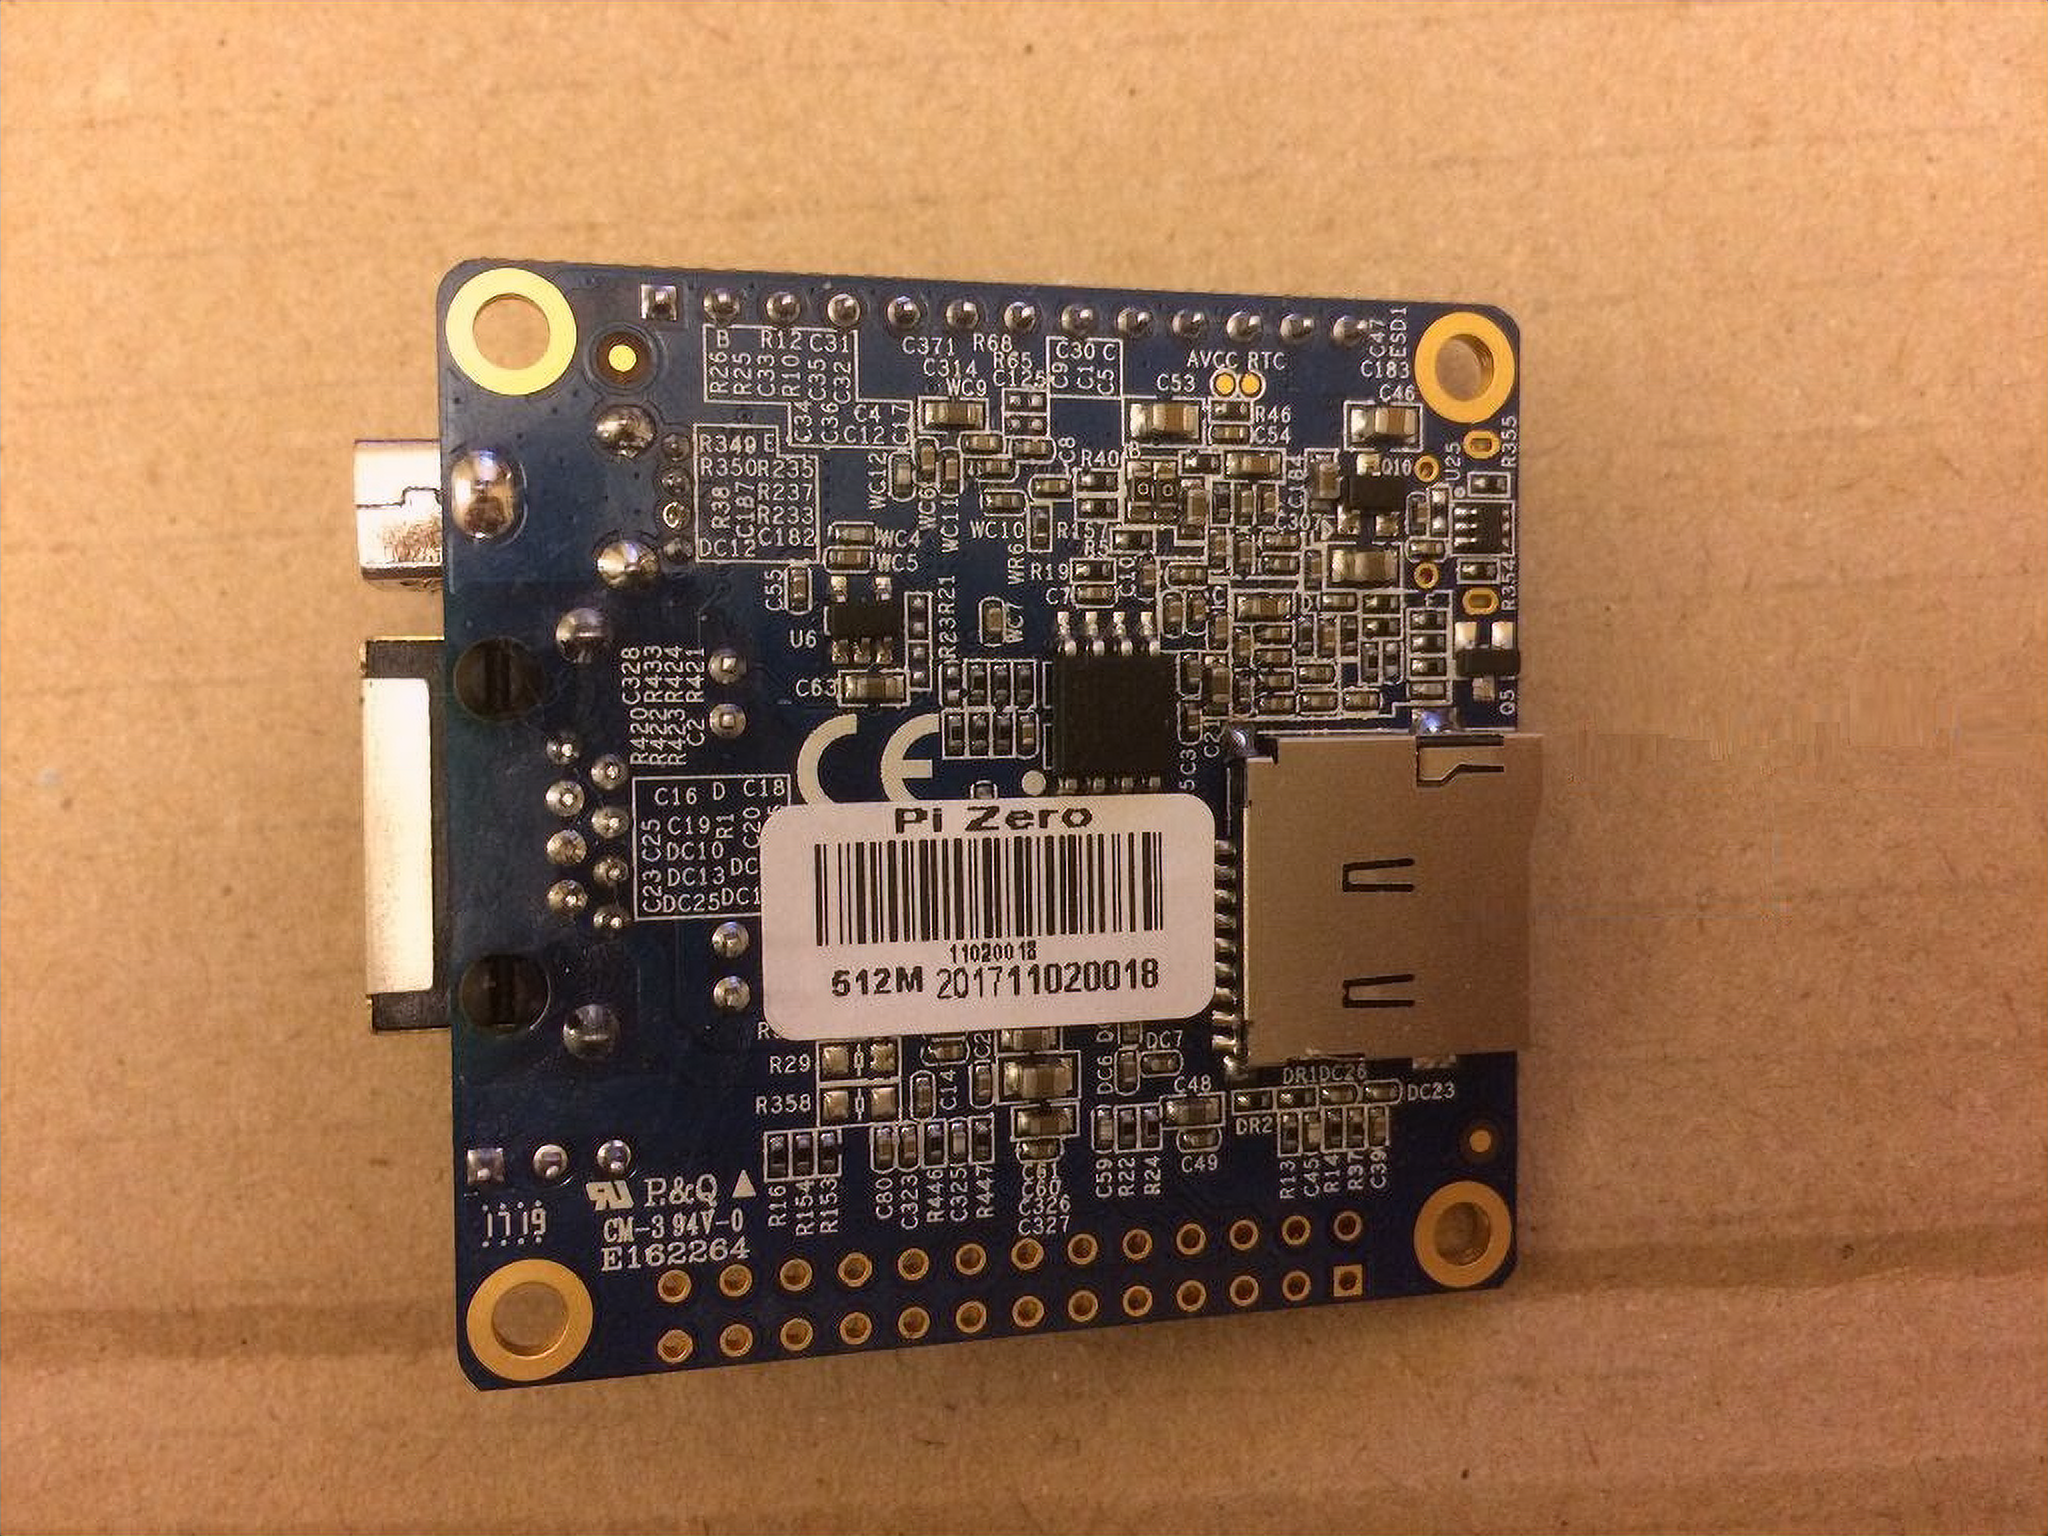
I would rate the quality of the microcomputer’s workmanship at a four on a scale of five. The soldering is neat everywhere, but on the back of the circuit board, the flux is not completely washed off (in the photo above, you can see some drips on the left side, near the Ethernet port). And there are sharp burrs on two of the four rounded corners of the board.
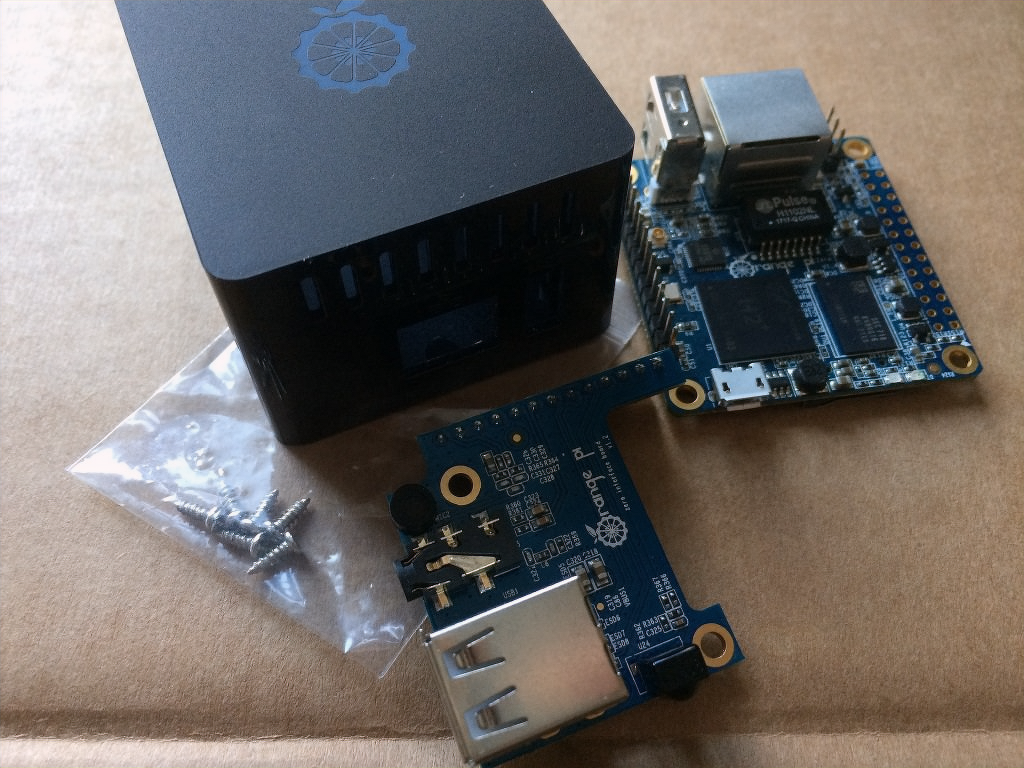
The Interface board has two additional USB ports, an infrared port, microphone, and analog audio-video output.
Since there is no HDMI interface (as far as I understand, it is not supported by the Allwinner H2+ chip), the only way to connect Orange Pi Zero to the screen is to buy an adapter cable from AV plug to analog “tunnels”. Or connect a small TFT display to the GPIO.
Or, more correctly, work without a display at all using remote connections.

Nothing is interesting on the backside of the expansion board, just another sticker with a barcode. The numbers on it indicate that the expansion card was produced before the Orange Pi Zero itself. In general, it makes sense – not every buyer of microcomputers gets additional accessories.
Yes, there were traces of badly washed flux here as well. But due to the low density of soldered parts, I managed to wipe them off almost completely with alcohol.
Getting Started with Orange Pi Zero
Consideration of the microcomputer design is now complete.
It’s time to talk about the beginning of working with it, namely the operating system’s assembly and installation.
About Power and Cooling
Orange Pi Zero is rather undemanding to the power supply – the microcomputer consumes about 300 mA, which means that its working power supply of 1 A will be enough. Of course, you should take into account the consumption of connected peripherals – if you connect several hard drives, then 1A is not enough for everything.
As for the heating and cooling, in this case, everything is not clear. Allwinner H2+ is noticeably warm. The chips made by Allwinner Technology, in general, do not belong to the number of colds. But there is a software bug in the Armbian operating system (more about it later), which causes incorrect display of SoC temperature on Orange Pi Zero revision 1.4 – and this is the latest revision at the moment, and it is on sale. This bug, by the way, is honestly reported on the distribution download page.
At zero CPU load, Armbian shows a temperature around 140°F. It is logical to suppose that if you load the processor, then at such starting conditions, the temperature will instantly fly beyond 176°F, and hard trolling will start. But this does not happen. The temperature rises, but only slightly, no trolling starts, no smoke comes out of the chip :).
Until this bug is fixed programmatically in Armbian, it is impossible to track the SoC’s real temperature. It is not superfluous to install radiators – here, the copper ones which I used for cooling Raspberry Pi 3 will do.
Assembly
Before using the microcomputer, let’s assemble it in one piece. The correct way to start is to glue the heatsinks to the SoC and memory module, but I didn’t think to buy them beforehand, so I assembled without them.
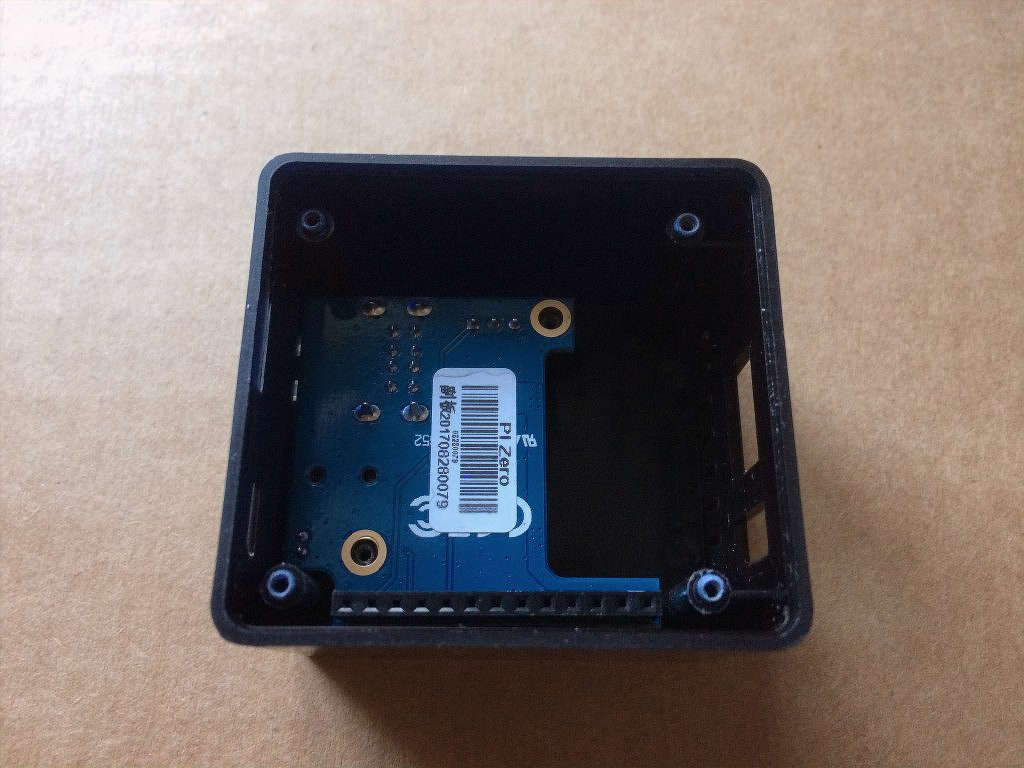
The case is flipped upside down, and the first thing to do is to put the Interface board in its place.
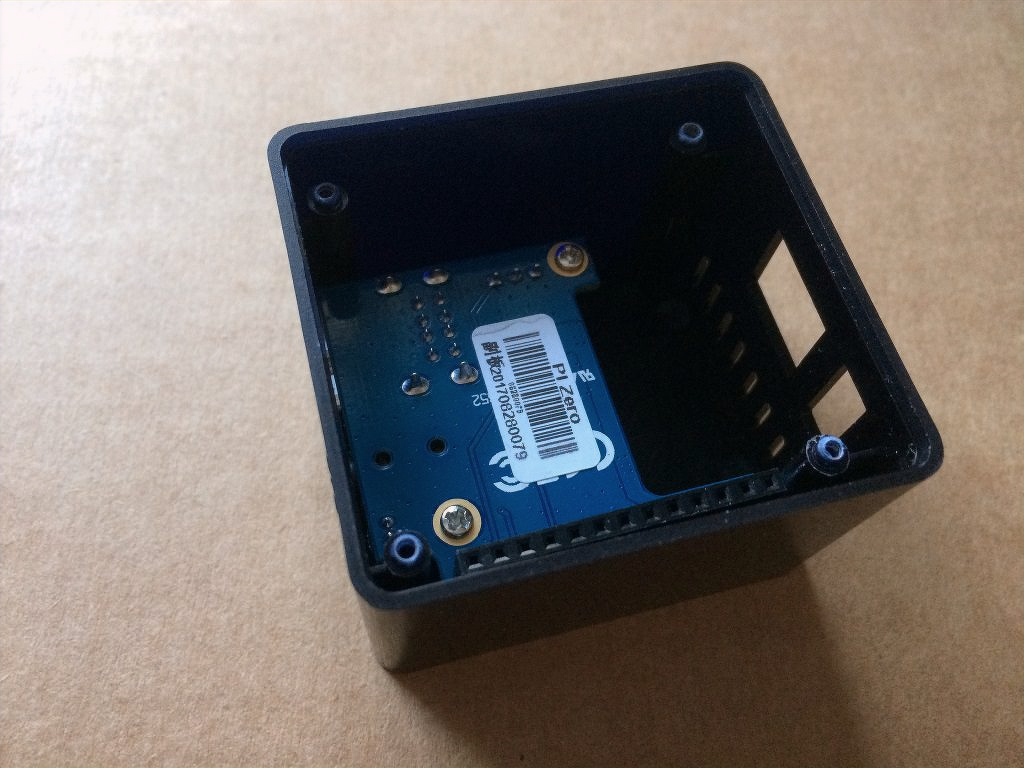
Then the Interface board is fixed with the two screws which are included with the case.
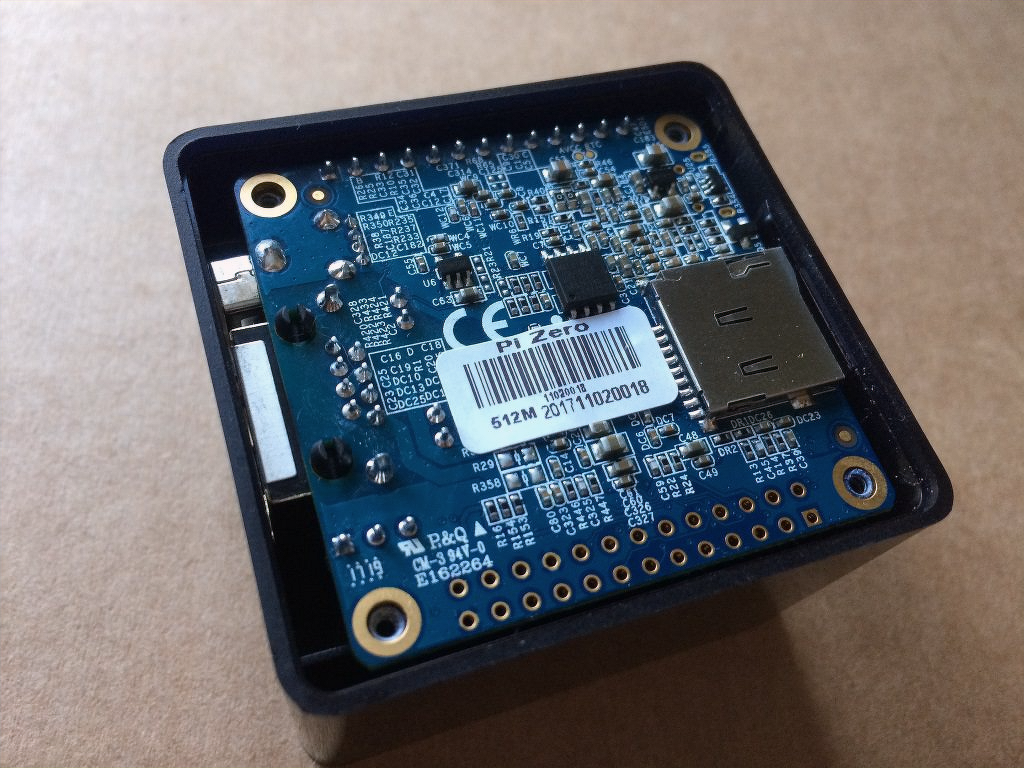
After that, we put the Orange Pi Zero board with GPIO pins on the Interface board socket. By the way, there is no access to the 26 pin GPIO interface of the Orange Pi Zero board from the case as well as there is no place for the complete Wi-Fi antenna. Therefore the antenna must be disconnected before assembling the board, and if you plan to work with GPIO – you should not assemble the microcomputer in the case at all.
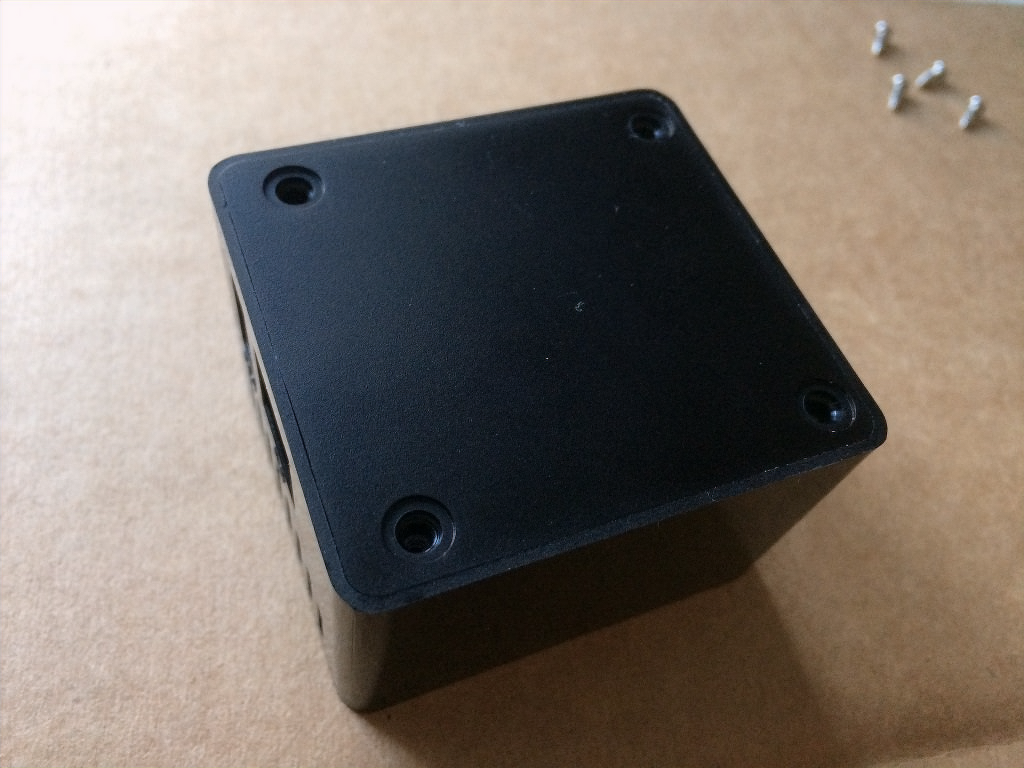
The entire construction is closed with a lid, which will later serve as the bottom.
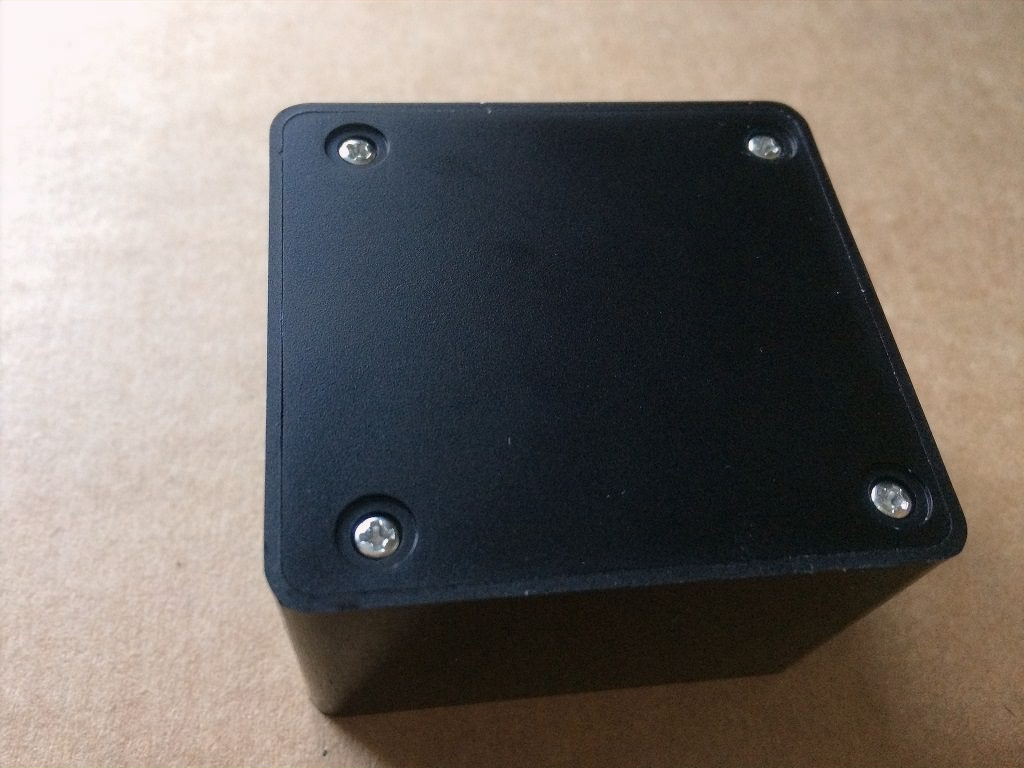
The last step is to fix the bottom and the microcomputer board with screws. This completes the assembly process.
And a couple of words about how to take the whole construction back apart. The Orange Pi Zero board sits pretty tightly on the Interface board socket, and you can’t get it out with bare hands. You need to put some thin and hard object under the board and use it as a lever.

A picture to compare the dimensions of Orange Pi Zero with other microcomputers: Khadas VIM, Khadas VIM2, and Raspberry Pi 3.
Armbian Installation and Setup
Orange Pi developers offer you to download several Linux distributions, of which there are even variants like OpenWrt and Zeroshell for routers and other network equipment.

But the “classic” system for Orange Pi computers is usually considered Armbian. It is updated more often and has a large community.
You can download Armbian build for Orange Pi Zero from the download page on the distribution website.
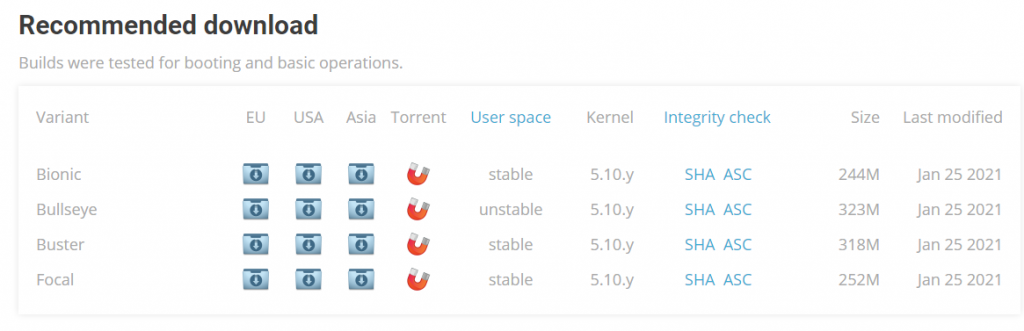
On the page with the distribution, known problems are listed: the lack of drivers for the Mali-400MP2 graphics gas pedal, lack of support for hardware video decoding, bug with the display of wrong CPU temperature, poor support for built-in Wi-Fi module, and the work of analog video output “at your own risk”.
The problems listed above are a consequence of what people dislike Allwinner products for.
Allwinner Technology regularly releases a variety of chips but does not like to share their documentation; as a result, it is extremely difficult for third-party developers to build working firmware for the company’s hardware. However, Allwinner chips are cheap and productive enough and therefore are in demand and often used in Chinese electronics.
So, if you are not confused by the well-known problems of the Armbian distribution kit for Orange Pi Zero – don’t hesitate to download and install it, especially because there are no better alternatives at the moment.
Downloaded distributional image is written to microSD-card with the help of Rufus utility or Win32DiskImager or some other similar programs.
The same way Raspbian is installed on Raspberry Pi microcomputers.
The memory card with the recorded system has to be installed into Orange Pi Zero, then connect the microcomputer to the local network with an Ethernet cable and apply power.
After booting, the microcomputer will automatically connect to the local network and get an internal IP address. You need to find it out, and the easiest way to do this is to look at the list of active clients in the router’s web interface.
Connect via PuTTY or another SSH client to Orange Pi Zero and log into your root account with password 1234.
The system will give you a welcome message and prompt you to change the root password to a more complex one and create a new user.
After completing these steps, you will need to perform an update:
sudo apt-get update
sudo apt-get dist-upgrade
In my case, after installing the package updates, Armbian also updated from version 5.35 to version 5.36. In principle, this completes the installation and configuration process, and you can get to work.
Installing OPI-Monitor
If with Raspbian you had to connect additional repositories to install it, with Armbian, this package (only slightly modified) is installed by entering one single command
sudo armbianmonitor -r
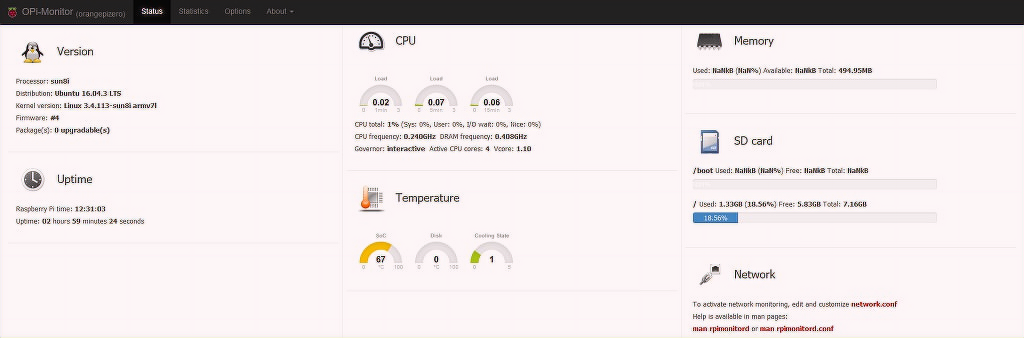
After that, you can monitor temperature (incorrectly displayed, but still), CPU load, uptime, and other indicators at http://ip-address-orange-pi:8888, accessible from any device within the local network.
Connecting to a Wi-Fi Network
If you want, you can switch the network connection from Ethernet to Wi-Fi. To do this, you need to edit the configuration file:
sudo nano /etc/network/interfaces
Add the following lines:
auto wlan0
iface wlan0 inet DHCP
WPA-SSID <ACCESS_POINT_NAME>
WPA-PSK <ACCESS_POINT_PASSWORD>
Thus, if you have access to a Wi-Fi network, the microcomputer will connect to it.
Despite what was said in the notes to the Armbian release about poor support of the Wi-Fi module and the fact that when assembling the microcomputer in its case, I had to disconnect the external antenna, the Wi-Fi connection quality can be assessed as quite satisfactory.
Of course, it is not suitable for transmitting large amounts of data, but it will do for controlling the microcomputer via the network.
When switching from Ethernet-connection to Wi-Fi, the IP-address of the device will also change. You have to look it up again on the router.
Options for Using Orange Pi Zero
And now, let’s talk about Orange Pi Zero’s practical applications in the home.
AirPlay speaker
With Orange Pi Zero and the shairport-sync package, you can add wireless AirPlay support to any speaker or speaker system.
Network audio player
A microcomputer can be turned into a handy network audio player. You can find details of such a project on the Internet by searching for “Logitech Media Server” or “Squeezelite”. I may write a separate post on this topic in the future.
Print Server
Because of its low price Orange Pi Zero is perfect for a print server implementation based on the CUPS package. In this case, the price of the device is half of what you would pay for an off-the-shelf print server in a store.
IP camera
By connecting a webcam via USB, you can turn Orange Pi Zero into an IP-camera for video surveillance, and the PoE support adds to the convenience: if you have a PoE-compatible switch, you will need to pull only one Ethernet-cable to the makeshift camera for power and data transmission. The feasibility of building such a device from scratch is questionable because the cost of the factory IP-camera in China is roughly equal to the cost of a set of Orange Pi Zero and a webcam. But if there’s a webcam at home that’s already gathering dust, this is a good opportunity to give it a second life.
Smart home server
You can make the device a smart home server by installing the Domoticz / Home Assistant / OpenHAB / MajorDoMo platform on Orange Pi Zero. There will be a separate post about it in the future.
A hiking NAS-server
With the NAS Expansion Board’s help, you can build simple and compact Network Attached Storage (NAS) based on one 2.5″ hard drive. It is not suitable for permanent use because of its slow and primitive construction, but it will be a great “traveling” option for business trips or vacation – because in this case, the low cost and compact size are the decisive factors.
These are the simplest and most obvious options. It is possible to think up more highly specialized ways of using it – for example, I’ve seen on the web someone had put together a system based on Orange Pi Zero to control the automatics of aquariums.
Advantages and Disadvantages
Conclusion
Orange Pi Zero isn’t a high-end performance contender and can hardly be used for resource-intensive multimedia tasks, but it is very handy for building inexpensive and utilitarian devices aimed at one particular function – like the above-mentioned print-server, hiking NAS, or smart home system control head-device.
The low cost makes it a good option for beginners, although in my personal opinion, the Raspberry Pi 3 is still the best option because of the more mature community and the improved operating system.
I was first introduced to the Orange Pi Zero when a friend of mine showed me his. I was immediately impressed by its small size and low price. I decided to buy one for myself and have been using it ever since.
I’m really happy with the Orange Pi Zero. It’s a great little computer that’s perfect for my needs. It’s small, inexpensive, and easy to use. I would recommend it to anyone looking for a good basic computer.