Meet the new Raspberry Pi Pico, a tiny microcontroller packed with great features. We’ll show you what Pico can do and introduce you to MicroPython, one of Pico’s supported programming languages. We’ll even offer a code in case if you decide to buy your own Pico.
What is the Raspberry Pi Pico?
The Raspberry Pi Pico is a new budget microcontroller developed by the Raspberry Pi. It is a tiny computer built on a single chip, with built-in memory and programmable I/O ports. Historically, microcontrollers have been used in various devices, from medical implants to power tools. If there is an electronic device near you, there is a good chance that a microcontroller is inside it.
Key Features of the Pico
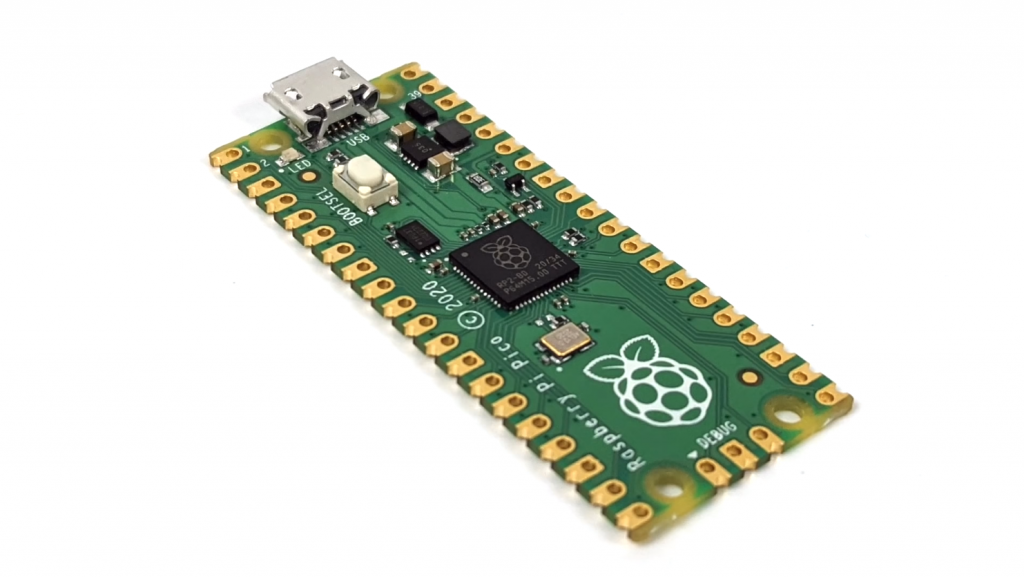
The Pico is based on the RP2040 microcontroller, which Raspberry Pi UK developed. It is a dual-core ARM processor with flexible clock speeds that can run at up to 133 MHz. The Pico also supports 1.8-5.5 DC input voltages, has a micro-USB input port and a built-in temperature sensor.
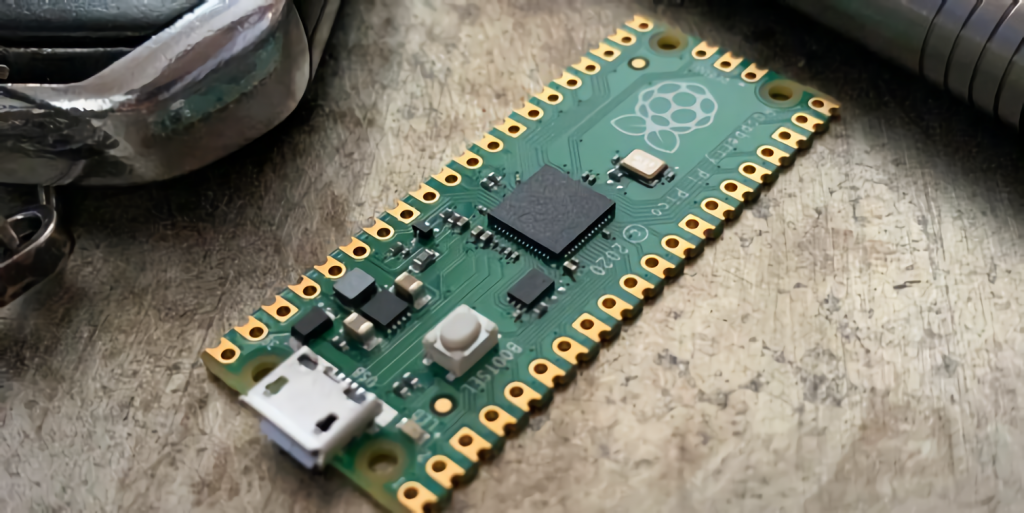
There are prongs on all sides of the chip that make it easy to solder a Veroboard or breadboard. This dual in-line style form factor (DIP) can be scaled up and used in carrier board applications.
Specifications
- 21 mm x 51 mm (0,826 x 2 inches)
- 264KB of on-chip RAM
- 2MB of on-chip QSPI flash memory
- 2 UART
- 26 GPIO
- 2 SPI controllers
- 2 ISC controllers
- 16 PWM channels
- Accelerated integer and floating-point libraries
- 3-pin ARM serial wired debugging (SWD) port
What’s so Special About the Pi Pico?
The Pi Pico is a different kind of microcontroller. It is the first Raspberry Pi to use ARM technology in its RP2040 silicon chip. Many technology companies are switching to ARM silicon chips, with major manufacturers such as Apple leading the way.
The rugged little Pico includes 26 general-purpose multifunction input/output (GPIO) ports, including 3 analog ports. Next to these ports are 8 programmable input/output (PIO) ports. Compare this to other microcontrollers like the Arduino Nano, and the Pico offers about 18% more GPIO capabilities.
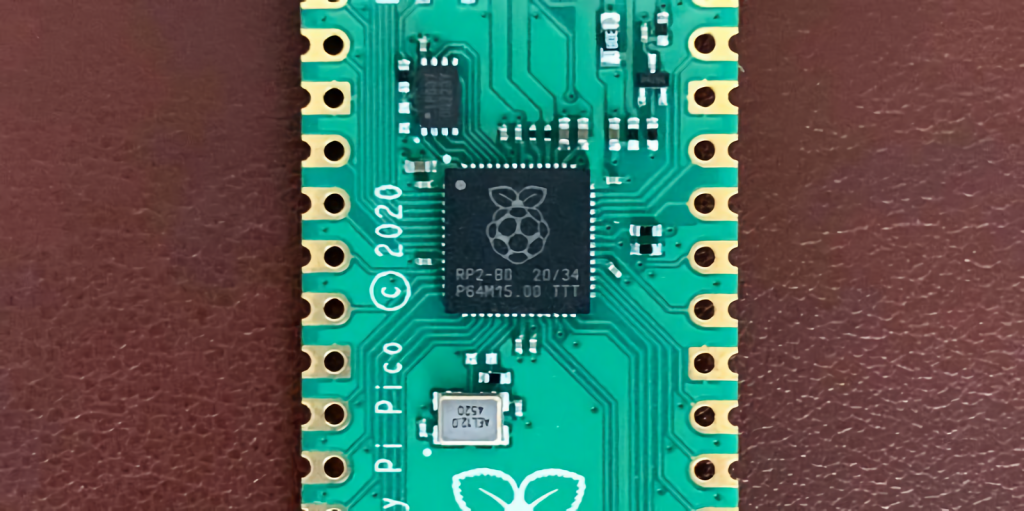
However, the most significant difference between the Pico and its competitors is the $4 price tag. The low cost is the main argument in favor of this unique offering.
At the time of launch, many online retailers sold out of the devices because of the Raspberry Pi’s interest and favorable reputation. By setting such a low price, the Pico opens the door to a new class of powerful and budget microcontrollers.
The new Pico has many potential applications. The device’s built-in temperature sensor makes it an obvious choice for Internet of Things projects.
One talented retro gaming enthusiast even used the Pico to build a gaming console with full VGA video support.
This means that manufacturers who have been curious about the Raspberry Pi or microcontrollers in general now have the opportunity to experiment at a fraction of the price of a cup of coffee.
Raspberry Pi Pico Processor
The RP2040 ARM chip is an exciting choice for the Pico. At 133 MHz, the chip can throw dust in the eyes of more expensive boards such as the Arduino Uno.
Using ARM processors seems to be a new trend in the microcontroller world. In addition to the Raspberry Pi, Sparkfun and Adafruit also offer boards with similar ARM technology.
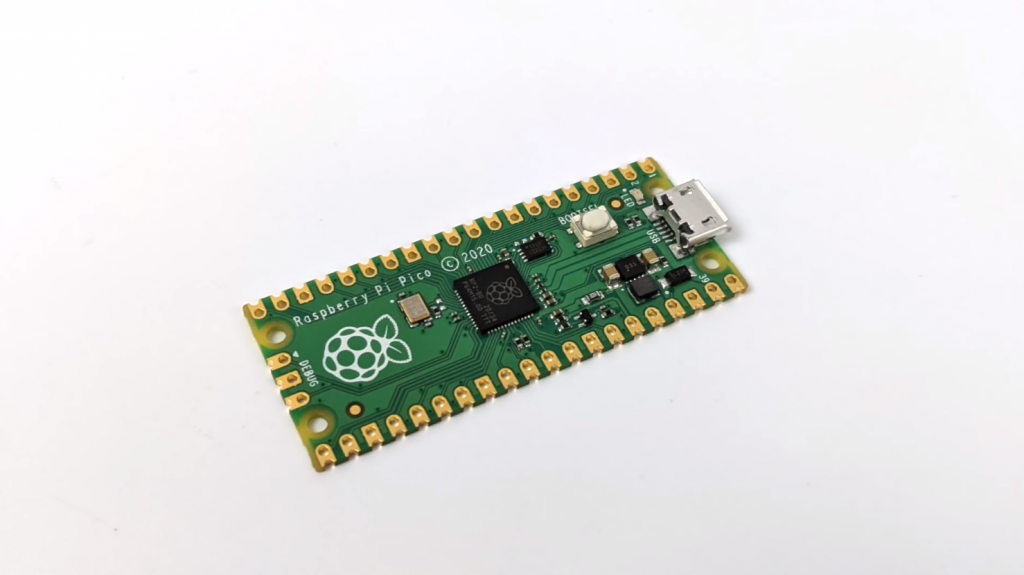
The industrial move was made for one reason: speed. ARM processors are far superior to standard Atmel chips. Using an ARM processor on a board of this size is like installing a complete Porsche engine in a Volkswagen. On the other hand, many microcontrollers do not require such high processing speeds.
Increased performance means that manufacturers who want to push the Pico limits will have plenty of opportunities to do so.
I/O ports
The GPIO ports on the Pi Pico have some interesting functions for general use, such as controlling the screen, lighting, or turning on servos/relays. Some GPIO functions are available on all ports, and some only work for certain purposes. GPIO 25, for example, controls the Pico’s built-in LED, and GPIO 23 controls the SMPS’s built-in power-saving function.
The Pico also has VSYS (1.8-5.5V) and VBUS (5V when connected to USB) ports designed to supply current to the RP2040 and its GPIOs. This means that the Pico can be powered with or without the built-in micro-USB.
A complete list of I/O ports is available on the Raspberry Pi website in the complete Raspberry Pi Pico documentation.
Pico vs. Arduino
Do many manufacturers wonder if the Raspberry Pi Pico or the Arduino is better?
It depends. Inexpensive, higher-level Arduino boards like the Portenta H7 make the Pico look like a toy. However, the high cost of a board of this caliber can be a challenge for microcontroller enthusiasts. That’s why Pico’s lower price makes it a winner for manufacturers who like to experiment with low risk.
Along with its minimal cost, the Raspberry Pi includes an extensive feature set in the Pico, comparable to boards like the Teensy LC and ESP32. But none of these competitors have managed to challenge the budget Pico on price. This is what makes the Pico a great choice for hobbyists and power users alike.
Raspberry Pi Pico: What’s Wrong With It?
Unfortunately, to keep the price of the Pico down, the Raspberry Pi had to make a few compromises. The most notable of these is the lack of an on-board radio module. Neither Bluetooth nor Wi-Fi is supported without add-ons.
The limitation of Wi-Fi can be removed by adding a module such as ESP-01. Bluetooth support is maybe a little more complicated. If you need a universal solution for your products, you’re better off skipping the Pico and spending a little more on something like the Pi Zero W or ESP32.
Also, many early users complain about the lack of GPIO markings on the top of the board. The Raspberry Pi provides an extensive amount of documentation on its website to address this issue, but pointing and clicking or leafing through documents when you have a hot soldering iron in your hands is not always desirable.
Finally, the lack of I/O pin headers is a problem for some because it means less convenience when replacing I/O components. This minor inconvenience can be solved by wiring, soldering component wiring directly to the Pico, or using a breadboard.
If you’ve been using microcontrollers or small electronics for a while, a blank board is probably not a problem. Of course, you can also add your own pin headers if you plan to experiment regularly with different external components.
The last nuisance of the Pico is the micro-USB port. Since many other microcontrollers, such as the Portenta H7, are moving to USB-C, the Raspberry Pi’s micro-USB port seems obsolete.
Logically, however, the decision to use micro-USB makes sense. The Raspberry Pi did it to keep costs down and keep the interface nearly universal. Everyone we know has at least a few micro-USB cables tucked away somewhere in their homes.
However, in future versions, the USB-C interface will be an excellent addition to an already impressive package.
Programming the Raspberry Pi Pico
Interfacing with the Pi Pico can be done via C/C++ or via MicroPython in Read-Eval-Print-Loop or REPL. REPL is essentially a command-line interface that runs line-by-line code in a loop.
To access REPL, you need to install MicroPython on Pico. This process is simple and consists of only four steps.
Install MicroPython
- Download MicroPython for the Raspberry Pi Pico from the Raspberry Pi website.
- Connect the Pico to your computer via micro-USB while holding down the BOOTSEL button.
- Wait for the Pico to appear as an external drive.
- Copy the MicroPython file to the Pi Pico, and it will automatically reboot.
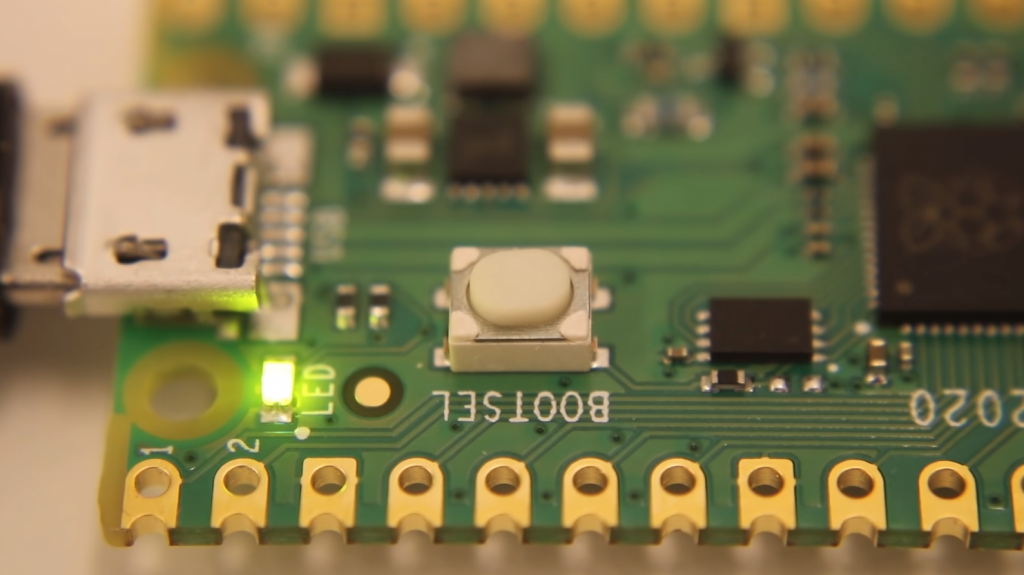
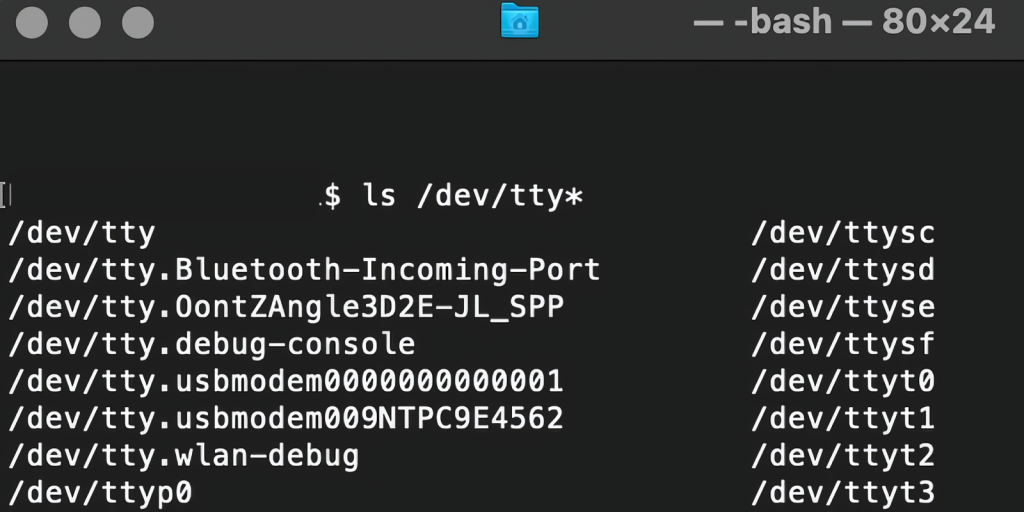
You can access the REPL in several ways. We used the screen command in the macOS terminal window to access the serial bus connected to the Pico. To do this using a terminal, you will first open a new terminal window, then type ls /dev/tty*
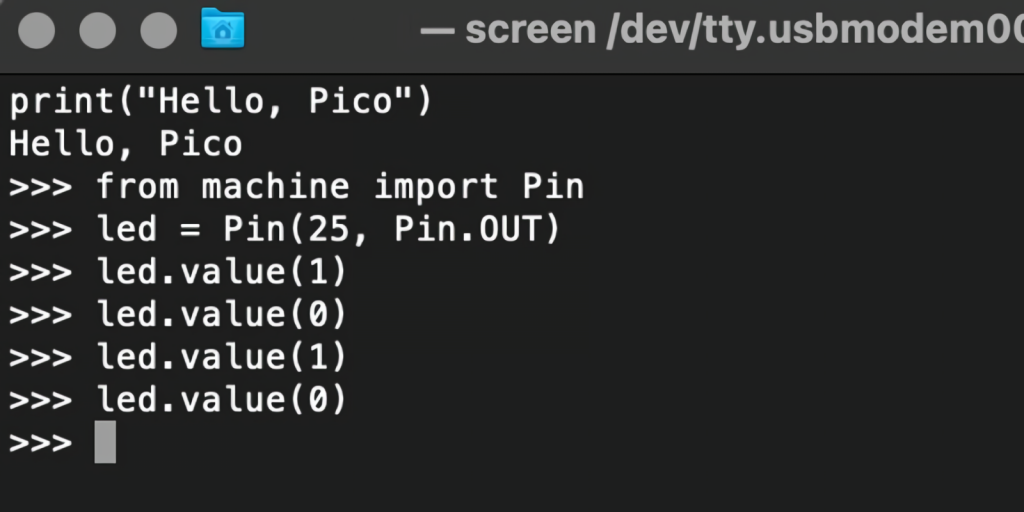
In the image below, we have included the classic Hello World command-line program (Hello, Pico) in the REPL, along with a few lines of code that will turn the Pico LED on and off. You can try them yourself.
Using the Raspberry Pi Pico with Thonny
If you are looking for a more suitable coding environment, the Raspberry Pi Pico will also provide access to REPL with Thonny. To enable this feature, first, download and install Thonny. Once installed, connect the Pi Pico. Open Thonny, and you will see the information that your Pico is connected to Shell.
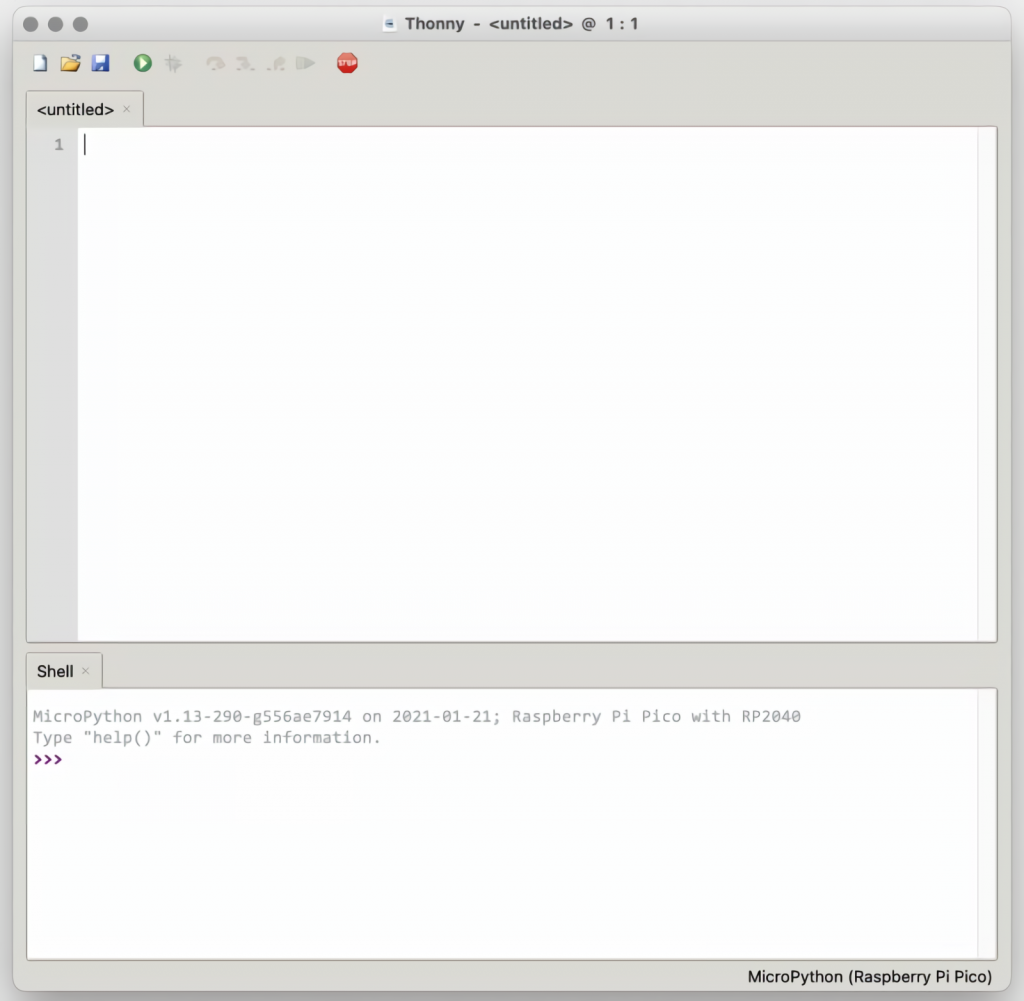
In the lower right corner of the screen, you should see the version of Python. Click this version and select MicroPython (Raspberry Pi Pico) from the drop-down menu.
You can now enter commands into the shell or use the Thonny editor to write or import multiple lines of code.
The abundance of interface features makes it easy to program the Raspberry Pi Pico. For those familiar with MicroPython, this shouldn’t be anything new. However, for beginners, Thonny provides a powerful interface and debugger to get you started with programming.
Is the Raspberry Pi Pico Worth Buying?
The Raspberry Pi Pico is a powerful, budget-friendly board that is ideal for hobbyists or manufacturers just starting out with microcontrollers. The documentation, low cost, and wide range of features for the Pico also make it an excellent choice for experienced little electronics masters. If you’re a hobbyist who likes to tinker or just want to challenge yourself to a weekend project, you’ll love playing with the Pico.
On the other hand, if you don’t have one or more projects in mind that require a microcontroller, this board probably isn’t for you. Also, if your project needs Wi-Fi or Bluetooth connectivity, the Pico won’t scratch that itch. Finally, for users who aren’t comfortable learning MicroPython or C/C++, the Pico is not ideal. And remember: this Raspberry Pi is not like the others. It won’t work with a full Linux operating system.
But if you dream about Python or like the smell of solder, you won’t regret buying this tiny powerhouse. What’s more, if the sight of the RP2040 sports car makes you think about creativity, we think you’ll really benefit from buying a Pico.
FAQ
How fast is the Raspberry Pi Pico?
The Pico offers a rich set of features, including the ability to function as either host or slave, and can accommodate USB 1.1 devices with speeds up to 12 Mbit/s. Importantly, it also enables connectivity with PCs and Raspberry Pi.
What languages can be used to program Raspberry PI Pico?
The Raspberry Pi Pico is an interesting board. It’s the cheapest and smallest single board computer available from the Raspberry Pi range. You can program it using C/C++ and MicroPython, a Python programming language
What is a PIO?
The PIO is an abbreviation for Programmable Input/Output.
Related Video: Raspberry Pi Pico – A Beginners Guide
Conclusions
Even though it’s not perfect, the Raspberry Pi Pico is a strong entry into the world of microcontrollers. The Raspberry Pi’s reputation for quality electronic components at a relatively low price extends to the Pico.
It is everything the Raspberry Pi should be: small, cute, and gorgeous. It’s beautifully designed and very inexpensive. But the best part isn’t the looks or the low cost.
The best part about this little wonder is picking it up and holding it in your hands. It’s the feeling of electronic inspiration. It’s an understanding of how powerful the Pico is and what it means for microcontrollers in the future.
And frankly, we think it’s amazing that something as small as the Pico can offer so many unique capabilities.

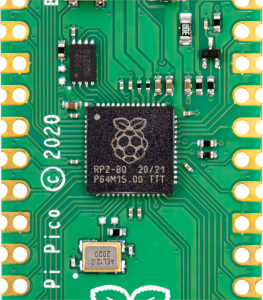 Main Features
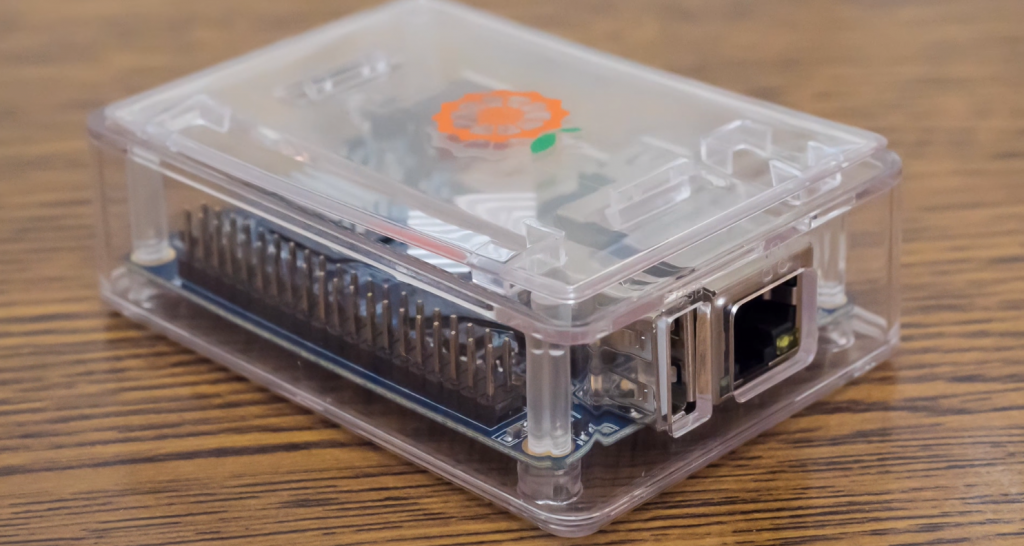
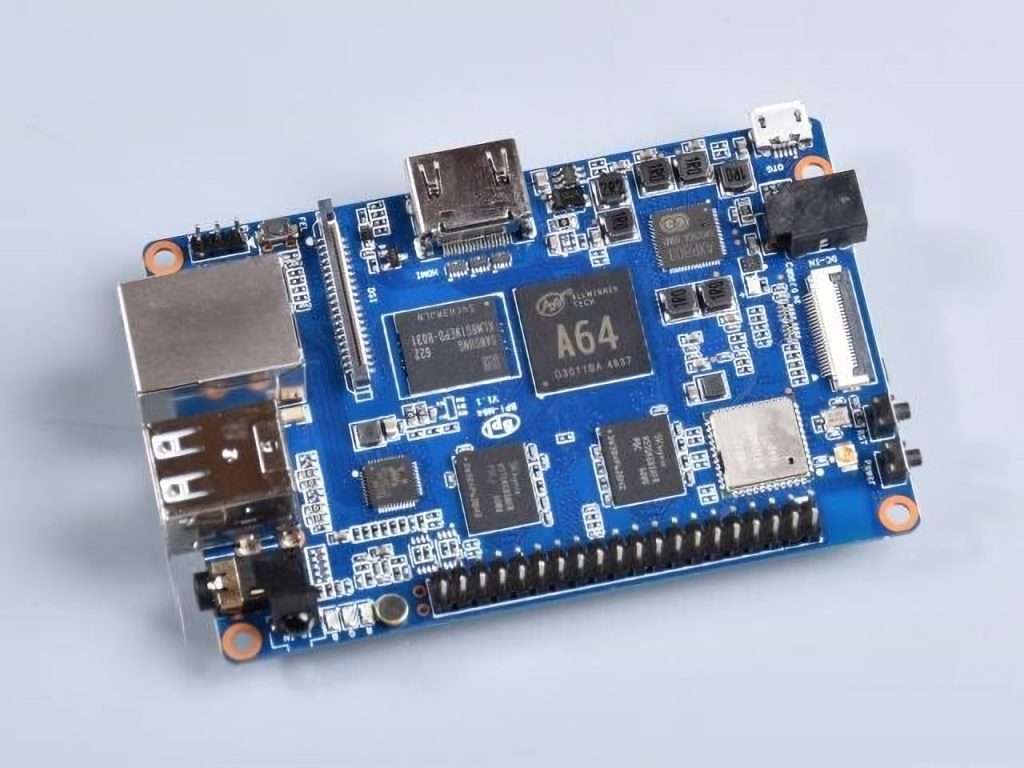
I had the chance to try out the new Raspberry Pi Pico and I was really impressed! It’s a great little device that is very easy to use.
The Pico is very small and lightweight, making it easy to carry around with you. It also has a lot of features, including a built-in USB port, which makes it really handy.
Overall, I was really pleased with the Pico. It’s a great option for anyone who wants an easy-to-use, small and lightweight computer.
From unboxing to using the included tools and libraries, I was impressed by how straightforward and easy it was to get up and running quickly. The Pico supports multiple programming languages, so whatever your skill level you can find something that fits your needs. The documentation provided by RaspberryPi is also very thorough and helpful for newcomers as well as experienced users alike.
Overall, I highly recommend the Raspberry Pi Pico for anyone looking for an affordable yet powerful microcontroller board with plenty of potential applications.