
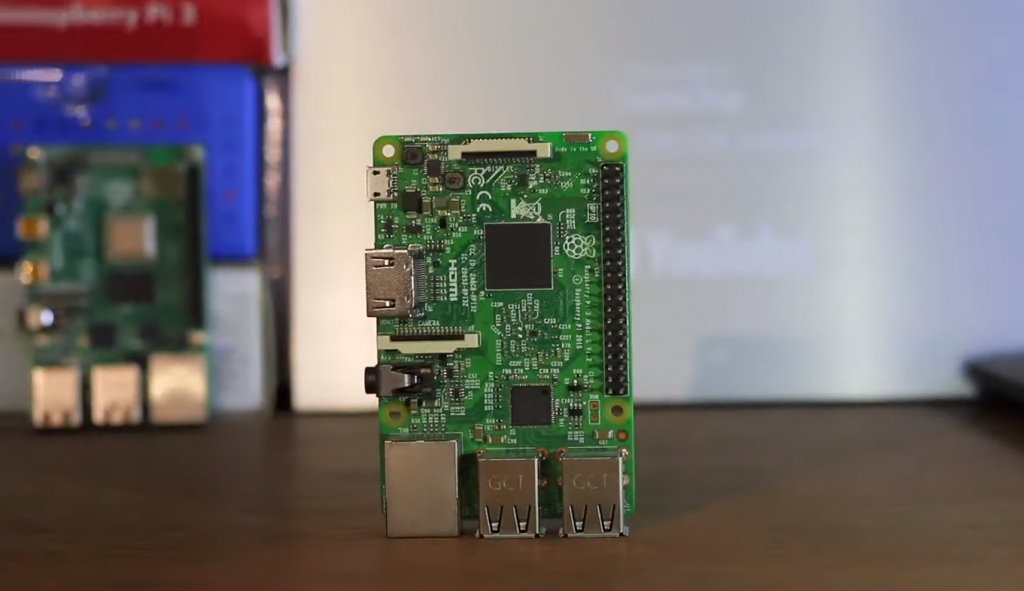
To be honest, the idea of trying out a Raspberry single-board computer came to me out of the blue. I have experience with Arduino and other ESPs, with “big” PCs and servers too. But the intermediate variant, represented by a host of different devices, I somehow haven’t studied at all. I also wanted to try out what Windows IoT is and what I could use Microsoft’s novelty for. The choice of the device was quite obvious: Raspberry Pi 3 with 1 Gb of RAM onboard, the most popular device of all. Of course, the various Pine64s are getting tight, but that’s where popularity comes in. The more popular it is, the fewer compatibility problems it has.
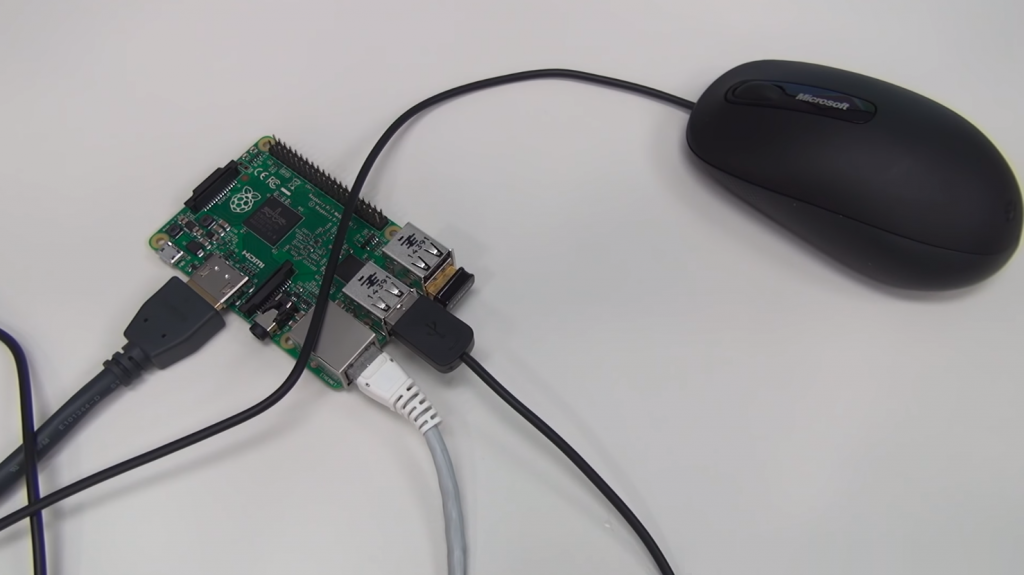
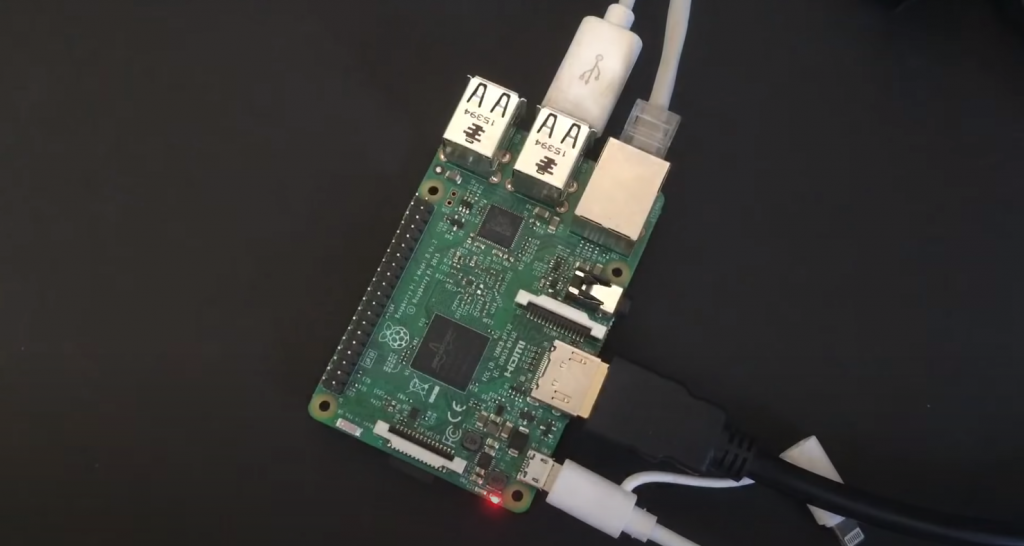
And so, after a month of waiting, a well-packaged box of Raspberry settled on my desk. I immediately picked up the complete kit: the board, a powerful power supply, heat sinks for the chips, and a plastic case. Only the nastiest and most meticulous critic would be able to complain about the kit and the workmanship. All hardware is done to perfection. The board is flux washed, and the soldering is reliable, the USB ports are in place, everything is as it should be. The power supply doesn’t whistle or overheat. Radiators are clean, with the included 3M tape to stick them to the chips. The plastic case, though stained, is easy to use. You can open it and wipe the board with a cloth if needed. And through the numerous holes, you can easily connect cables to external devices. Ok, enough of describing what everybody knows. Now it’s time to install Windows.
Installing Windows IoT on the Raspberry Pi
I remember when Windows was installed from a floppy disk. Then it came on a CD and then a DVD. Now everything is done with a simple flash drive. With Windows IoT and Raspberry, it is a little bit different.
There are at least two ways to install Windows IoT on a Raspberry. The first way is to use Raspberry’s official website and download either a ready-made Windows IoT image or download it through a dedicated NOOBS installer. The second way is invented by Microsoft. It’s a bit trickier, and that’s what I’m going to use. Yes, the method is applicable only if you use a registered version of Windows 10 on your work computer. Otherwise, the path can only be axed in a first way.
Step 1: Download Windows IoT Dashboard
The dashboard is a special utility that allows you to prepare media, which in the case of the Raspberry Pi 3 is a MicroSD to run Windows IoT. You can download the utility from the Microsoft website. Only two versions of Windows IoT are available for free download and use Core and Insider Preview. There isn’t much difference between them. A core is a stable system, suitable for most developers, and Insider Preview will allow enthusiasts to experience slight excitement from new “features” and “bugs”.
For the Core version, there is one not very significant limitation. You can only run one UWP (Universal Windows Platform) application. To be more exact, you can start several of them, but only one will be active at a time. Insider Preview works the same way. Both systems are focused on devices with limited resources, such as the Raspberry. So the limitation is quite reasonable. And if you want more, you’ll have to buy the Enterprise version.
Step 2: Prepare the memory card and install the system on it
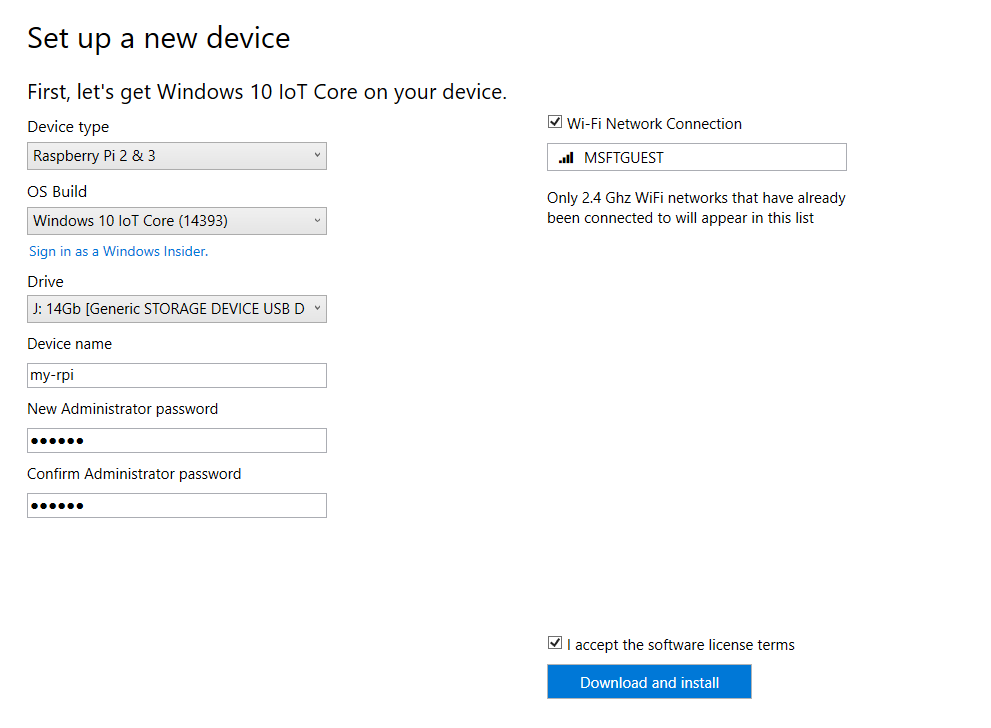
This is all done in the same Dashboard. Select the type of card, insert the memory card, enter the network name of the device, change the password. By the way, by default, and sometimes the password, entered at the stage of card preparation, doesn’t work, the bunch Administrator/p@ssw0rd is used as a pair of login and password. Here you can also specify the connection to your Wi-Fi network.
If the selected distributive has not been previously downloaded to the computer, Dashboard automatically downloads it. Then it writes it to the memory card.
Step 3: First run of the Raspberry with Windows IoT on board
After installing the memory card, you can safely connect the board to the Ethernet network (or not, if Wi-Fi is configured) and apply power. The first boot takes longer than all subsequent boots as the initial deployment of the operating system takes place. In my case, the initial boot took three or four minutes. The initial setup can be done in full Headless mode, and there is no need to plug in a display or keyboard. Which, you should agree, is very convenient, especially if you have the device already physically integrated somewhere in the basement and welded with steel rebar to a concrete block so that vandals don’t steal it away.
By the way, the Raspberry 3 has two LEDs. The red one signals that the board is powered. And the green one lights up when there are calls to the memory card. With Windows IoT, the green LED is useless, at least in the current version of the system. It does not signal anything; it just does not light up; that’s all.
Step 4: Further Setup
After the initial setup, the device can now be accessed and used to its fullest extent over the network. If, for some reason, it is not visible in the network. Then you will have to connect a monitor and keyboard and then configure the network via the Windows IoT interface.
If the network is all right, then the main way to configure the system is a Web interface. You can access it through the same Dashboard. Under My Devices displays all your Windows IoT devices available on your network. Right-click and select the device control panel.
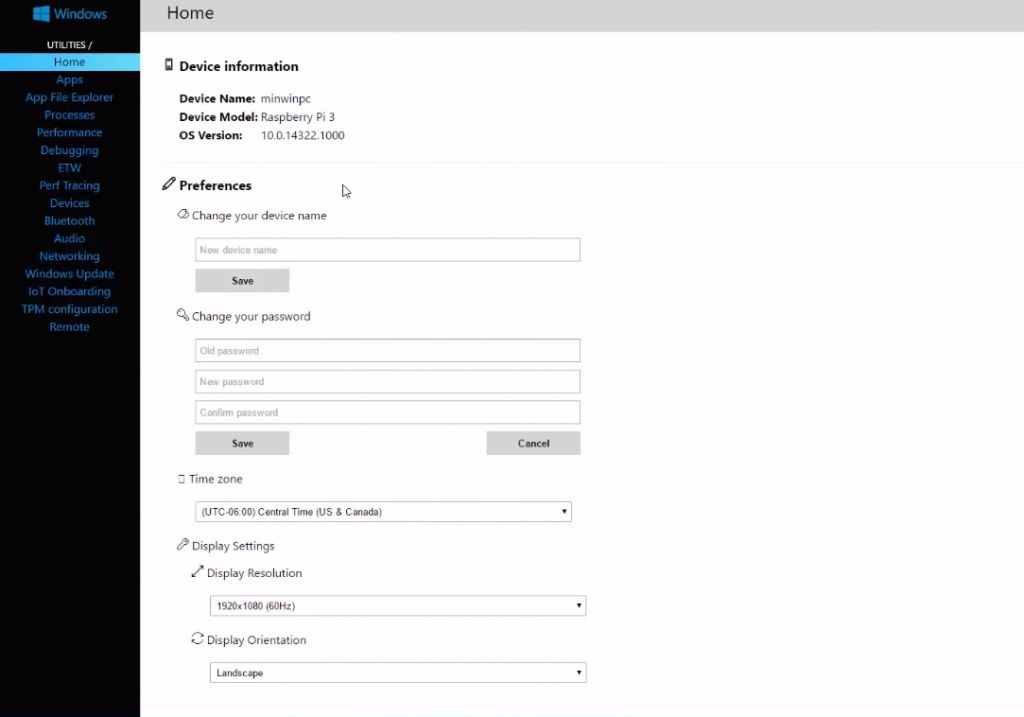
By the way, surprisingly, the Web server in Windows IoT is much faster than even on my microserver. Through the interface, you can configure everything that is supposed to configure the average user, including password access, the pin-code for remote debugging, and other goodies. Microsoft’s favorite system updates are not ignored either. Yes, Windows IoT is updated similarly to its brethren for large PCs. By the way, the update process is not fast, and the hardware is red-hot from the load.
Separately I want to mention the monitoring of the load on the board. In the corresponding tab, there are various indicators, which is quite convenient, if only for the purpose of determining the load on the board by the operating system itself. The graphs are clear and show the information in real-time.
What else? I noticed that Dashboard cleverly prepares the memory card for recording. Regardless of its size, it formats it as a 64GB card. Perhaps this approach is necessary for installing Windows IoT, but afterward, when you change your mind about using Windows IoT, it’s worth remembering to reformat the card to its true size. Otherwise, there may be various collisions. For example, the operating system sees that the card still has a lot of space, so it does not limit itself and writes a lot of data to the card without erasing the old. And then a bang, and the system becomes unstable, up to the point of inability to boot it.
How to run a Raspberry with Windows IoT installed
There are a few options here. The first and easiest one you can think of is using a monitor and a keyboard. You plug it in, and you’re in the Windows IoT interface. Here you can tweak the network settings a bit, reboot the board, run installed applications.
If the option of direct control is not suitable, you can (and should) control the board over the network. Currently, there are as many as three ways to do this. You can manage Windows IoT using the Windows PowerShell tool. The easiest way is to connect to a remote system via the same Dashboard. Or you can use the SSH connection. Here you can connect from any system, even from Windows, even from Android, and in Linux, SSH is a standard tool. Here’s a tip: For Windows, you can use the extremely popular PuTTY terminal.
But there is another way to connect to the board directly into the GUI. To do this, you need to enable remote access on the board, best done through the web interface (the lowest tab). And then download the Windows Store application to access Windows IoT. It can also be called through the Dashboard. To my shame, I was not able to connect to the board using the GUI. All the advice about modifying the configuration file did not help because the current version of Windows IoT already implemented this advice in the configuration. Nevertheless, such a possibility exists.
What can I run on Windows IoT?
The most interesting question for me. At the moment, Windows IoT is very rapidly evolving and constantly upgrading. But the choice of software, or rather software platforms, for the system, is limited. Microsoft is betting exclusively on UWP as a new paradigm of software that works equally on all devices of the Windows ecosystem. So UWP applications should run on Windows IoT Core almost without question. Another thing is that they will work that way, but at the moment, there may be incompatibilities due to incomplete support for all the APIs available in UWP. In addition to UWP, you can try to run Win32 applications, according to rumors from eyewitnesses, to work properly with them still will not work. No input-output from Win32 applications will not work, only access from outside, for example, via network on some port.
Conclusions
The experiment with crossing Microsoft products and the tiny Raspberry computer can be considered a success. The combination works. Updates are installed and can be seen on the web. But it is absolutely unclear what to use it for. It is not possible to run the software I need under Windows IoT. SoftEther VPN or FAR can’t even be installed on the board. UWP applications I need are also not at hand. The only thing left to do is to develop them. And here, Microsoft has such a trump up its sleeve, against which few can resist. It is possible to develop applications, in many languages, for Windows IoT using the Visual Studio environment. Using all its power, including advanced profiling and debugging tools.
But there is one small “but” here, too. Yes, the Raspberry has a well-developed communication interface with the outside world. You can connect the hell out of anything to the board. And the performance is good enough. But in my opinion, when there are cheap ESP8266 boards doing the same thing, but cheaper and a bit easier, the usefulness of using a nearly full-fledged computer with a real operating system and excessive performance is superfluous. For simple automation projects, the resources of the ESP8266 are more than enough. However, surely there will be tasks in which Windows IoT together with Raspberry boards will come in handy, but this is most likely to happen in the corporate sector, for example, some ATMs, finally moving from an obsolete OS/2 to a modern platform.
If you try to formulate a conclusion, for example, why I need the Raspberry board, then very quickly you come to a conclusion that, in principle, nothing. Everything I need to program, in terms of automation or smart home, is perfectly realized on ESP chips and is much cheaper. Not much sense to make a Hub out of a Raspberry with all the servers out there. Unless I just install a Linux-like operating system on the Raspberry and set up another server room? By the way, that’s what I’m going to do.


IoT is the future, and Windows 10 is at the forefront. That’s why I decided to try out the new Windows IoT Core for Raspberry Pi 3. Here’s my first person experience.
Setting up Windows IoT Core on my Raspberry Pi 3 was a breeze. The instructions are well written and easy to follow. Within minutes, I had it up and running.
The first thing I noticed was how snappy and responsive the interface was. Everything felt very smooth and polished. The second thing I noticed was the wealth of options and settings available. You can really customize everything to your liking.
Overall, I’m very impressed with Windows IoT Core on Raspberry Pi 3. It’s fast, feature-rich, and easy to set up.