With the rise of IoT (Internet of Things) technology, we can now connect devices to the internet and control them remotely. Arduino is an open-source electronics platform allowing developers to create IoT projects easily. This article will discuss the top 5 Arduino IoT projects you can build at home, including home automation, irrigation, weather monitoring, lighting, and security.
Getting Started with Arduino
Before we dive into the projects, let’s first go over the basics of Arduino. Arduino boards come in various shapes and sizes and are equipped with different sensors and outputs. To get started with Arduino, you must choose a board and download the Arduino IDE (Integrated Development Environment) software. Once you have the software installed, you can begin programming your board.
Top 5 Arduino IoT Projects
- Home Automation System: A home automation system allows you to remotely control devices in your home. With Arduino, you can build a system that controls lights, appliances, and even your garage door. You can use sensors and timers to automate tasks and create custom routines.
- Smart Irrigation System: Water conservation is a crucial issue, and with a smart irrigation system, you can ensure your garden is watered efficiently. With Arduino, you can build a system that monitors soil moisture levels and automatically waters your plants when needed. You can also create custom watering schedules based on the weather forecast.
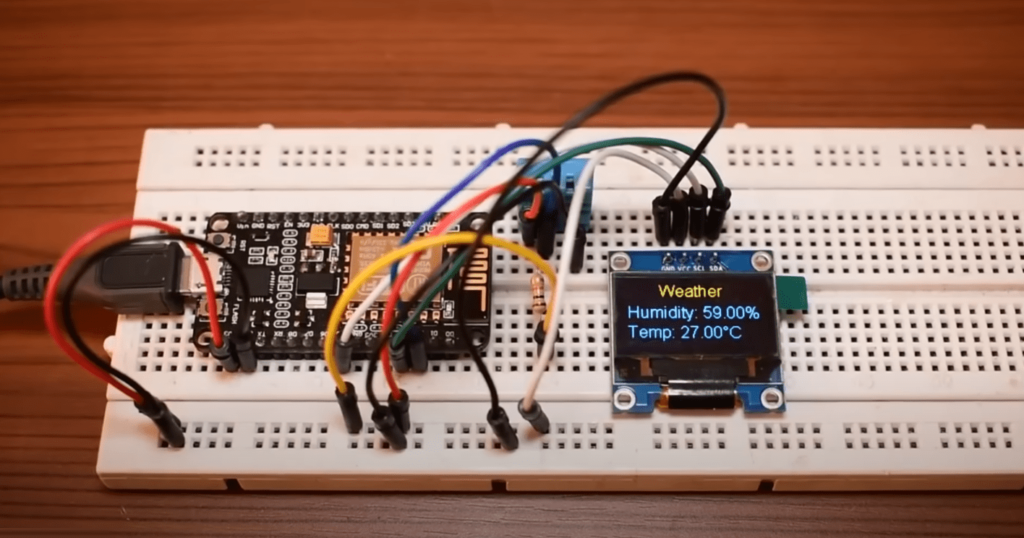
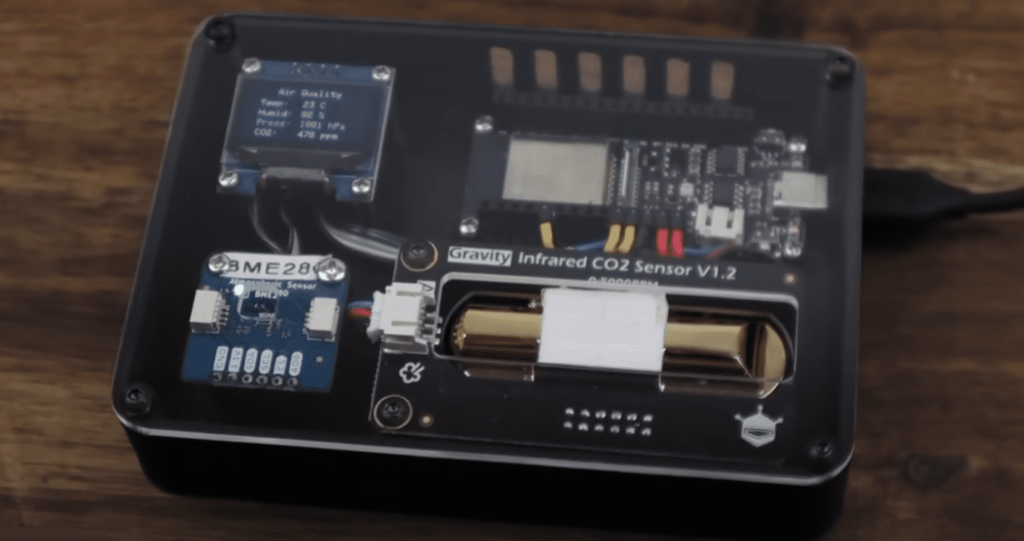
- Weather Station: With an Arduino weather station, you can monitor the temperature, humidity, and air pressure in your area. You can also add sensors to measure wind speed and rainfall. This project is great for weather enthusiasts or for those who want to keep track of the local climate.
- Smart Lighting System: With a smart lighting system, you can control the lights in your home with your smartphone or voice commands. With Arduino, you can build a system that automatically turns lights on and off based on your presence in a room. You can also create custom lighting scenes for different occasions.
- Smart Security System: With a smart security system, you can monitor your home and receive alerts when there is a potential break-in. With Arduino, you can build a system that uses sensors to detect motion and sound. You can also use a camera to capture footage of any suspicious activity.
Project 1: Home Automation System
You’ll need an Arduino board, a relay module, and a few other components for this project. The system will use Wi-Fi to connect to your home network and can be controlled with a smartphone app. With the app, you can turn lights on and off, adjust the temperature, and even open your garage door. The project is relatively simple and can be completed over a weekend.
Here is a basic sketch for an Arduino Home Automation System:
#include <SoftwareSerial.h>
SoftwareSerial mySerial(10, 11); // RX, TX

#define LED_PIN 13
#define RELAY_PIN 12
#define PIR_PIN 2

bool motionDetected = false;

void setup() {
  Serial.begin(9600);
  mySerial.begin(9600);
  pinMode(LED_PIN, OUTPUT);
  pinMode(RELAY_PIN, OUTPUT);
  pinMode(PIR_PIN, INPUT);
}

void loop() {
  int pirSensorValue = digitalRead(PIR_PIN);

  if(pirSensorValue == HIGH){
    motionDetected = true;
    digitalWrite(LED_PIN, HIGH);
    digitalWrite(RELAY_PIN, HIGH);
    mySerial.println("Motion Detected");
    delay(10000); // keep relay on for 10 seconds
  }
  else{
    if(motionDetected){
      digitalWrite(LED_PIN, LOW);
      digitalWrite(RELAY_PIN, LOW);
      mySerial.println("Motion Stopped");
      motionDetected = false;
    }
  }
}
This sketch uses a PIR motion sensor to detect motion in a room. When motion is detected, the Arduino will turn on an LED and a relay, which could be used to control a light or appliance. After 10 seconds, the relay will turn off again. The sketch also sends a message to the serial monitor and a separate software serial connection to indicate when motion is detected and when it stops.
This is just a basic example and can be expanded upon with additional sensors, timers, and other components to create a more robust home automation system. Remember to always follow safety precautions when working with electronics and to test your code thoroughly before implementing it in your home.
Project 2: Smart Irrigation System
To build a smart irrigation system, you’ll need an Arduino board, a soil moisture sensor, and a water pump. The system will use Wi-Fi to connect to your home network and can be controlled with a smartphone app. With the app, you can schedule watering times and adjust the amount of water that is delivered to your plants. The project will take a bit longer to complete than the home automation system, but it is still relatively simple.
Here’s a basic sketch for an Arduino-based Smart Irrigation System:
#include <Wire.h>
#include <Adafruit_Sensor.h>
#include <Adafruit_BME280.h>

#define RELAY_PIN 13
#define MOISTURE_SENSOR_PIN A0

Adafruit_BME280 bme;  // Create a BME280 instance

void setup() {
  Serial.begin(9600);
  pinMode(RELAY_PIN, OUTPUT);
  digitalWrite(RELAY_PIN, LOW);  // Turn off relay initially
  if (!bme.begin(0x76)) { // Check if BME280 is connected
    Serial.println("Could not find a valid BME280 sensor, check wiring!");
    while (1);
  }
}

void loop() {
  int moistureLevel = analogRead(MOISTURE_SENSOR_PIN);
  Serial.print("Moisture Level: ");
  Serial.println(moistureLevel);

  float temperature = bme.readTemperature();
  float humidity = bme.readHumidity();
  float pressure = bme.readPressure() / 100.0F;
  Serial.print("Temperature: ");
  Serial.print(temperature);
  Serial.println(" *C");
  Serial.print("Humidity: ");
  Serial.print(humidity);
  Serial.println(" %");
  Serial.print("Pressure: ");
  Serial.print(pressure);
  Serial.println(" hPa");

  if (moistureLevel < 500 && temperature > 20) {  // Turn on irrigation if moisture is low and temperature is high
    digitalWrite(RELAY_PIN, HIGH);
    Serial.println("Irrigation turned on.");
  } else {
    digitalWrite(RELAY_PIN, LOW);
    Serial.println("Irrigation turned off.");
  }

  delay(5000);  // Wait for 5 seconds before taking next sensor readings
}
This sketch uses an Adafruit BME280 sensor to measure temperature, humidity, and pressure, and an analog moisture sensor to detect soil moisture levels. The irrigation system is turned on when the soil moisture is low and the temperature is high.
Note: This is a basic sketch and you may need to modify it to fit your specific hardware setup and requirements. Additionally, you’ll need to connect a relay module to the Arduino to control the irrigation system.
Project 3: Weather Station
For a weather station, you’ll need an Arduino board, a temperature and humidity sensor, an air pressure sensor, and a few other components. The system will use Wi-Fi to connect to the internet and can be accessed through a web interface. The web interface will display the current weather conditions and historical data. The project will take longer to complete than the previous two projects but is still within reach of beginners with some electronics knowledge.
Here’s a basic sketch for an Arduino weather station:
#include <Wire.h>
#include <Adafruit_Sensor.h>
#include <Adafruit_BME280.h>
#include <LiquidCrystal_I2C.h>

// Initialize the BME280 sensor
Adafruit_BME280 bme;

// Initialize the LCD display
LiquidCrystal_I2C lcd(0x27,16,2);

void setup() {
  // Start serial communication
  Serial.begin(9600);

  // Initialize the BME280 sensor
  if (!bme.begin(0x76)) {
    Serial.println("Could not find a valid BME280 sensor, check wiring!");
    while (1);
  }

  // Initialize the LCD display
  lcd.init();
  lcd.backlight();
}

void loop() {
  // Read temperature, humidity and pressure from the BME280 sensor
  float temperature = bme.readTemperature();
  float humidity = bme.readHumidity();
  float pressure = bme.readPressure() / 100.0F;

  // Display the data on the serial monitor
  Serial.print("Temperature: ");
  Serial.print(temperature);
  Serial.print(" *C\t");
  Serial.print("Humidity: ");
  Serial.print(humidity);
  Serial.print(" %\t");
  Serial.print("Pressure: ");
  Serial.print(pressure);
  Serial.println(" hPa");

  // Display the data on the LCD display
  lcd.setCursor(0,0);
  lcd.print("Temp:");
  lcd.print(temperature);
  lcd.print("C");

  lcd.setCursor(0,1);
  lcd.print("Humidity:");
  lcd.print(humidity);
  lcd.print("%");

  delay(5000); // Wait for 5 seconds before taking another reading
}
This sketch uses the Adafruit BME280 sensor to read temperature, humidity, and pressure, and then displays the data on both the serial monitor and a 16×2 LCD display. The data is updated every 5 seconds.
Note that you will need to install the necessary libraries for the BME280 sensor and the LCD display. You can do this using the Arduino Library Manager.
Project 4: Smart Lighting System
You’ll need an Arduino board, a PIR motion sensor, and a few other components to build a smart lighting system. The system will use Wi-Fi to connect to your home network and can be controlled with a smartphone app or voice commands. With the app or voice commands, you can turn lights on and off, adjust the brightness, and set custom lighting scenes. This project requires more programming than the previous projects, but there are plenty of tutorials and resources available to help you along the way.
Here’s a basic sketch for an Arduino smart lighting system:
#define LED_PIN 9
#define LDR_PIN A0
#define PIR_PIN 7

bool isLightOn = false;

void setup() {
  // Start serial communication
  Serial.begin(9600);

  // Set the LED pin to output mode
  pinMode(LED_PIN, OUTPUT);

  // Set the LDR pin to input mode
  pinMode(LDR_PIN, INPUT);

  // Set the PIR pin to input mode
  pinMode(PIR_PIN, INPUT);
}

void loop() {
  // Read the light level from the LDR
  int lightLevel = analogRead(LDR_PIN);

  // Read the motion detection from the PIR sensor
  bool motionDetected = digitalRead(PIR_PIN);

  // Display the data on the serial monitor
  Serial.print("Light Level: ");
  Serial.print(lightLevel);
  Serial.print("\tMotion Detected: ");
  Serial.println(motionDetected);

  // Check if it's dark and there's no motion
  if (lightLevel < 100 && !motionDetected && isLightOn) {
    // Turn off the light
    digitalWrite(LED_PIN, LOW);
    isLightOn = false;
    Serial.println("Light off");
  }

  // Check if it's bright and there's no motion
  if (lightLevel > 500 && !motionDetected && !isLightOn) {
    // Turn on the light
    digitalWrite(LED_PIN, HIGH);
    isLightOn = true;
    Serial.println("Light on");
  }

  delay(500); // Wait for 0.5 seconds before taking another reading
}
This sketch uses an LDR to measure the light level and a PIR sensor to detect motion. If it’s dark and there’s no motion, the LED is turned off. If it’s bright and there’s no motion, the LED is turned on. The data is displayed on the serial monitor.
Note that you will need to adjust the thresholds for the light level and motion detection to suit your environment. You may also want to add additional features, such as a timer to turn off the light after a certain period of time or a button to manually control the light.
Project 5: Smart Security System
For a smart security system, you’ll need an Arduino board, a PIR motion sensor, a camera module, and a few other components. The system will use Wi-Fi to connect to your home network and can be accessed through a web interface. The web interface will display the live camera feed and allow you to receive alerts when there is motion detected. This project is more advanced than the previous projects, but it’s a great way to get started with home security systems.
Here’s a basic sketch for an Arduino smart security system:
#define BUZZER_PIN 9
#define PIR_PIN 7

bool isAlarmOn = false;

void setup() {
  // Start serial communication
  Serial.begin(9600);

  // Set the buzzer pin to output mode
  pinMode(BUZZER_PIN, OUTPUT);

  // Set the PIR pin to input mode
  pinMode(PIR_PIN, INPUT);
}

void loop() {
  // Read the motion detection from the PIR sensor
  bool motionDetected = digitalRead(PIR_PIN);

  // Display the data on the serial monitor
  Serial.print("Motion Detected: ");
  Serial.println(motionDetected);

  // Check if there's motion and the alarm is off
  if (motionDetected && !isAlarmOn) {
    // Turn on the alarm
    digitalWrite(BUZZER_PIN, HIGH);
    isAlarmOn = true;
    Serial.println("Alarm on");
  }

  // Check if there's no motion and the alarm is on
  if (!motionDetected && isAlarmOn) {
    // Turn off the alarm
    digitalWrite(BUZZER_PIN, LOW);
    isAlarmOn = false;
    Serial.println("Alarm off");
  }

  delay(500); // Wait for 0.5 seconds before taking another reading
}
This sketch uses a PIR sensor to detect motion and a buzzer to sound an alarm. If there’s motion and the alarm is off, the buzzer is turned on. If there’s no motion and the alarm is on, the buzzer is turned off. The data is displayed on the serial monitor.
You will need to adjust the sensitivity of the PIR sensor to suit your environment. You may also want to add additional features, such as a button to manually turn on and off the alarm or a camera module to capture images or videos when motion is detected.
FAQ
Can we use Arduino for IoT projects?
Yes, Arduino can be used for Internet of Things (IoT) projects. Arduino is a popular open-source platform for building electronics projects. It is based on an Atmel AVR microcontroller and provides a simple way to connect sensors, motors, and other components to the internet.
The Arduino IDE (Integrated Development Environment) allows users to write code and upload it to the board. This makes it easy for developers to build IoT projects with Arduino. Many libraries can be used to control various components, such as sensors, motors, and LEDs. Additionally, many online tutorials can help you get started with your project.
Arduino is a powerful tool for creating IoT projects due to its low cost, ease of use, and wide range of online libraries and tutorials. Furthermore, with its open-source nature, it allows developers to create innovative solutions quickly and easily.
Is Arduino or Raspberry Pi better for IoT?
It depends on the application. Arduino is better for simple, low-power applications that require basic input/output (I/O) operations. Arduino boards are generally easier to program and less expensive than Raspberry Pi boards. However, if you need more powerful computing capabilities or more complex I/O operations, then Raspberry Pi is a better choice. Raspberry Pi boards have more processing power and memory capacity than Arduino boards, so they are better suited for applications that require more complex computations or data storage. Additionally, Raspberry Pi has built-in Wi-Fi and Bluetooth connectivity, which makes it well-suited for IoT applications where communication with other devices is required.
Does IoT require coding?
IoT (Internet of Things) does not necessarily require coding. It depends on the type of application you are building and the system’s complexity.
If you are creating a basic IoT system, such as a connected lightbulb that can be controlled remotely, it likely won’t require any coding. This is because many off-the-shelf products can be used to build this type of system without any programming required.
However, coding is likely necessary if you want to create a more complex IoT system with multiple components and custom features. You will need to write code for each component to make them communicate and work together as one cohesive system. Depending on the language used, this could involve writing code from scratch or using existing libraries.
Which microcontroller is best for IoT?
The best microcontroller for IoT depends on the project. Generally, microcontrollers with low power consumption, small form factor, and high processing speed are preferred.
The ESP32 is popular for IoT projects due to its low power consumption and integrated Wi-Fi and Bluetooth capabilities. It also has a dual-core processor that can handle more complex tasks than other microcontrollers.
Another option is the Arduino Nano 33 BLE Sense, designed specifically for IoT projects. It has built-in sensors for motion, light, temperature, and humidity sensing and a low-power mode for battery-powered applications. It also has an onboard Bluetooth radio for connecting to other devices wirelessly.
Related Video: 15 Brilliant IoT Projects for Beginners
Conclusion
Arduino is an incredibly versatile platform that can be used to build a wide range of IoT projects. In this article, we discussed the top 5 Arduino IoT projects you could build at home, including home automation, irrigation, weather monitoring, lighting, and security. These projects are great for beginners and can be completed with relatively inexpensive components. With the right resources and a bit of programming knowledge, you can build your own IoT projects and join the growing community of DIY electronics enthusiasts.