If you’re an avid Raspberry Pi user, you know that sometimes things can go awry. Maybe a program isn’t working right, or your Pi needs a fresh start. Whatever the reason for resetting your Raspberry Pi, we’ve got you covered. In this article, we’ll take you through the step-by-step process of resetting your Pi so you can return to tinkering and experimenting in no time.
Why Would You Need to Reset a Raspberry Pi?
As a versatile and powerful mini-computer, the Raspberry Pi has become a favorite among tech enthusiasts for its wide range of uses. However, despite its reliability, there are some scenarios where resetting the Pi becomes necessary.
One common reason for resetting your Raspberry Pi is to troubleshoot system errors or glitches. Over time, your software installation may become cluttered with unnecessary data and files, which can interfere with proper functioning. A reset allows you to start fresh with a clean slate, helping to restore functionality.
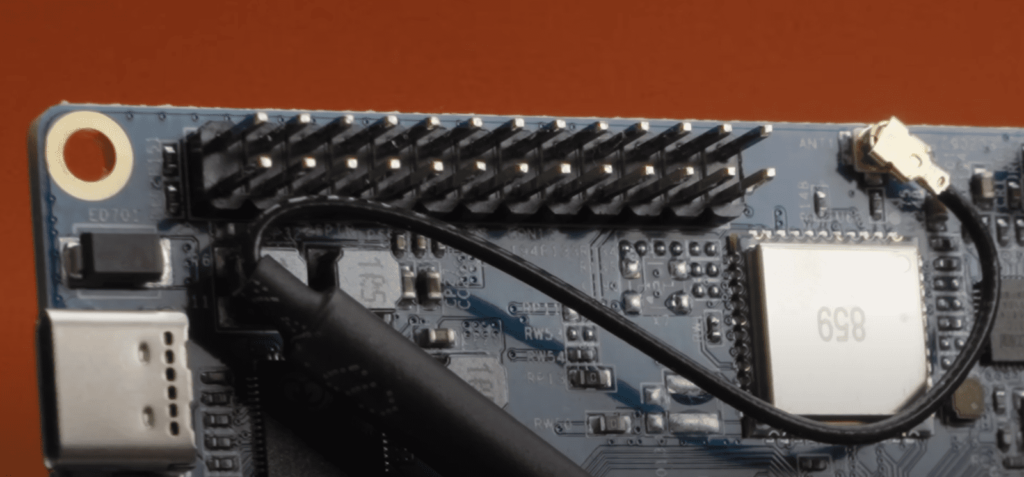
Sometimes you may also need to reset your Raspberry Pi to fix compatibility issues after updating or changing configuration settings. In addition, in cases where specific hardware components have been added or removed from the Pi, a hard reset may be mandatory for proper recognition by the system.
Another situation where you might need to reset your Pi is when preparing it for repurposing or resale. For example, suppose you plan on selling or donating your Raspberry Pi to someone else. In that case, all of your personal data and configurations must be wiped clean prior to doing so. A factory reset will remove any personal information and ensure that the new owner can start using it from scratch.
One word of caution: a reset will erase all data stored on the device’s SD card, so backing up essential files before initiating any reset process is strongly recommended!
While resetting may not be required frequently during regular use of your Raspberry Pi, it remains an essential tool that every user should know how to utilize in order to maintain optimal performance and increase efficiency when needed.
Preparing to Reset Your Raspberry Pi
Before resetting your Raspberry Pi, taking a few necessary steps is important to avoid losing any important files or data. The first step is to back up any critical files or data you have stored on your device. This can typically be done by transferring copies of these files onto an external hard drive or cloud-based storage system.
Additionally, ensure you have all the necessary equipment to reset your device. You will need a computer, a microSD card reader, and the latest version of Raspberry Pi OS installed on your computer. Once you have these items ready, you can proceed with resetting your Raspberry Pi following the instructions provided by the manufacturer.
Performing a Soft Reset
Performing a soft reset on your Raspberry Pi is a great way to troubleshoot and fix any software issues you may be experiencing. A soft reset, also known as a “warm” reset, allows you to restart your Raspberry Pi without shutting it down completely. This can save you time and prevent data loss from a hard shutdown.
There are several steps you should follow to perform a soft reset on your Raspberry Pi:
Step 1: Access the Command Line Interface (CLI)
The first step is to access the CLI by opening up the Terminal application on your Raspberry Pi. This can be done by clicking the terminal icon in the taskbar or navigating through the menu.
Step 2: Enter the Correct Command
Once you’re in the terminal application, enter the appropriate command for initiating a soft reset. For example, the command to initiate a soft reset is ‘sudo systemctl restart
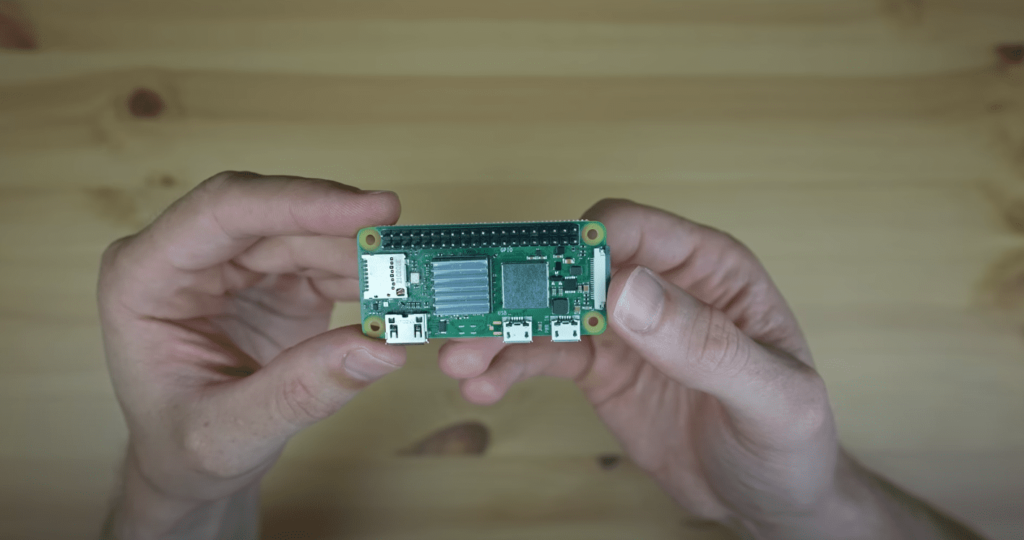
For example, if you want to restart the SSH service, then enter the following:
sudo systemctl restart ssh
Note: Before running this command, it’s better to stop running programs like file managers, media players, etc., as they might have unsaved sessions open.
Step 3: Wait for Restart
After entering the correct command, wait until your Raspberry Pi has restarted.
When is it Appropriate to Use Soft Reset?
Performing a soft reset is generally safe and can be done anytime when your device is facing software-related issues, such as network connection problems or software freezing up that needs immediate correction.
Performing regular resets of this type will help keep your Raspberry Pi operating efficiently over time by allowing you to address minor issues before they become major ones. But it’s best practice not to rely solely on rebooting techniques always, so troubleshooting for the exact cause of the issue would be more advisable instead.
By using these simple steps to perform a soft reset, you can easily resolve any software issues on your Raspberry Pi without losing any data. It’s just one more tool in your arsenal for keeping your Raspberry Pi running smoothly and efficiently.
Performing a Hard Reset
A hard reset, sometimes called a factory reset, is a more drastic step that should be taken only when other troubleshooting measures have failed. This process wipes out all data on your Raspberry Pi and restores it to its original manufacturer settings.
A hard reset differs from a soft reset in that it completely erases all files and configurations on the device, including operating system updates and user data. It’s like starting over from scratch.
This method should be used when your Raspberry Pi is unresponsive or has undergone significant changes that make it necessary to start fresh. However, it’s important to note that performing a hard reset will delete all your data, so ensure you have backed up any important files beforehand.
To perform a hard reset on your Raspberry Pi, simply follow these steps:
- Make sure your Raspberry Pi is turned off.
- Remove the microSD card.
- Use a computer with an SD card reader to format the microSD card.
- Reinsert the microSD card into the Raspberry Pi.
- Power on the Raspberry Pi.
It’s important to remember that this process will not fix hardware issues with your device and should only be used as a last resort for troubleshooting software problems.
FAQ
Can I reset a Raspberry Pi 4?
Yes, you can reset a Raspberry Pi 4 by factory reset. However, this will require reformatting the SD card and re-installing the operating system.
How to reset a Raspberry Pi from the command line?
To reset a Raspberry Pi 4 from the command line, use the “sudo reboot” command or “sudo shutdown -r now”.
Can I reformat a Raspberry Pi?
Yes, you can reformat a Raspberry Pi. Reformatting a Raspberry Pi involves re-installing the operating system that it is running. This process is relatively simple and can be done in a few steps.
First, you need to download the latest version of the Raspberry Pi OS onto your computer. Once downloaded, you will need to use an SD card writer to transfer the files onto an SD card. Next, insert the SD card into your Raspberry Pi and boot it up. Finally, follow the instructions on the screen to complete the installation process.
Reformatting a Raspberry Pi is relatively easy and should take only a few minutes. However, it’s essential to do this occasionally to keep your device running optimally and secure from any potential security threats.
How to factory reset Raspberry Pi via SSH?
To factory reset a Raspberry Pi via SSH, you can follow these steps:
- Connect to your Raspberry Pi via SSH using a terminal or command prompt.
- Type the command “sudo rm -rf /” (without quotes) and press Enter.
- Confirm the command by typing “Yes” and pressing Enter. This will erase all the data and files on your Raspberry Pi, essentially resetting it to its factory default settings.
Note: This command is very powerful and can cause irreversible damage if used incorrectly. Make sure you have a backup of any critical data before proceeding with this command.
Which command will restart the Raspberry Pi?
To restart the Raspberry Pi, you can use the following command in the terminal:
sudo reboot
This command will prompt you to enter your password and then initiate a system restart. After a few moments, the Raspberry Pi will shut down and boot back up.
Is it OK to just unplug Raspberry Pi?
It is not recommended to unplug the Raspberry Pi from the power source without properly shutting it down first. Doing so can cause data corruption or damage to the operating system or hardware components.
When you shut down the Raspberry Pi properly, it closes all running processes and writes any pending data to the SD card. This ensures that the next time you power it on, it will boot up properly, and all your data and configurations will be preserved.
If you need to shut down the Raspberry Pi but cannot access the terminal or graphical interface, you can do so by pressing and holding the power button for a few seconds. This will initiate a graceful shutdown process, after which you can safely unplug the power source.
Final Thoughts
Resetting your Raspberry Pi is an easy process that requires minimal technical knowledge. With the steps outlined in this article, you can quickly and easily restore your Raspberry Pi to its default factory settings. To ensure a successful reset of your Raspberry Pi, make sure you follow each step carefully and double-check all of your commands. Additionally, if you need extra support, do not hesitate to look up documentation online or contact a technical support representative.

