
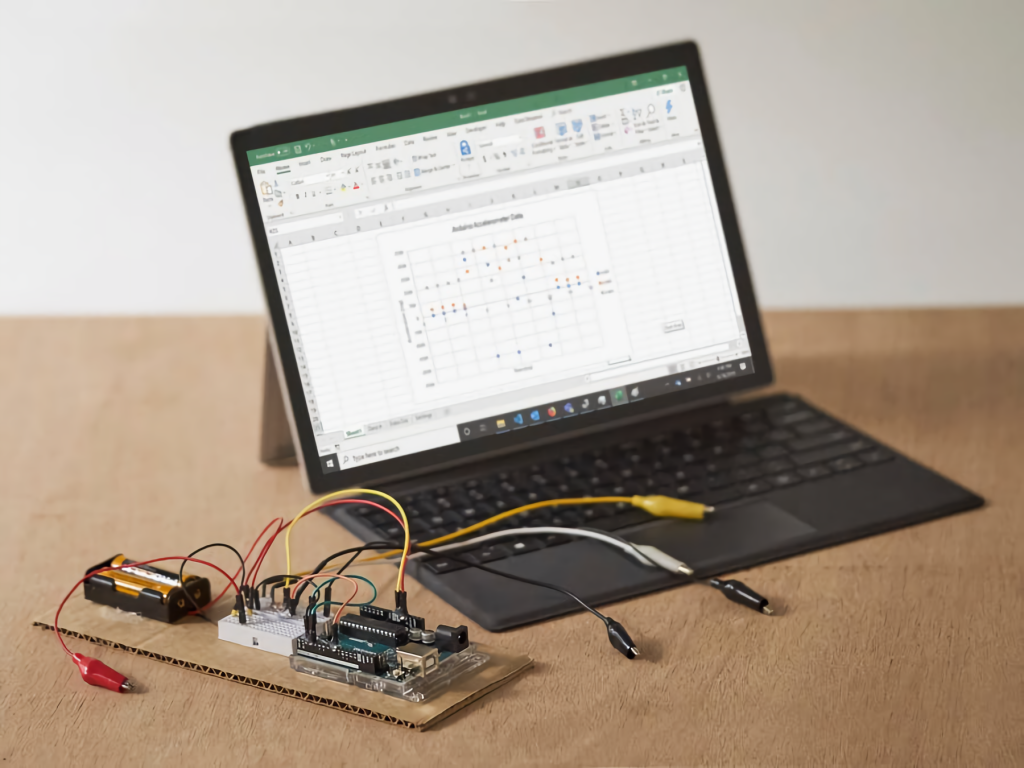
In this article, I will tell you how to export data from Arduino to Excel. Using the temperature example, I want to show how you can display data not only on indicators and displays but also on the computer monitor. To make the data output more interesting, you can draw a graph or chart.
 This book will give you solid general advice as you attempt to become an Arduino programmer, such as helping bolster your learning experience altogether.
How to Transfer Data from Arduino to Computer
There is already a ready-made interface for receiving data from the microcontroller – the port monitor in the Arduino ide development environment. To transfer data from the microcontroller, you just need to output the information using a set of Serial functions. They are used to transfer data via the RX and TX I/O ports or USB. Like the port monitor from the Arduino ide environment, you can also get data with your desktop programs or scripts to read the data from the com ports.
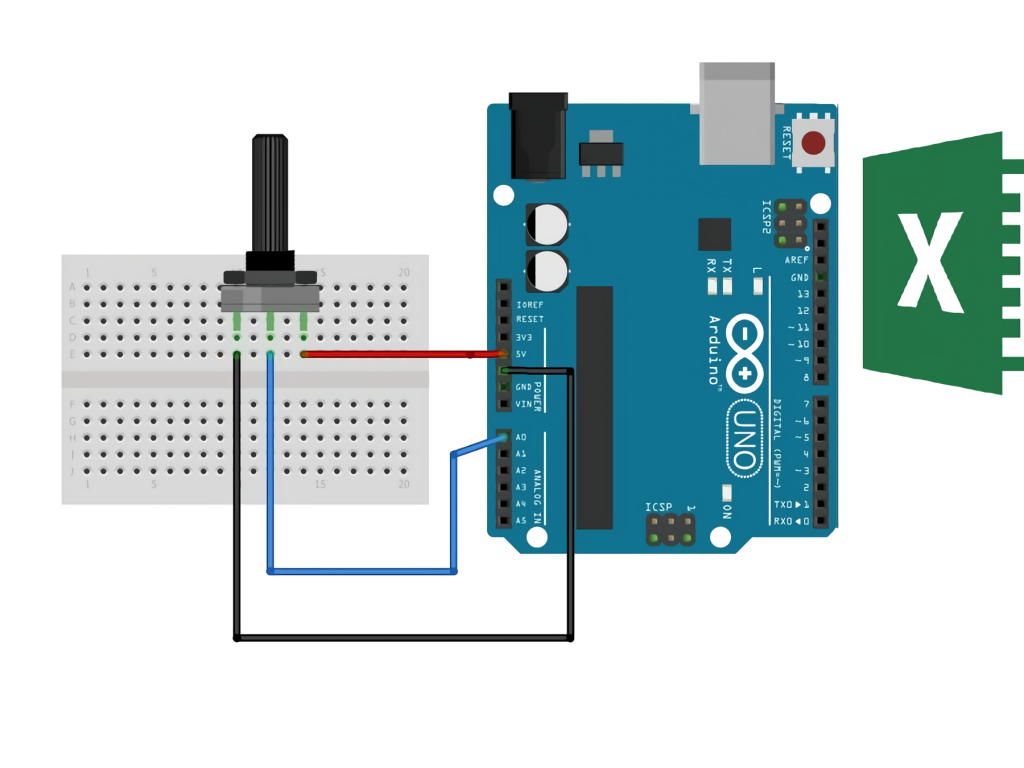
But in this article, we will not write the port handling but use the already available Excel macro – PLX DAQ, which can read the data from the port and output it to the table cells. You can download the add-on here. And read more about the macro here.
Configuring PLX DAQ for Excel
After installing the PLX DAQ add-in, a shortcut “PLX-DAQ Spreadsheet” will appear on your desktop. You have to run it, and then the Excel sheet will open with the macro already running. To communicate with the Arduino, you just need to specify which com port you want to listen to and at what speed the data transfer takes place. The baud rate must correspond to the one specified in the Arduino: Serial.begin(9600);
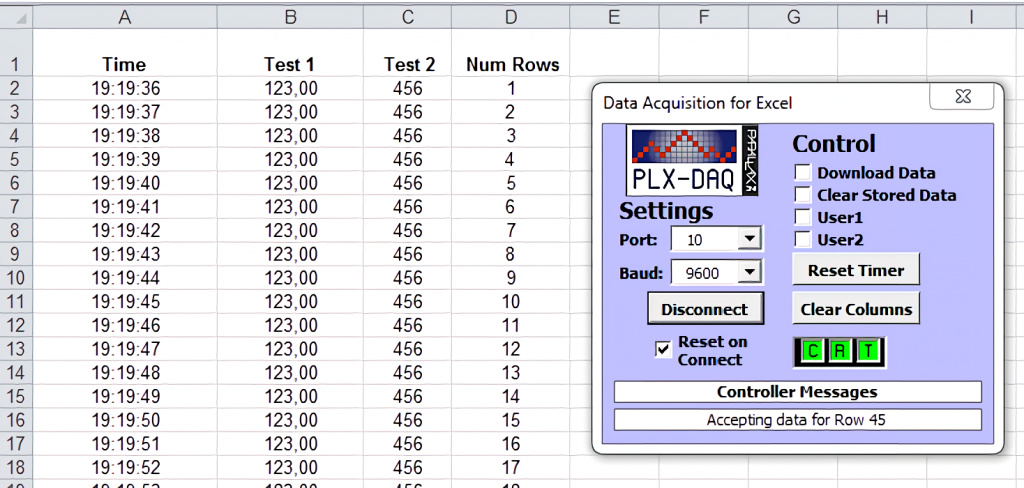
After setting the port and the baud rate, you must press the “Connect” button, and immediately the receiving and outputting of data from the Arduino will start. An example of the operation can be seen in the screenshot below.
Test Sketch to Send Data to Excel from the Arduino
Below is a test sketch with detailed comments.
int row_excel = 0; // number of lines
int test = 123; //test variable to be passed to Excel
int test_2 = 456; // the second test variable that will be passed to excel

void setup(){
  Serial.begin(9600); //transfer speed
  Serial.println("CLEARDATA"); // clear excel sheet
  Serial.println("LABEL,Time,Test 1, Test 2, Num Rows"); // column headers
}

void loop(){
  row_excel++; // row number + 1
  Serial.print("DATA,TIME,"); // excel record current date and time
  Serial.print(test);
  Serial.print(",");
  Serial.print(test_2);
  Serial.print(",");
  Serial.println(row_excel);

  // if rows are more than 50, then start filling the rows again
  if (row_excel > 50){
    row_excel = 0;
    Serial.println("ROW,SET,2");
  }
  delay(1000); //delay
}
Conclusion
Today we learned how to export data from Arduino to Excel. If you still have questions, ask them in the comments.


I’ve always been interested in electronics and programming, so when I heard about Arduino, I knew I had to try it out. I started by doing some simple projects like making an LED blink. But soon, I wanted to do more. That’s when I decided to connect my Arduino to Excel.
It was surprisingly easy to set up. I just followed this tutorial, and before I knew it, my Arduino was sending data to Excel in real time. It was really cool to see the data being plotted on a graph as my Arduino did its thing.
Overall, connecting my Arduino to Excel was a great experience. It allowed me to visualize the data my Arduino was collecting and made my projects more interactive. If you’re interested in trying it out for yourself, definitely give it a go!