
Varistors are essential components in many electrical circuits and systems, providing surge protection and voltage regulation. Knowing how to test a varistor is an important skill for anyone working with electronic engineering. In this article, we’ll cover the basics of testing a varistor and the tools you’ll need to do it correctly. We’ll also discuss what to look out for when testing, as well as some potential troubleshooting techniques if something doesn’t seem right.
What is a Varistor?
A varistor is an electronic device with two contacts and a non-linear symmetrical volt-ampere characteristic. The term “varistor” comes from the Latin words “variable” and “resisto”. In its essence, it is a semiconductor resistor capable of changing its resistance depending on the voltage applied to its terminals.
Resistors of this type are made by sintering a semiconductor and a binder at high temperature. The semiconductor is silicon carbide in powder form or zinc oxide, and the binder is glass, varnish or resin. The element obtained after sintering is metallized and the leads are subsequently formed. The devices are designed in a disk, tablet, cylinder, or film-like form.
With its property to sharply decrease its resistance when a certain voltage occurs at its terminals, varistor is used in electronic circuits as a protective element. When a voltage surge of a certain magnitude occurs, the semiconductor instantly reduces its internal resistance to tens of ohms, thereby practically shorting the circuit, preventing the impulse from damaging the rest of the circuit elements. Therefore, an important parameter of the varistor is the voltage value at which the breakdown of the device occurs.
The principle of operation of the element implies that it is connected in parallel to the power supply circuit. After it is triggered and the input voltage decreases, it restores itself to its original value. Due to the low inertia this happens instantaneously.
Varistor Failure Causes
Varistors are installed in parallel to the circuit to be protected and a fuse is put in series with it. This is to ensure that when the varistor burns out, if the overvoltage surge is too great, the fuse will burn out and not the circuit board tracks.
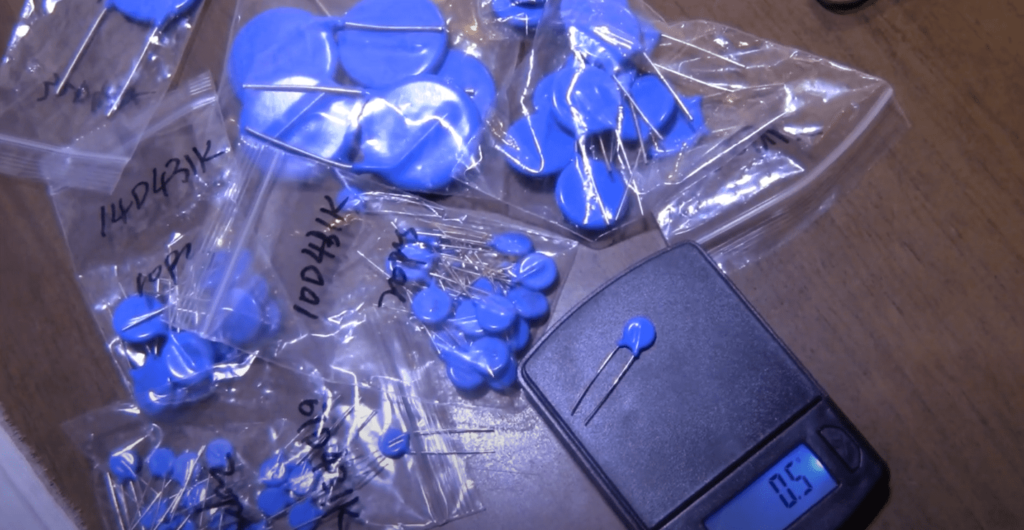
The only cause of varistor failure is a sudden and strong surge in the mains voltage. If the energy of this surge is greater than the varistor can dissipate, it will fail. The maximum energy dissipated depends on the dimensions of the component. They differ in diameter and thickness, that is, the larger they are, the more energy the varistor can dissipate.
Voltage surges can occur in power line accidents, during thunderstorms, when switching powerful devices, especially inductive loads.
Ways to Test a Varistor
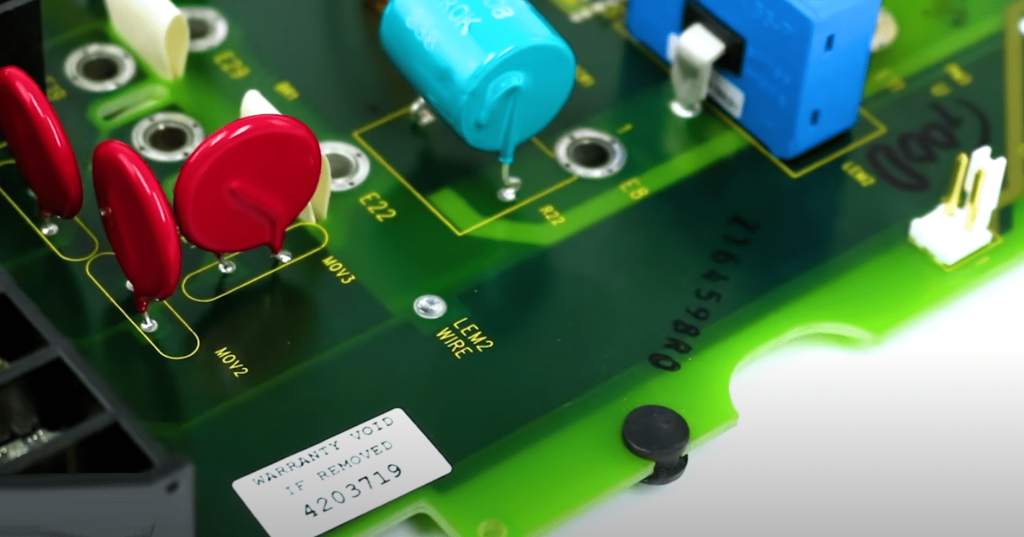
Any repair of electronics and electrical equipment begins with an external inspection and then proceeds to measurements. This approach allows you to locate most of the faults. To find a varistor on the board look at the figure below – this is what varistors look like. Sometimes they can be confused with capacitors, but you can tell the difference by the markings.
There are three ways to test a varistor quickly and easily:
- Visual inspection.
- Using test mode. This can be done with a multimeter or any other device that has a circuit-check function.
- Measuring resistance. This can be done with an ohmmeter with a large measuring range, a multimeter, or a megohmmeter.
How to Test a Varistor With a Multimeter?
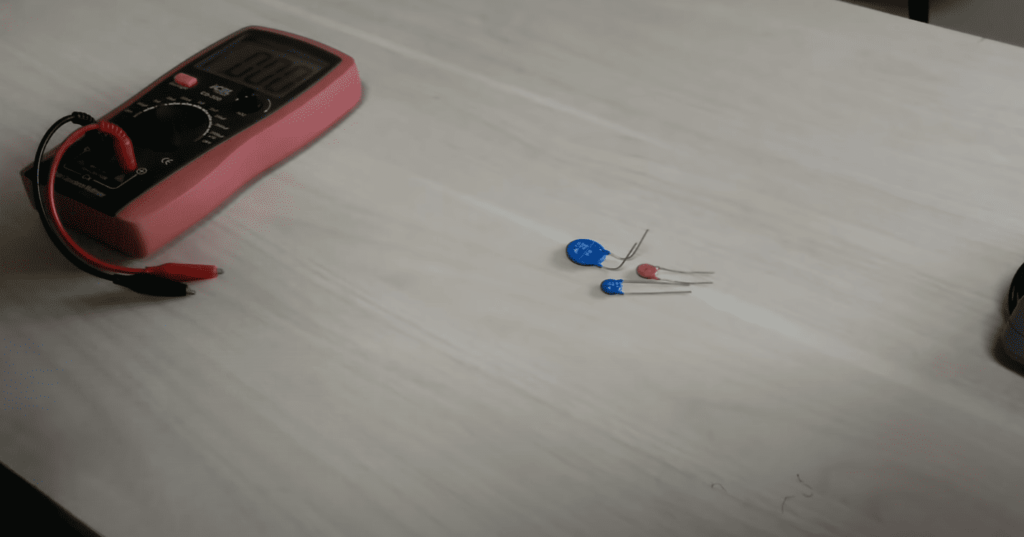
The easiest way to test a varistor, as well as any other radio element, is to use specially designed devices for this purpose. Multimeters are used as such devices. The main parameter that can be measured is the internal resistance of the element. But before you directly proceed to check the varistor, you should be prepared.
In addition to a multimeter, you will need:
- soldering iron;
- solder;
- flux;
- datasheet.
Measurement of the element resistance can be performed without unsoldering it from the circuit, but to get reliable data it is necessary to disconnect at least one of its pins from the board. All preparation is that the semiconductor element is first visually inspected for the absence of: splits, blackening, cracks. If you can immediately see the broken case, then you can not check further. Such a varistor is clearly defective.
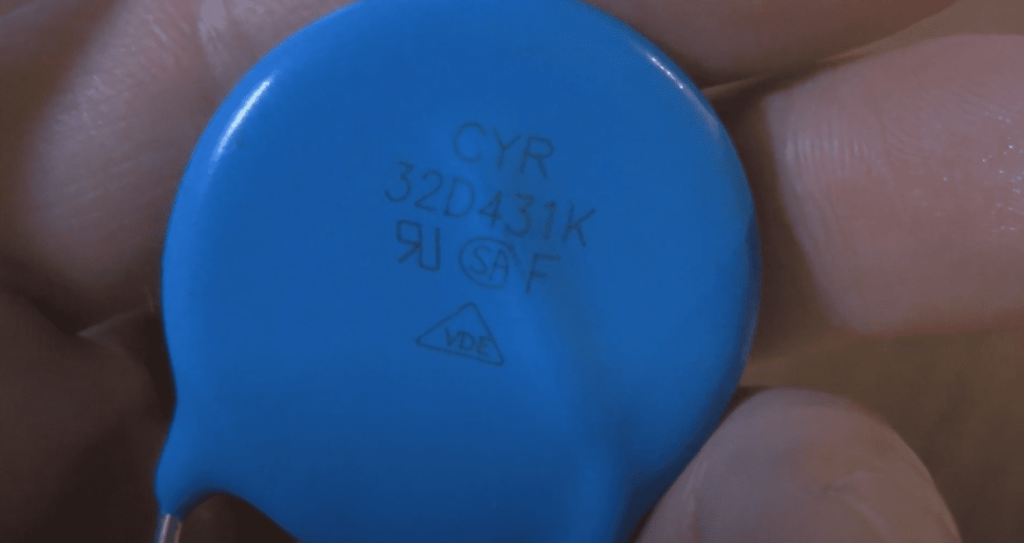
Soldering iron, flux and solder are needed to unsolder one of the pins of the element or even remove it completely, and after checking, if necessary, solder it back. The component data sheet is an official document issued by the manufacturer. It contains all the basic data and characteristics.
The datasheet is used to know exactly what the operating resistance of a radio component is at rest. If, when measured with a multimeter, the resistance of the varistor does not differ by more than 10%, then it is considered functional. If the resistance is significantly less than that specified in the datasheet, it will need to be replaced. It is important to note that in its normal state the varistor resistance reaches several hundred megaohms, so the tester should also be able to measure in this range.
It is important to remember that a varistor, like any resistor, has a margin of error. Some elements have a very impressive tolerance. For example, with a 10% error of 150 kohms, an element can have 135 to 165 kohms, which can cause misinterpretation by someone who has not dealt with radio components before.
Safety Tips When Testing a Varistor
When dealing with any electronic device, it is important to remember safety first. Testing a varistor is no exception. To ensure the best results and keep yourself safe when testing a varistor, consider the following tips:
First and foremost, always wear protective gear when handling any electronics. This includes gloves, safety glasses, and long sleeves to protect you from any flying sparks or components that may become loose due to mishandling. Additionally, make sure your workspace is properly grounded using a surge protector or grounded outlet so as not to expose yourself or your equipment to potential electric shock hazards.
Always make sure that the power source is off and unplugged before attempting any kind of repair or testing on the device. This is critical for personal safety as well as avoiding any damage to the device itself.
Make sure that all tools used to handle and test the component are properly insulated from any electrical source in order to avoid accidental shock or fire hazards.
FAQ
Can you test a varistor with a cheap multimeter?
Yes, you can use a cheap multimeter to test a varistor. You will need to set the multimeter to measure resistance and then connect the probes to the varistor’s terminals. The resistance should remain constant regardless of the voltage applied. If it does not, then the varistor is faulty and needs to be replaced.
Can you test a varistor with a Fluke multimeter?
Yes, you can test a varistor with a Fluke multimeter. Set the multimeter to the resistance setting and connect the probes to the two terminals of the varistor. The meter should read a very high resistance, usually in the megohm range. If it reads an open circuit or lower than expected resistance, then the varistor is likely defective.
Do varistors fail open or short?
Varistors typically fail short, meaning that the resistance between two points drops to a very low value. This can cause a large current to flow through the varistor, which can damage other components in the circuit. However, it is possible for a varistor to fail open, meaning that the resistance between two points increases significantly.
What happens when a varistor fails?
When a varistor fails, it can no longer regulate the voltage in a circuit. This can lead to an increase in current, which can cause damage to components and potentially start a fire. It is important to troubleshoot the issue immediately and replace or repair the varistor as soon as possible.
What is the resistance of a varistor?
A varistor is a voltage-dependent resistor with a nonlinear, symmetrical current-voltage characteristic. The resistance of the varistor typically changes from a very high value to a very low value when the voltage applied across it increases. This change in resistance helps protect circuits from overvoltage transients and other electrical surges.
Do varistors have polarity?
No, varistors do not have polarity. Varistors are made from metal oxide semiconductor materials that are non-polar and therefore do not require a specific orientation when connecting to a circuit. This makes them easy to use in a variety of applications, as they can be connected in any orientation without affecting their performance.
Is a varistor passive or active?
A varistor is a passive component. It does not require an external power source to operate, and instead relies on the flow of current through it to regulate voltage levels.
What is maximum allowable voltage in varistor?
The maximum allowable voltage in a varistor is typically between 2.5V and 6000V, depending on the specific type of varistor. The higher the voltage rating, the greater the protection it provides against surges.
Is a varistor a capacitor?
No, a varistor is not a capacitor. A varistor is a voltage-dependent resistor that is used to limit the voltage across an electrical circuit. It works by allowing current to flow when the voltage is below a certain level, and then rapidly increasing its resistance when the voltage exceeds that level.
Final Thoughts
Testing a varistor is a simple process that should be done regularly as part of routine maintenance. If a proper test cannot be carried out in-house, then it should be sent to an experienced technician who can accurately diagnose any potential issues with the unit. By understanding the basics of how to test a varistor and taking steps to keep it functioning properly, you can ensure that your electrical system runs safely and efficiently for years to come.


