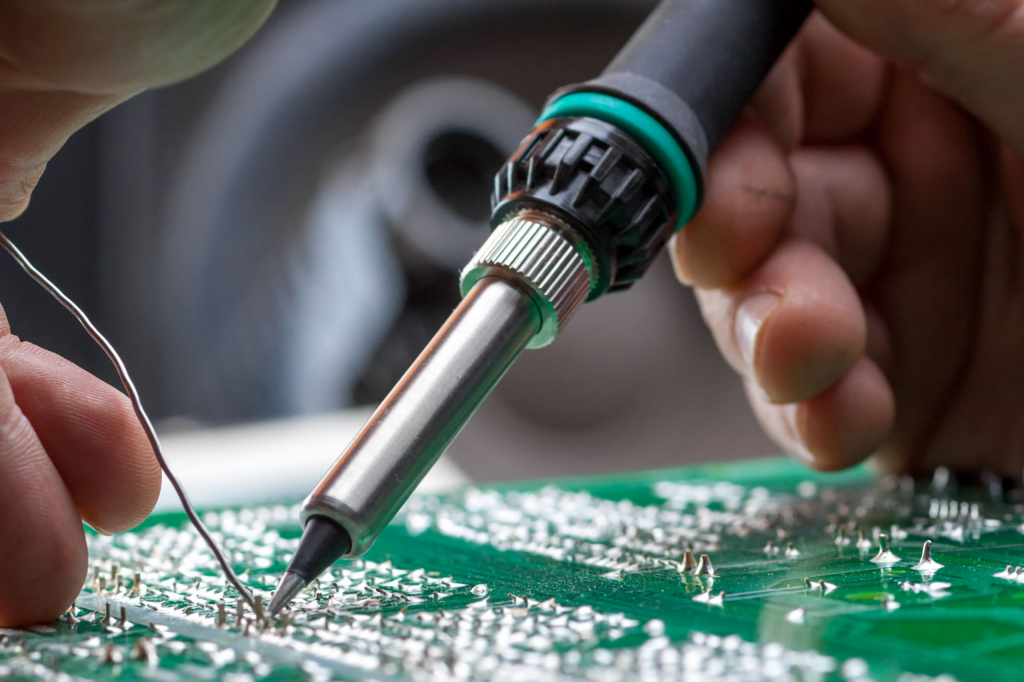
Shoddy craftsmanship shows its true colors under pressure. When constructing a circuit board, the integrity of solder joints is crucial. Though imperfections may seem minor at first glance, these defects threaten to undermine the entire operation. Just as a faulty foundation compromises a building’s structural soundness, cold solder joints represent cracks in the circuitry that can lead to system failure. Before the pressure mounts, examining the solder bonds closely and shoring up any weaknesses is wise. Doing so now can prevent a catastrophic collapse later on. Let us shed light on these frosty fissures and reinforce our circuitry knowledge.
Recap in Brief
A cold solder joint is a solder connection between components on a printed circuit board (PCB) that has not formed correctly. The solder should melt and flow smoothly during soldering to create a strong bond with the metal surfaces it is joining. But if the solder cools too quickly or does not heat evenly, it can create a cold, grainy, weak joint. These faulty connections often look dull or crystalline instead of shiny. Cold solder joints can cause intermittent electrical faults or failures of circuits. They can be repaired by reheating and resoldering the connection. Proper technique, temperature control, and smooth solder flow are crucial to avoiding cold joints.
Definition of Cold Solder Joint
A cold solder joint is one of the most common defects found in soldering and electronics manufacturing. It occurs when the solder used to form a joint does not melt and flow properly, creating a weak and unreliable connection between components. Detecting and preventing cold solder joints is a necessary quality control process in producing robust electronic devices. This article will provide an in-depth explanation of what constitutes a cold joint, what causes it to happen, and the potential effects they can have on circuit board assembly.
What is a Cold Solder Joint?
A cold solder joint refers to any solder connection where the solder failed to melt sufficiently and fully flow into the joint. This leaves small gaps, exposes the base metal surfaces, and creates a series of weak crystalline structures as the solder cools. The result is a brittle connection with potentially high resistance or an open circuit.
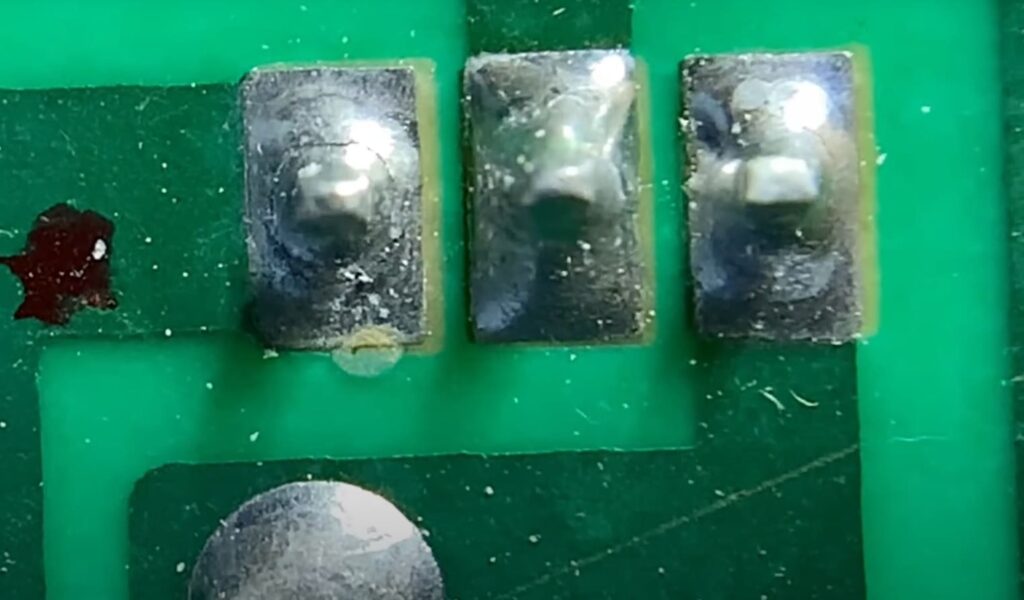
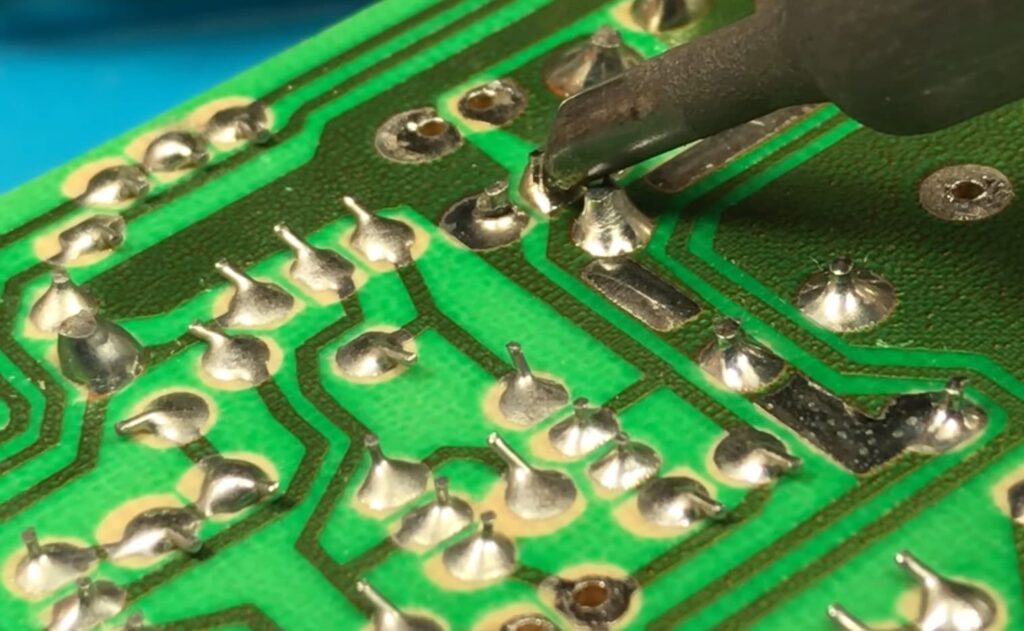
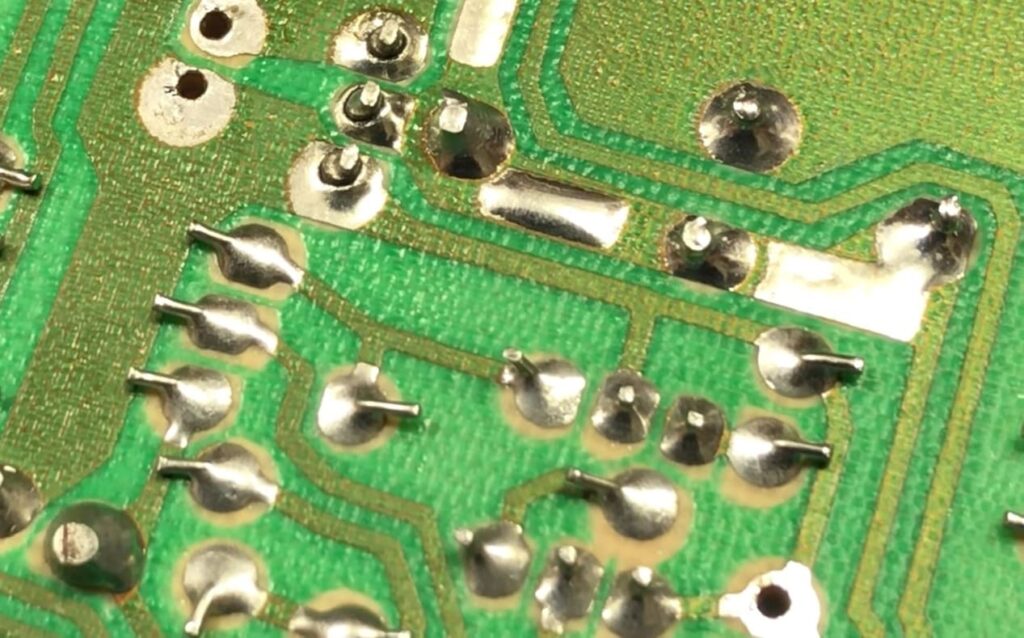
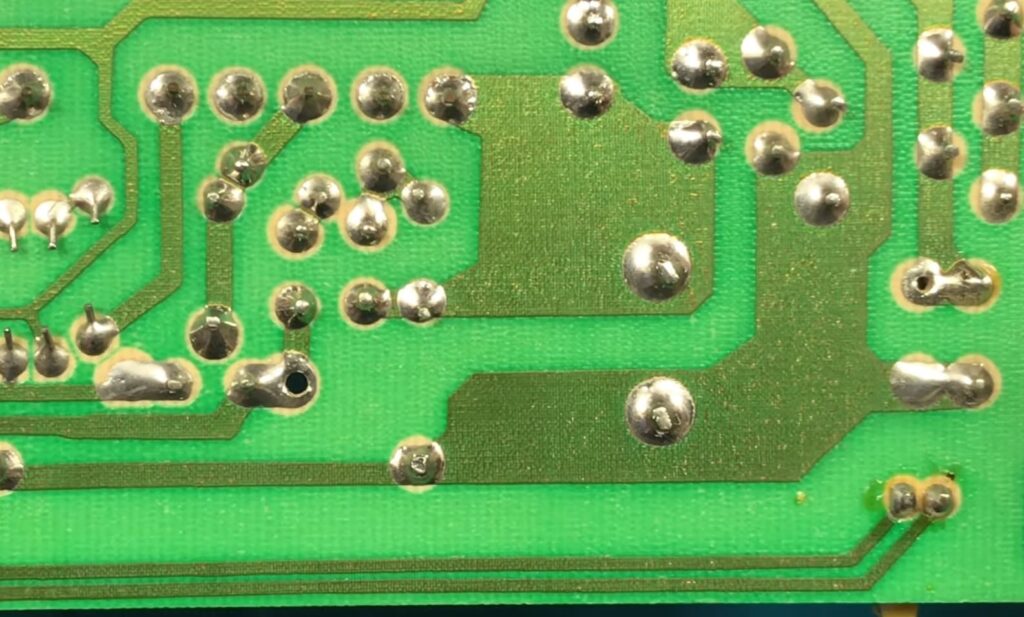
Visually, cold solder joints appear dull and grainy and need a good joint’s smooth, shiny surface. They may have rough edges, gaps, holes from outgassing, and wicking where the solder pulls away from the joint. An experienced soldering technician can often identify them through close visual inspection.
There are two main types of cold joints:
- Dry joints occur when the solder fails to adhere correctly to the joint surfaces. This leaves gaps, pits, or a scaly appearance in the solder.
- Fractured joints happen when crystal structures form in the cooling solder, creating many small internal cracks and fractures. They could be more reliable.
Both types produce a mechanically weak joints and are prone to failure under thermal cycling or vibration. Rework is required to replace any identified cold solder joints.
Causes of Cold Solder Joints
Several potential root causes can lead to the formation of cold solder joints:
- Insufficient heat – The joint may not have been heated to the solder’s melting point. Slow heat transfer from the iron tip or moving too quickly can cause this.
- Reflow issues – For reflow soldering, an incorrect temperature profile can prevent the solder from melting correctly. Slow ramp-up or cooling often causes cold joints.
- Solder contamination – Impurities in the solder, like oils or oxides, can raise its melting point and prevent flow.
- Surface contamination – Dirt, grease, or old solder on joint surfaces acts as a barrier to solder flow and adhesion.
- Soldering errors – Applying too little solder, moving the joint during cooling, improper use of fluxes, and other errors during soldering lead to cold joints.
- Thermal dissipation – High thermal mass joint surfaces like ground planes can conduct heat away and cool the joint rapidly.
- Solder composition – Using solder with a high tin content raises the melting point and can inhibit flow.
Many cold solder joint issues arise from improper soldering practices. Training, standards, inspection, and maintenance are crucial to minimizing complex common defects.
Effects of Cold Solder Joints
Allowing cold solder joints to remain in circuit board assemblies can undermine reliability and lead to field failures:
- Intermittent contacts – Vibration and flexing can cause weak cold joints to make and break contact intermittently, leading to electrical faults.
- Increased resistance – Gaps and surface oxidation in cold joints introduce increased, uncontrolled electrical resistance.
- Short circuits – Fractured or wicking solder can create shorts between adjacent components or traces.
- Thermal failure – Repeated thermal cycling stresses cold joints and can cause eventual cracking or detachment.
- Corrosion – Exposure of base metals in a cold joint leads to oxidation and corrosion over time.
- Mechanical weakness – Cold-soldered components are likelier to break free from mechanical shocks and vibration.
- Troublesome diagnostics – Intermittent faults caused by cold joints are challenging to isolate and diagnose.
These potential issues underscore why establishing effective soldering and inspection practices to avoid cold joints is essential. Taking steps to prevent their occurrence yields tangible improvements in product reliability. Any cold joints found should be reworked immediately before further assembly. Well-trained operators, process monitoring, and vigilant inspection help minimize cold solder joint escapes. Putting effort into quality soldering ultimately prevents many Field failures and returns down the road.
Types of Cold Solder Joint
Cold solder joints refer to defective solder connections where the solder fails to melt and adhere to the joint surfaces properly. This leaves weak, unreliable electrical and mechanical bonds between components. There are several distinct types of cold solder joints based on their visual appearance and underlying flaws. Identifying the specific characteristic of a cold joint helps determine the root cause and necessary rework. This article will examine the three main classifications of complex solder defects in electronics assembly.
Cracked Solder Joints
Cracked solder joints occur when stresses cause fractures and splits in the solidified solder material. Cracks propagate through the solder itself but do not usually cause complete separation. There are two primary ways cracks form in solder:
Thermal Cycle Cracking
- Formed when temperature fluctuations repetitively stress the solder material.
- Different expansion rates of solder and base metals induce fatigue.
- Cracks initiate at voids or impurities and then slowly propagate with each cycle.
- It can take hundreds or thousands of bikes to progress to failure.
Mechanical Cracking
- Caused by mechanical shocks, vibration, or flexing of the assembly.
- Rapid, impact-induced cracking of solder.
- Usually, it occurs at solder fillet edges or junctions between rigid and flexible materials.
- It can quickly lead to intermittent contact and electrical failure.
Visually, cracked joints exhibit fissures in the solder fillet but maintain some adherence between cracked segments. Rework requires removing and replacing the defective solder joint(s). Preventive measures include reducing vibration, avoiding thermal shock, and using flexible materials for attachments.
Dry Solder Joints
Dry solder joints occur when molten solder fails to flow and adequately adhere to the joint surfaces. This leaves gaps, exposes underlying base metals, and creates a structurally weak connection.
Several issues can cause dry joints:
- Insufficient heat to entirely melt solder
- Surface contamination prevents wetting
- Moving the joint before the solder cools
- Low solder quantity
- Solder composition with a high melting point
Dry joints are often discolored and have a dull, oxidized appearance. Their shape may be irregular or lumpy. Rework requires thoroughly cleaning and reheating the joint to permit proper solder flow. Applying flux assists in rewetting the surfaces.
Cold Solder Joints
Accurate cold joints result when solder solidifies before melting sufficiently to create the intermetallic bonding that makes a strong joint. This leaves:
- Gaps from lack of wetting
- Voids from trapped impurities
- A crystalline, grainy structure
Contaminants in solder, low iron temperature, and rapid cooling are common causes. Cold joints also have a dull-colored, matt finish. Their grainy structure makes them mechanically weak and prone to failure under vibration or thermal stresses.
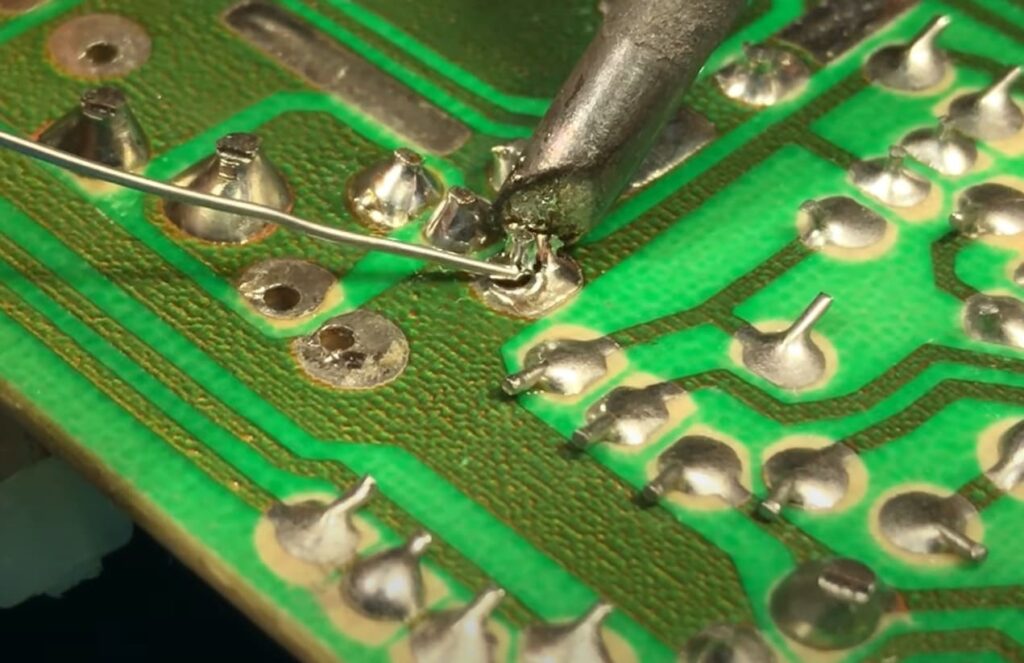
Full reheating of cold joints is necessary for rework. Care must be taken to bring the temperature above the solder’s melting point to create the missing metallurgical bonds.
Detection and Prevention of Cold Solder Joint
Cold solder joints are a common issue in soldering that can lead to failed connections and unreliable circuits. They occur when the solder does not melt properly and fails to adhere correctly to the joint. Detecting and preventing cold solder joints is essential for producing high-quality solder connections. This guide covers ways to visually see cold solder joints and best practices to avoid them.
Visual Detection
There are a few clear visual indicators that a solder joint may be cold:
- Dull, grainy appearance – Properly melted solder will be shiny and smooth. Cold solder looks matte and granular.
- Jagged edges – The solder should be smoothly adhered to the joint. Rough, uneven edges indicate a poor connection.
- Gaps or holes – You may see cracks where the solder failed to flow correctly or holes from outgassing.
- Wicking is when the solder gets sucked back up the conductor away from the joint.
- Dirty, burnt joints – These are signs the solder did not properly melt and flow.
Carefully inspecting each joint under good lighting can help identify any cold solder defects. A magnifying glass or microscope helps see minor issues.
Prevention
Several best practices during soldering can reduce the occurrence of cold solder joints:
- Maintain proper soldering iron temperature – Follow manufacturer recommendations, around 700°F for electronics. This ensures the solder melts quickly.
- Heat the joint sufficiently before applying solder – Hold the iron tip to the joint for 2-3 seconds until it is heated through. This helps the solder flow correctly.
- Use the right amount of solder – Too little solder can cause cold joints. Apply enough to coat the joint after melting fully.
- Allow proper cooling time – Keep the joint still for a few seconds after removing the iron so the solder sets appropriately.
- Apply flux to the joint – Flux helps the solder adhere and flow correctly. Use the correct type of flux for your application.
- Clean surfaces prior to soldering – Remove any grease, oxidation, or other residues from joint surfaces.
Following these guidelines during soldering work will help minimize cold solder joints and create reliable solder connections. Proper training and practice in soldering techniques are also crucial for consistency.

FAQs
What is a cold solder joint?
A cold solder joint refers to a solder connection that is not formed correctly, resulting in a poor electrical connection. It happens when the solder does not melt sufficiently to create a secure bond between the joined surfaces. A cold solder joint often looks grainy or dull instead of having a bright, smooth appearance.
What causes a cold solder joint?
There are several potential causes of cold solder joints:
- Insufficient heat – The soldering iron tip or solder bath is not hot enough to fully melt the solder. This can happen if the iron is set to too low of a temperature.
- Insufficient solder – More solder is applied to coat the joint properly. This leaves gaps where a strong bond cannot form.
- Impurities – Contaminants like oil or oxide residue prevent the molten solder from adhering well to the joint surfaces.
- Moving too soon – The soldered parts are moved before the solder cools and hardens fully, resulting in a weak joint.
- Incompatibility – The type of solder or flux being used is not compatible with the metals being joined. This stops the solder from adhering correctly.
- Poor heat transfer – Heat cannot be conducted efficiently from the soldering iron to the joint, stopping the solder from melting sufficiently.
What problems can a cold solder joint cause?
Cold solder joints can lead to several issues:
- Intermittent connections – Vibration or flexing can cause a cold joint to make and break contact intermittently. This leads to components malfunctioning.
- High resistance – The poor connection has increased electrical resistance. This can impede current flow and cause issues like voltage drops.
- Weak structure – The joint is mechanically more vulnerable than a good joint and more prone to failing due to vibration or impacts.
- Corrosion – Gaps in the joint allow moisture ingress that can corrode and damage the joint over time.
- Circuit failure – Poor connections can lead to arcing, overheating, and total loss of PCB circuits.
How can you tell if you have a cold solder joint?
Signs that indicate a cold solder joint include:
- Dull, grainy, or bumpy appearance – Properly soldered joints are shiny and smooth. Cold joints look uneven and fragmented.
- Cracking or fractures – As the joint moves, cracks open up in the defective solder.
- Stains and discoloration – Flux residue not cleaned off can discolor around a poor joint.
- Visible gaps – The solder has not adequately filled the joint, and small holes are visible.
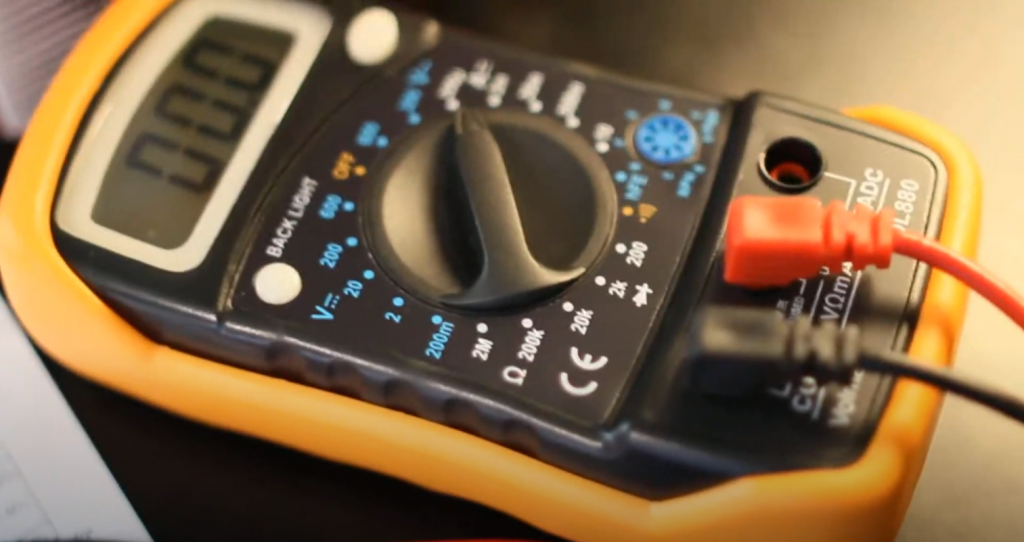
- Failed electrical testing – Simple continuity or resistance testing reveals the joint is making poor contact.
How can you avoid cold solder joints?
To prevent cold joints:
- Maintain proper soldering iron temperature – Use adequate heat to melt solder quickly.
- Apply enough solder – Use sufficient solder to coat the joint fully.
- Clean surfaces thoroughly – Remove contaminants like dirt, oil, and old solder.
- Secure components – Hold or clamp parts so they don’t move during soldering.
- Allow proper cool down – Let joints fully solidify before moving PCB assembly.
- Use compatible materials – Match solder and flux to the metals being joined.
Related Video: How to repair cold solder joint
Final Thoughts
A cold solder joint may seem solid enough to get the job done. However, these defective bonds represent critical weak points in electrical circuits, threatening to undermine functionality when it matters most. Just as a faulty foundation jeopardizes the structural integrity of a building over time, cold solder joints introduce reliability risks that only compound as systems age. Though reworking them requires effort up front, identifying and addressing these flaws proactively saves many headaches. Smooth, shiny, properly reflowed solder forms the robust connections electronics count on. Make sure to settle for something more in your mission-critical circuitry.