
Despite the availability of an official HassOS for the Raspberry Pi and some other platforms, sometimes there is an acute desire to install Hass.io to your Raspberry Pi manually to keep the ability to install additional software and maintain control over the containers. And for some boards (like Orange Pi), there are no officially supported images at all. This article describes how to install Hass.io on any Linux machine with a sprint provided by Hass.io community.
 CanaKit Raspberry Pi 4 8GB Starter Kit includes the 8GB RAM version of the latest generation model of the Raspberry Pi family with 1.5GHz 64-bit quad-core CPU.
Terminology
- Home Assistant (HA) is a fast-developing home automation system written in Python with a huge list of supported hardware and services
- Hass.io is a collection of docker containers that make HA easy to install and use, as well as allowing you to extend its functionality with a large number of community-supported Hass.io add-ons.
Home Assistant Installation Options
You can install Home Assistant in different ways. You can manually install it to a Python virtual environment or deploy it in a Docker container, or you can use the Hass.io or Hassbian distributions.
Hass.io is worth talking about separately. This project offers pre-configured images for the most popular microcomputer models (currently supporting the entire line of Raspberry Pi, Asus TinkerBoard, several Odroid models, and a range of Intel NUC computers). The image contains the operating system, a ready-to-use Home Assistant, and its own addon manager which allows performing all Home Assistant configuration manipulations directly from the web-interface.
It may seem that Hass.io is an ideal option for a beginner, but the project has a big disadvantage: the user is not given administrative access to the operating system. Therefore, having installed Hass.io on the microcomputer, you won’t be able to use it for other tasks despite the fact that Raspberry Pi 4 has enough power to run not only Home Assistant but also a couple of other services.
Hassbian, in turn, is a Raspbian distribution with the Home Assistant server already installed in a virtual Python environment. Unfortunately, the project is closed, and no more builds based on fresh Raspbian distributions with new versions of Home Assistant installed on them are released.
| Pros | Cons | |
|---|---|---|
| Hass.io | The easiest installation, its own backup configuration system | No full access to the system with all the ensuing consequences, compatibility with a limited number of devices |
| Manual installation | Full control of the system | At least minimal Linux skills are required |
| Hassbian | the same advantages as the manual installation to the Python virtual environment | Hassbian support officially stopped in October 2019 |
| Docker | Reliability, ease of deployment and portability | Necessary to know how to work with Docker containers |
To sum up existing variants of Home Assistant installation:
- Installing Home Assistant as a python application in a virtualenv environment (for those who for some reason docker is not suitable)
- Installing the official Home Assistant image to a container on your own docker (for those who think they can make their copy of Hass.io better than the huge community of experienced developers)
- Installing Hass.io as an SD card image for the Raspberry Pi. This image was previously built on ResinOS, which has recently been replaced by the new operating system HassOS, specifically optimized to run Hass.io (officially recommended for installation on the Raspberry Pi)
- Installing Hass.io on any Linux machine with docker preinstalled (we will describe this method in detail below)
Pros and Cons of Hass.io
Is essentially the easiest method of installing a clean install. The result is a finished image, deployed to your Micro SD card, with all the minimum required software installed.
| Pros | Cons |
|---|---|
| Easy installation | Lack of full access to the host system |
| Small memory footprint | Inability to install third-party software if needed |
| Hass.io plugins | The problem with access to mounted USB drives |
| One button backup of the automation system and its plugins | Binding to the specific hardware for which the image is made |
Step-by-step Tutorial
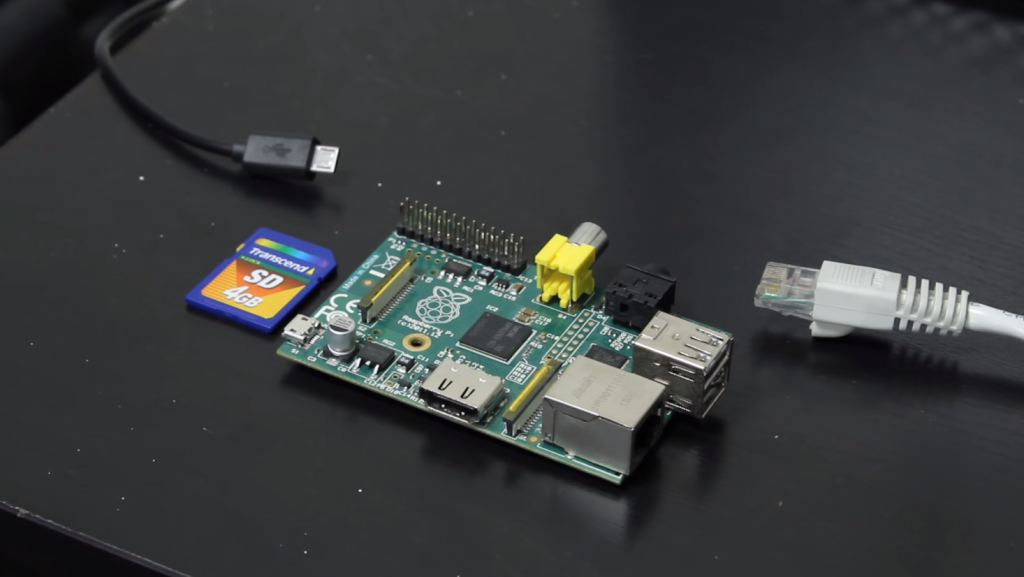
HASS.io is a great way to get acquainted with the system, with a minimum of fuss. All you need from you is an empty Micro SD card with at least 8 GB and the Raspberry Pi itself.
Step 1: Install Docker
We will use the officially recommended script for installing Docker:
$ curl -fsSL https://get.docker.com -o get-docker.sh
$ sudo sh get-docker.sh
Let’s add the current user to the docker group so that we don’t have to use sudo every time we call docker:
$ sudo usermod -aG docker pi
You need to log out for the changes to take effect! This can be done by pressing Ctrl+D. Log back in and check that docker is running:
$ docker --version
Docker version 18.06.1-ce, build e68fc7a
Step 2: Installing the Dependencies
The Hass.io page has a list of additional packages that are required for a successful installation of Hass.io. If you have Raspbian Stretch installed, you only need to add jq. Other distributions may require additional packages. The Hass.io installation script will carefully check dependencies and tell you what is missing.
Install the missing packages:
$ sudo apt install jq
Step 3: Installing Hass.io
The official instructions say to run the script as root, many people skip this and get a permission denied error when trying to run the script.
I used my own Raspberry Pi 2, so I specified the board type raspberrypi2, you can see the full list of supported boards/architectures here. You may notice that the Orange Pi isn’t on it, but the field reports a successful installation on the Orange Pi PC 2 by selecting the raspberrypi3-64 board type.
$ curl -sL https://raw.githubusercontent.com/home-assistant/hassio-build/master/install/hassio_install | sudo bash -s -- -m raspberrypi2

[Warning] No AppArmor support on Host.
[Warning] No NetworkManager support on Host.
[Warning] Create DNS settings for docker to avoid systemd bug!
[Info] Restart docker and wait 30sec
[Info] Install supervisor docker
[Info] Install supervisor startup scripts
Created symlink /etc/systemd/system/multi-user.target.wants/hassio-supervisor.service → /etc/systemd/system/hassio-supervisor.service.
[Info] Run Hass.io
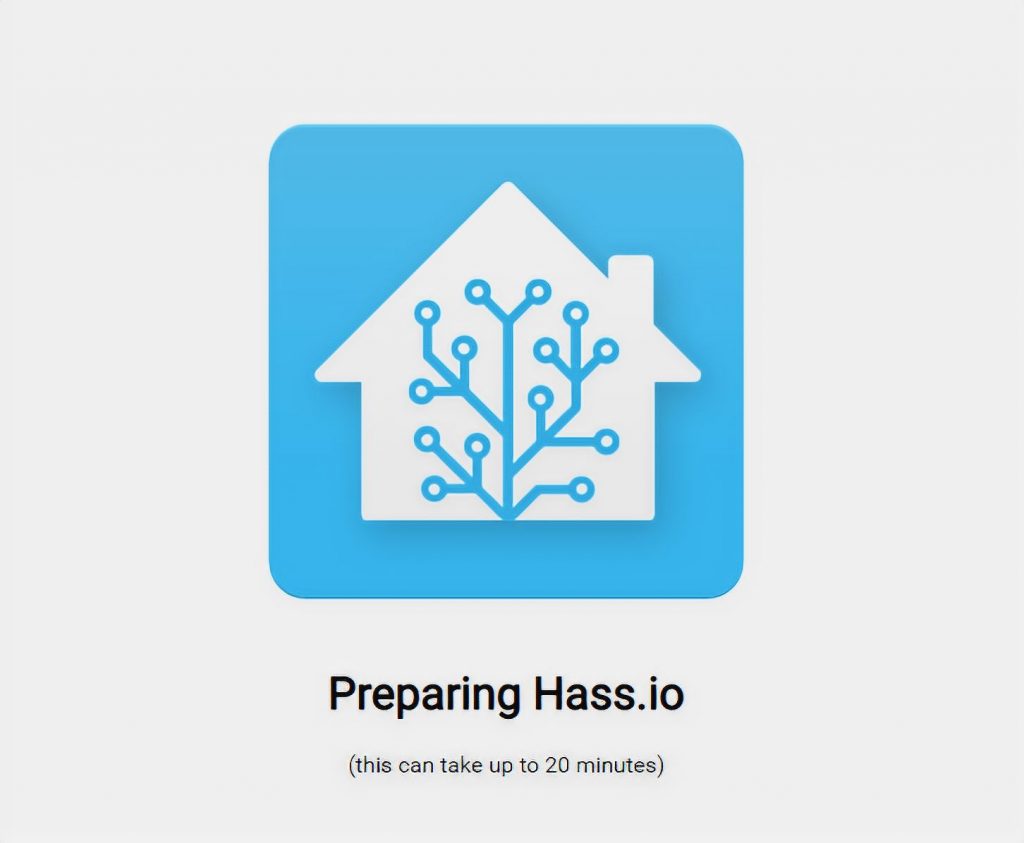
Wait for the script to work and return us to the command line.
Step 4: Check That It Works
Make sure the containers are up and running:
$ docker ps

CONTAINER ID IMAGE COMMAND CREATED STATUS NAMES
4b21032640b4 homeassistant/qemux86-64-homeassistant "/usr/bin/entry.sh" 2 minutes ago
9dc2af4a981d homeassistant/amd64-hassio-supervisor "python3 -m hassio" 2 minutes ago Up 2 minutes ago
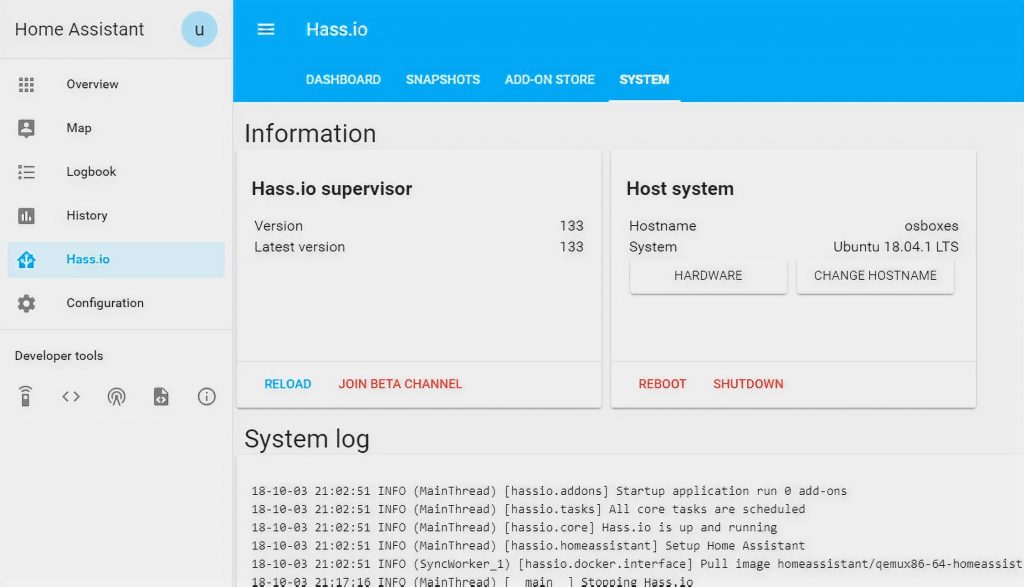
This command should show us a pretty crooked list of two containers hassio_supervisor and homeassistant in Up status. If you are lucky to have a very wide monitor you might be able to see all the data on one line, as intended by the authors of docker. At the end of the article (in the usefulness), it says how to display only selected columns for the ps command so that your eyes do not drip when reading. If you now open the Home Assistant page at: http://your_ip:8123, you can see a teaser like this:
The hassio_supervisor logs at the same time show that it is downloading and installing the latest home assistant image:
docker logs hassio_supervisor -f

[...]
18-10-03 21:18:38 INFO (MainThread) [hassio.addons] Startup application run 0 add-ons
18-10-03 21:18:38 INFO (MainThread) [hassio.tasks] All core tasks are scheduled
18-10-03 21:18:38 INFO (MainThread) [hassio.core] Hass.io is up and running
18-10-03 21:18:38 INFO (MainThread) [hassio.homeassistant] Setup Home Assistant
18-10-03 21:18:38 INFO (SyncWorker_4) [hassio.docker.interface] Pull image homeassistant/qemux86-64-homeassistant tag 0.79.3.
Depending on your connection speed it may take some time before Home Assistant is downloaded and launched. It may even appear that Hass.io is hung up. Wait for lines like:
18-10-03 21:38:29 INFO (SyncWorker_4) [hassio.docker.interface] Tag image homeassistant/qemux86-64-homeassistant with version 0.79.3 as latest
18-10-03 21:38:29 INFO (MainThread) [hassio.homeassistant] Home Assistant docker now installed
18-10-03 21:38:29 INFO (MainThread) [hassio.homeassistant] Start Home Assistant
18-10-03 21:38:29 INFO (SyncWorker_2) [hassio.docker.interface] Stop homeassistant/qemux86-64-homeassistant Docker application
18-10-03 21:38:33 INFO (SyncWorker_2) [hassio.docker.interface] Clean homeassistant/qemux86-64-homeassistant Docker application
18-10-03 21:38:33 INFO (SyncWorker_2) [hassio.docker.homeassistant] Start homeassistant/qemux86-64-homeassistant with version 0.79.3
Open URL: http://your_ip:8123
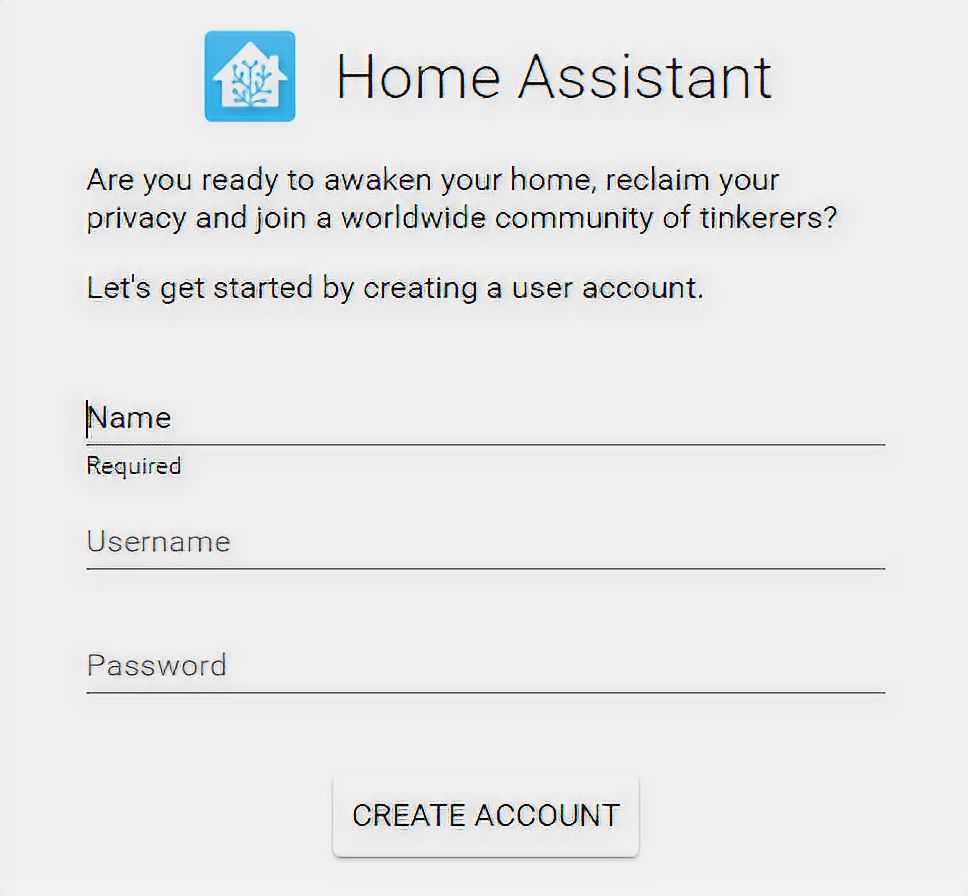
Create an account and log in to Home Assistant:
We did it!
Step 5: A few useful tips
Where is Home Assistant’s configuration and how to edit it:
nano /usr/share/hassio/homeassistant/configuration.yaml
Exit the nano editor with Ctrl+X.
You can also use the online configuration editor, available as a Hass.io addon: HASS Configurator.
How to restart Home Assistant from docker:
docker restart homeassistant
How to delete HA database and start “from scratch” (you need to restart Home Assistant):
rm /usr/share/hassio/home-assistant/home-assistant_v2.db
A shortened version of the docker ps command, convenient for small screens:
docker ps --format "table {{.ID}}\t{{.Image}}\t{{.Status}}\t{{{.Names}}"
You can add it to aliases and call it with command dps, for example.
Updating HASS.io
Home Assistant is an actively developing project. New updates are released every week. As updates introduce all-new integrations, I recommend to install them as soon as they are released.
If Home Assistant was installed according to my instructions, viz:
- in the
/srv/homeassistantfolder - from a separately created user named homeassistant
Then you can update it by running the following commands in the terminal:
sudo -u homeassistant -H -s
cd /srv/homeassistant
source bin/activate
python3 -m pip install --upgrade homeassistant
If your installation is different, you need to adjust the commands by specifying the correct path to the installation location and switching to the correct user.
After installing the update you need to restart the server:
Home Assistant → Settings → Server → Restart
Conclusion
The French architect Le Corbusier is credited with the phrase “a house is a machine for living.” However, the realization of the “house-machine” concept has become possible only now, when the level of development of home automation is much more advanced.
Based on the Home Assistant, you can implement any home automation projects. Even now, hundreds of devices supported by the system are available for sale, and their number is growing every month.


A Raspberry Pi can be a great addition to your home as a home assistant. You can use it to control your lights, thermostat, and even your coffee maker. It’s a great way to automate your home, and you can even find creative ways to use it, like setting up a security system or monitoring your energy usage.
If you’re thinking of adding a Raspberry Pi to your home, here are a few things to keep in mind. First, decide what you want to use it for. There are many different ways you can use a Raspberry Pi, so think about what would be most helpful for you. Second, consider the cost. A Raspberry Pi is relatively inexpensive, but keep in mind that you’ll also need accessories like a power supply and SD card.
Thanks for sharing your minds, Luke!