
Arduino is one of the most popular simplified motherboard design systems for engineers. It owes this status to its simplicity in terms of software and hardware because the former and the latter are already presented to the user on a platter, and he only needs to combine them as he wishes. It’s a construction set with a number of microcontrollers for different situations, which also increases the variability of its application.
Let’s understand one of the basics of creating projects, namely how to connect the Arduino Nano power and what nuances you will encounter during this process.
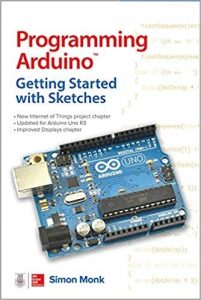 Do tou want to be a pro in Arduino? Get this book just now!
You’ll learn:
Ways to Power the Arduino Nano
As already mentioned, the system is highly variable, and this is built into it by the creators themselves. So it has to be ready for different situations and variants of operation so that the “awkward” user does not break something inadvertently. Or, which happens more often, he did not have to design the motherboard for each system’s nuances by himself.
Deviating from the topic, let us mention that the latter does have to be done. Creating a full copyright design, you will have to buy resistors, transistors, and other utensils, but in most cases – this approach is archaic and unnecessary.
And the thing is that on the Arduino Nano, the power supply is built in a special way that allows you to work with different power sources, and therefore with a certain range of current characteristics, instead of clear values in the analog system. This is what makes the power supply of the Arduino Nano appeal to most beginners, but to more advanced users, this solution seems to be controversial and can cause a lot of discussions in their community.
Why this happens, you will understand yourself as soon as you gain some experience in system design and start doing more serious things, but by then, most likely, you will not need to use Arduino at all.
To be more specific, the Arduino Nano can be powered from three different sources:
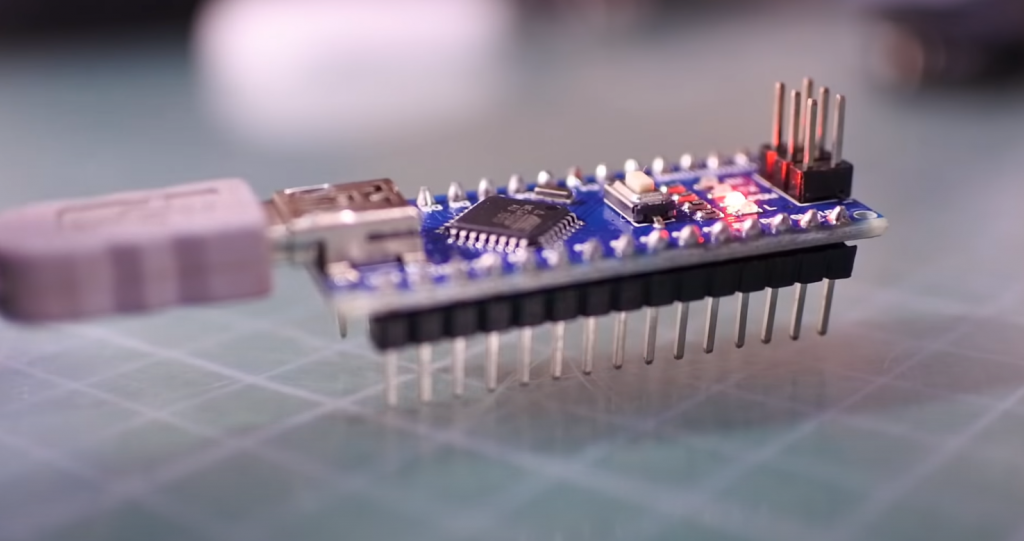
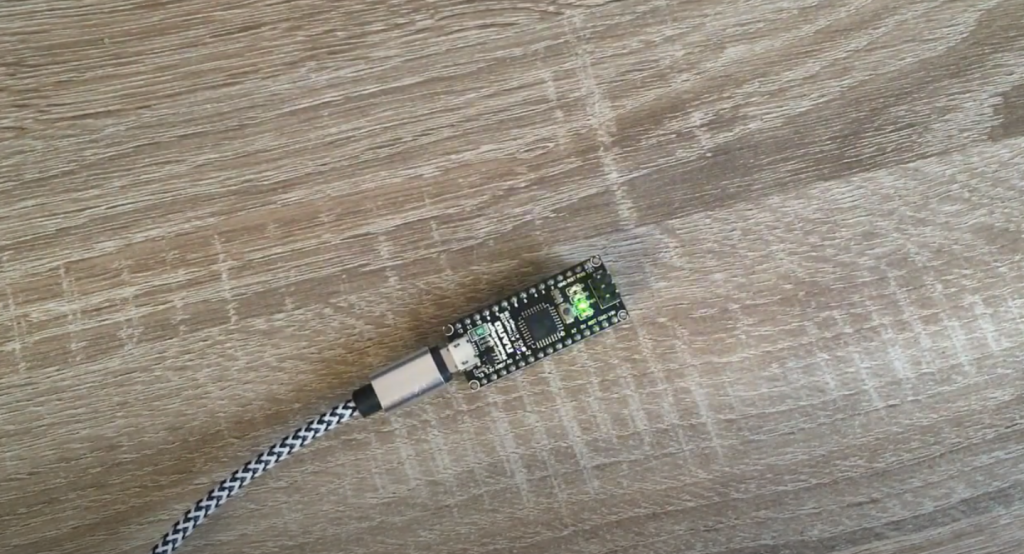
- The Mini USB type B when you test your project on a PC. This is a very important and convenient point because you don’t need to bring in additional current when you’re programming and testing your product, which saves you a lot of effort. And having systems that allow you to regulate current characteristics through such a source simplifies some tasks.
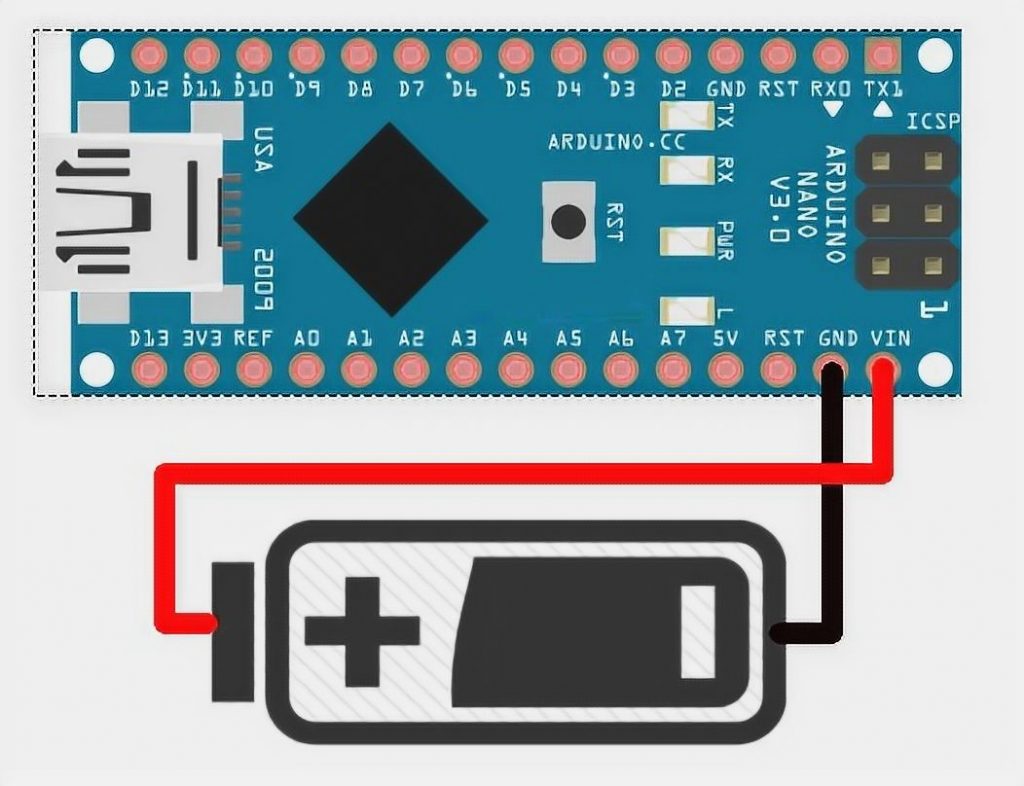
- Directly through unregulated 6-20 volt sources. This is done through a 30 pin, and similar to a digital signal output, this input accepts the full range. Handy in some cases, which you can find out more about when you start taking apart the projects on the system.
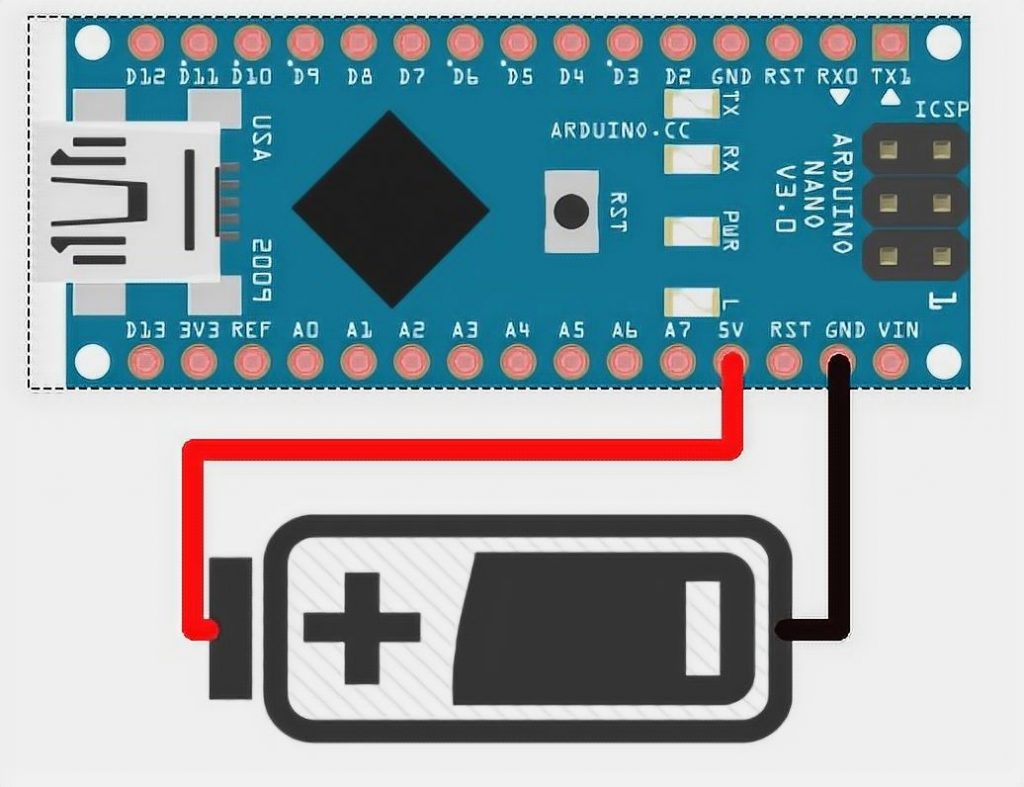
- Through regulated 5 volt sources. This is the standard and often used way to supply power to the Arduino Uno. It has a small disadvantage in that you need to somehow convert the input voltage to 5 volts, but there are many solutions to this problem. This input is on pin 27.
The Nano has only the three inputs described above, and this is worth considering when designing systems. Also, note that if you connect to each of them at the same time, the board will select the one with the highest voltage as the power source in the software and will block the others.
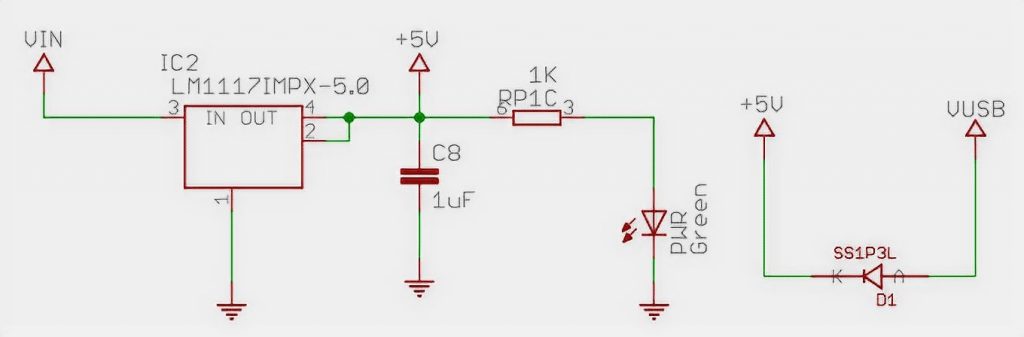
There is no need to explain the convenience of such a solution. The LM1117IMPX-5.0 additionally stabilizes external power supplies with a 5V voltage. When connected to a computer, the system starts using a Schottky diode to regulate the incoming current (see the diagram above).
Power Characteristics for the Arduino
We have now discussed all the ways to connect the power supply to the Arduino and the latter’s characteristics so that the board will not burn out and be able to do the job properly. We should mention beforehand that the latter, in principle, is unlikely, because although the Arduino power supply from the Arduino may have different characteristics, the microcontroller is still more strictly related to it than some “dummy” board you would want to replace it with.
We already said that the limitations have their disadvantages and advantages, so you have to decide whether this approach is convenient for your project.

In any case, it is better to adjust the connected power supply to the given characteristics if possible, so the documentation of some projects specifies how to properly line up the circuit so that the final current comes in strictly limited quantities and is regulated in terms of voltage.
The latter has already been mentioned, and what it should be we have figured out, but what about amperage? After all, this is no less important nuance, which should be taken into account in advance when creating complex systems, especially with a large number of modules. And the latter good, in some cases, can be really a lot.
Because of this, and it is hard to say what power supply on the Arduino Pro Mini is better to connect in terms of current strength. The fact is that each little thing you use in the project consumes a certain limited amount of electricity, often specified in mA, so here all the calculations are extremely individual and case-specific.
Beginners don’t have to think about this because the Arduino’s necessary power supply is described in the guides in great detail, and it’s very hard to make a mistake there. It is necessary so that the new user could get used to all the nuances of the system design and architecture.
After all, if the ESP8266 is battery powered, you need to make sure that there is no battery power excess. If you will connect the ESP8266 power to a custom design, which analogs are not found on the network, then everything is also not very difficult. The fact is that each module’s characteristics and each board are described in great detail in many manuals. All you need to do is to use a few electrical engineering laws and correctly design the platform so that each component will get the resources it needs.
Connecting the Power
You can connect it all directly to the pins, or in the case of testing the system, you can simply use the USB port. The system itself calculates how much it needs and internally converts the input voltage to the appropriate values.
If you are using an unregulated and regulated source, just solder the appropriate wire to the pin, and the electricity will flow smoothly through the board.
Final Words
In conclusion, Arduino Nano is a great tool for beginners. It is easy to use and has many capabilities. With a little practice, you can create some amazing projects with Arduino Nano. Thanks for reading!


This article has been written by someone who has failed to grasp the basics of the Arduino Nano hardware. For example “if you connect to each of them at the same time, the board will select the one with the highest voltage as the power source *in the software* and will block the others” is plain wrong I.e. not just over simplified. The selection is NOT via software but by simple hardware design.
Also, the Nano does not require 5V to run. I have several running quite happily on 3.6V and it is designed to operate below 2V. Note that CPU frequency may need to drop for low voltages.
Also, AREF (for the ADC) isn’t mentioned. This is optional, but again, a quick mention would be helpful.
Also, the stated function of the Schottky diode is at best misleading, and at worst wrong. It is NOT to ‘regulate input current’.
There are more issues too, which show a lack of basic electronic understanding.
Thanks for your comment! This article will be updated.