
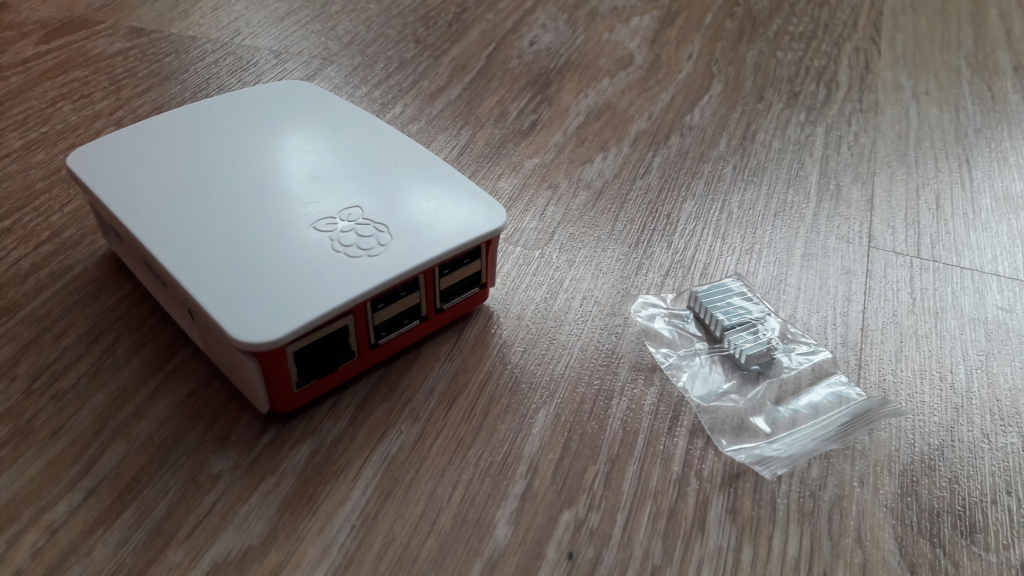
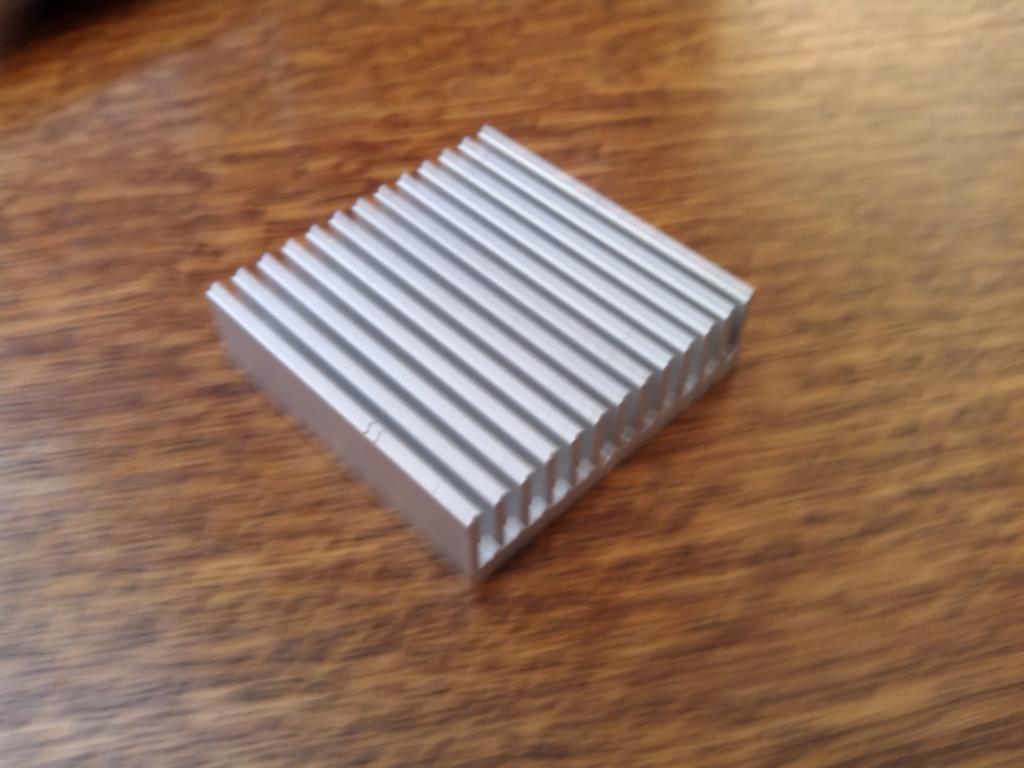
The Raspberry Pi 3 has been known to heat up a lot, so I ordered a set of heatsinks (1 for the processor and 1 for the USB-LAN controller).
The heatsinks are made of aluminum. The heatsink soleplate area is slightly larger than the area of the chip on which it is mounted. The soleplate is covered with a black thermal interface with an unknown coefficient of thermal conductivity.
This thermal interface is used to attach the heatsink to the chip. Now I have big doubts about the quality of this thermal interface, and in the future, I am going to replace it with something better in terms of thermal conductivity. At the moment, I can’t find a thermal paste that would allow for both good heat transfer and good fixation of the heatsink to the chip.
Testing
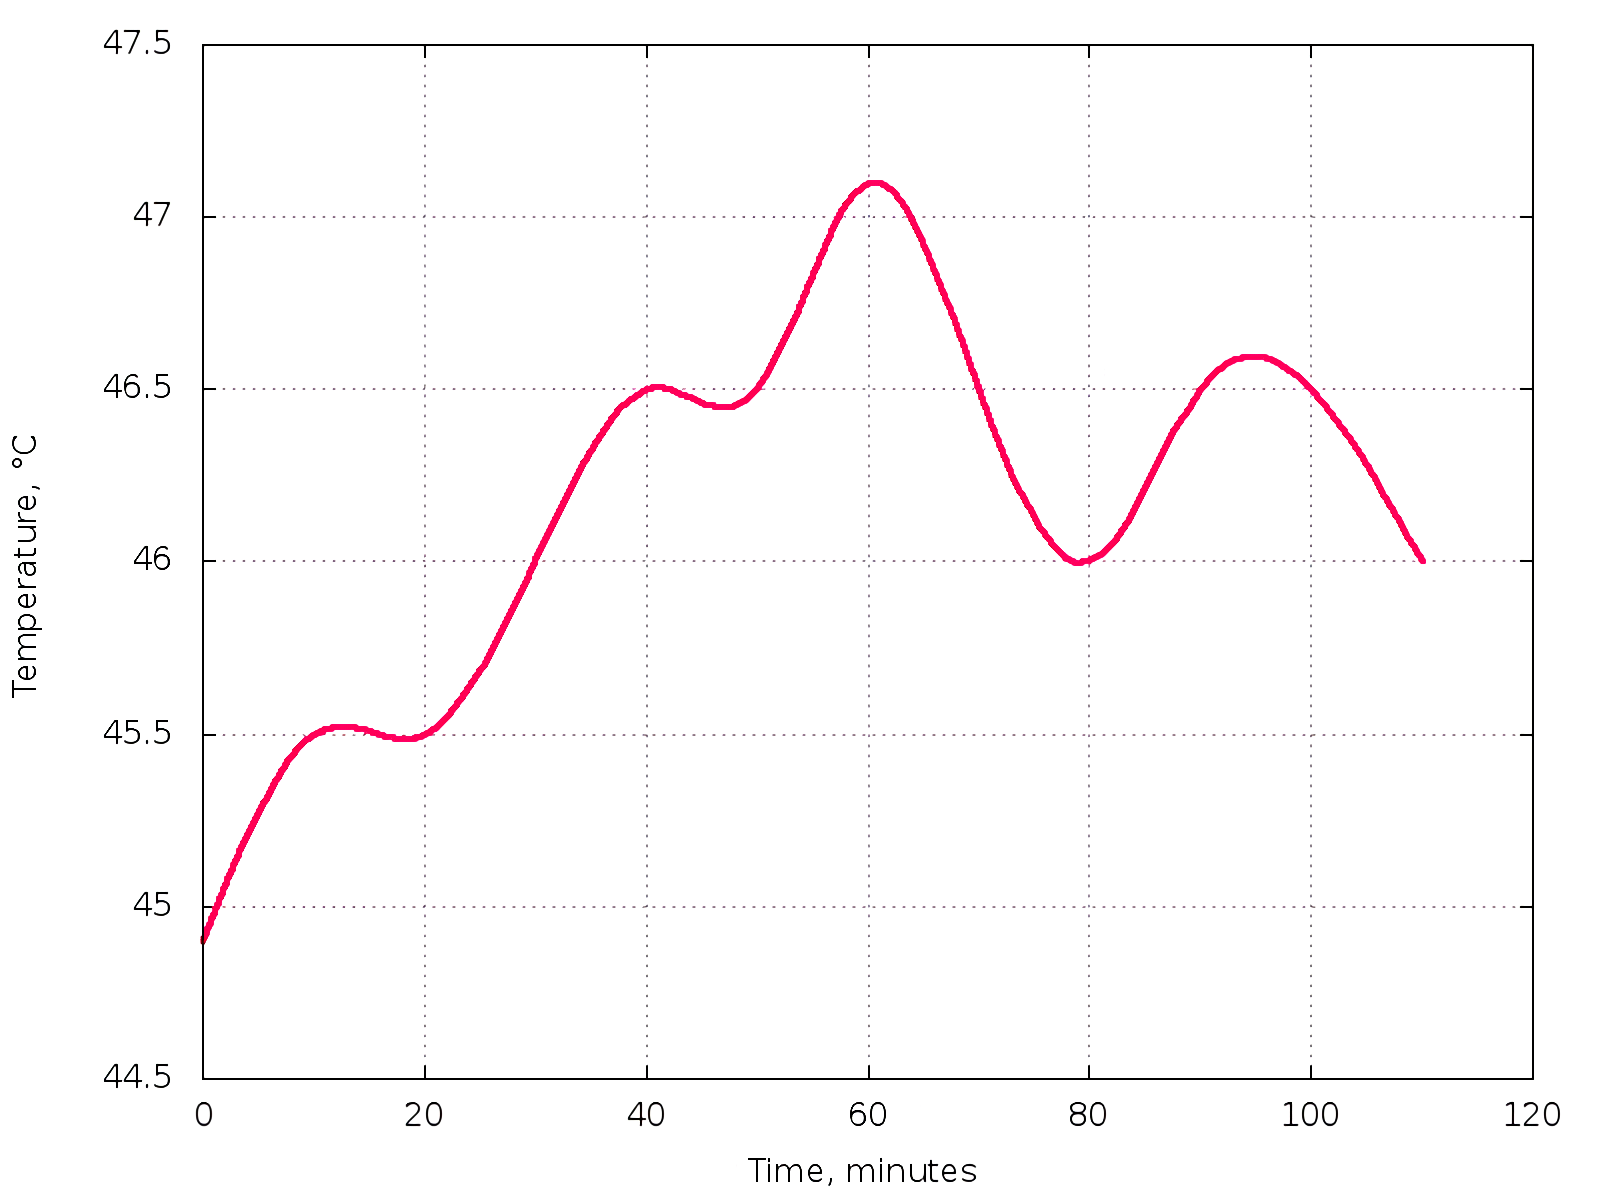
In the Zabbix monitoring system, I compared the temperature of the Raspberry Pi 3 CPU before installing the heatsink and after. The graph shows (the dip in the graph is the Raspberry Pi shutdown to install heatsinks, respectively the left and right of the dip are the temperatures before and after installing the heat sinks) that the board only achieved an average temperature drop of 3 degrees (board installed in a closed brand case).
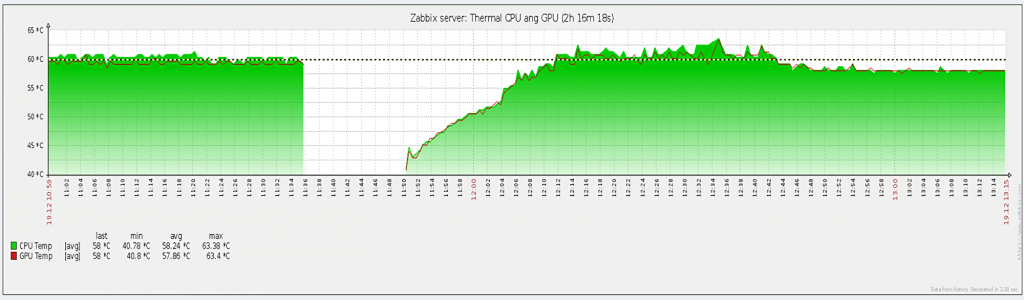
I haven’t tested the board at 100% load, but so far, the temperature hasn’t risen above 158 °F (70 °C). The idle temperature is 136 °F (58 °C), the load temperature is usually 149 °F (65 °C), with LAMP, Bind, Minidlna, Zabbix running on Raspberry.
Radiators for Raspberry Pi DIY
I decided to make radiators for my Raspberry Pi. CPU got pretty hot when under heavy load, and after seeing many “horrible” pictures like the one below, I decided to try to protect the chips from overheating.
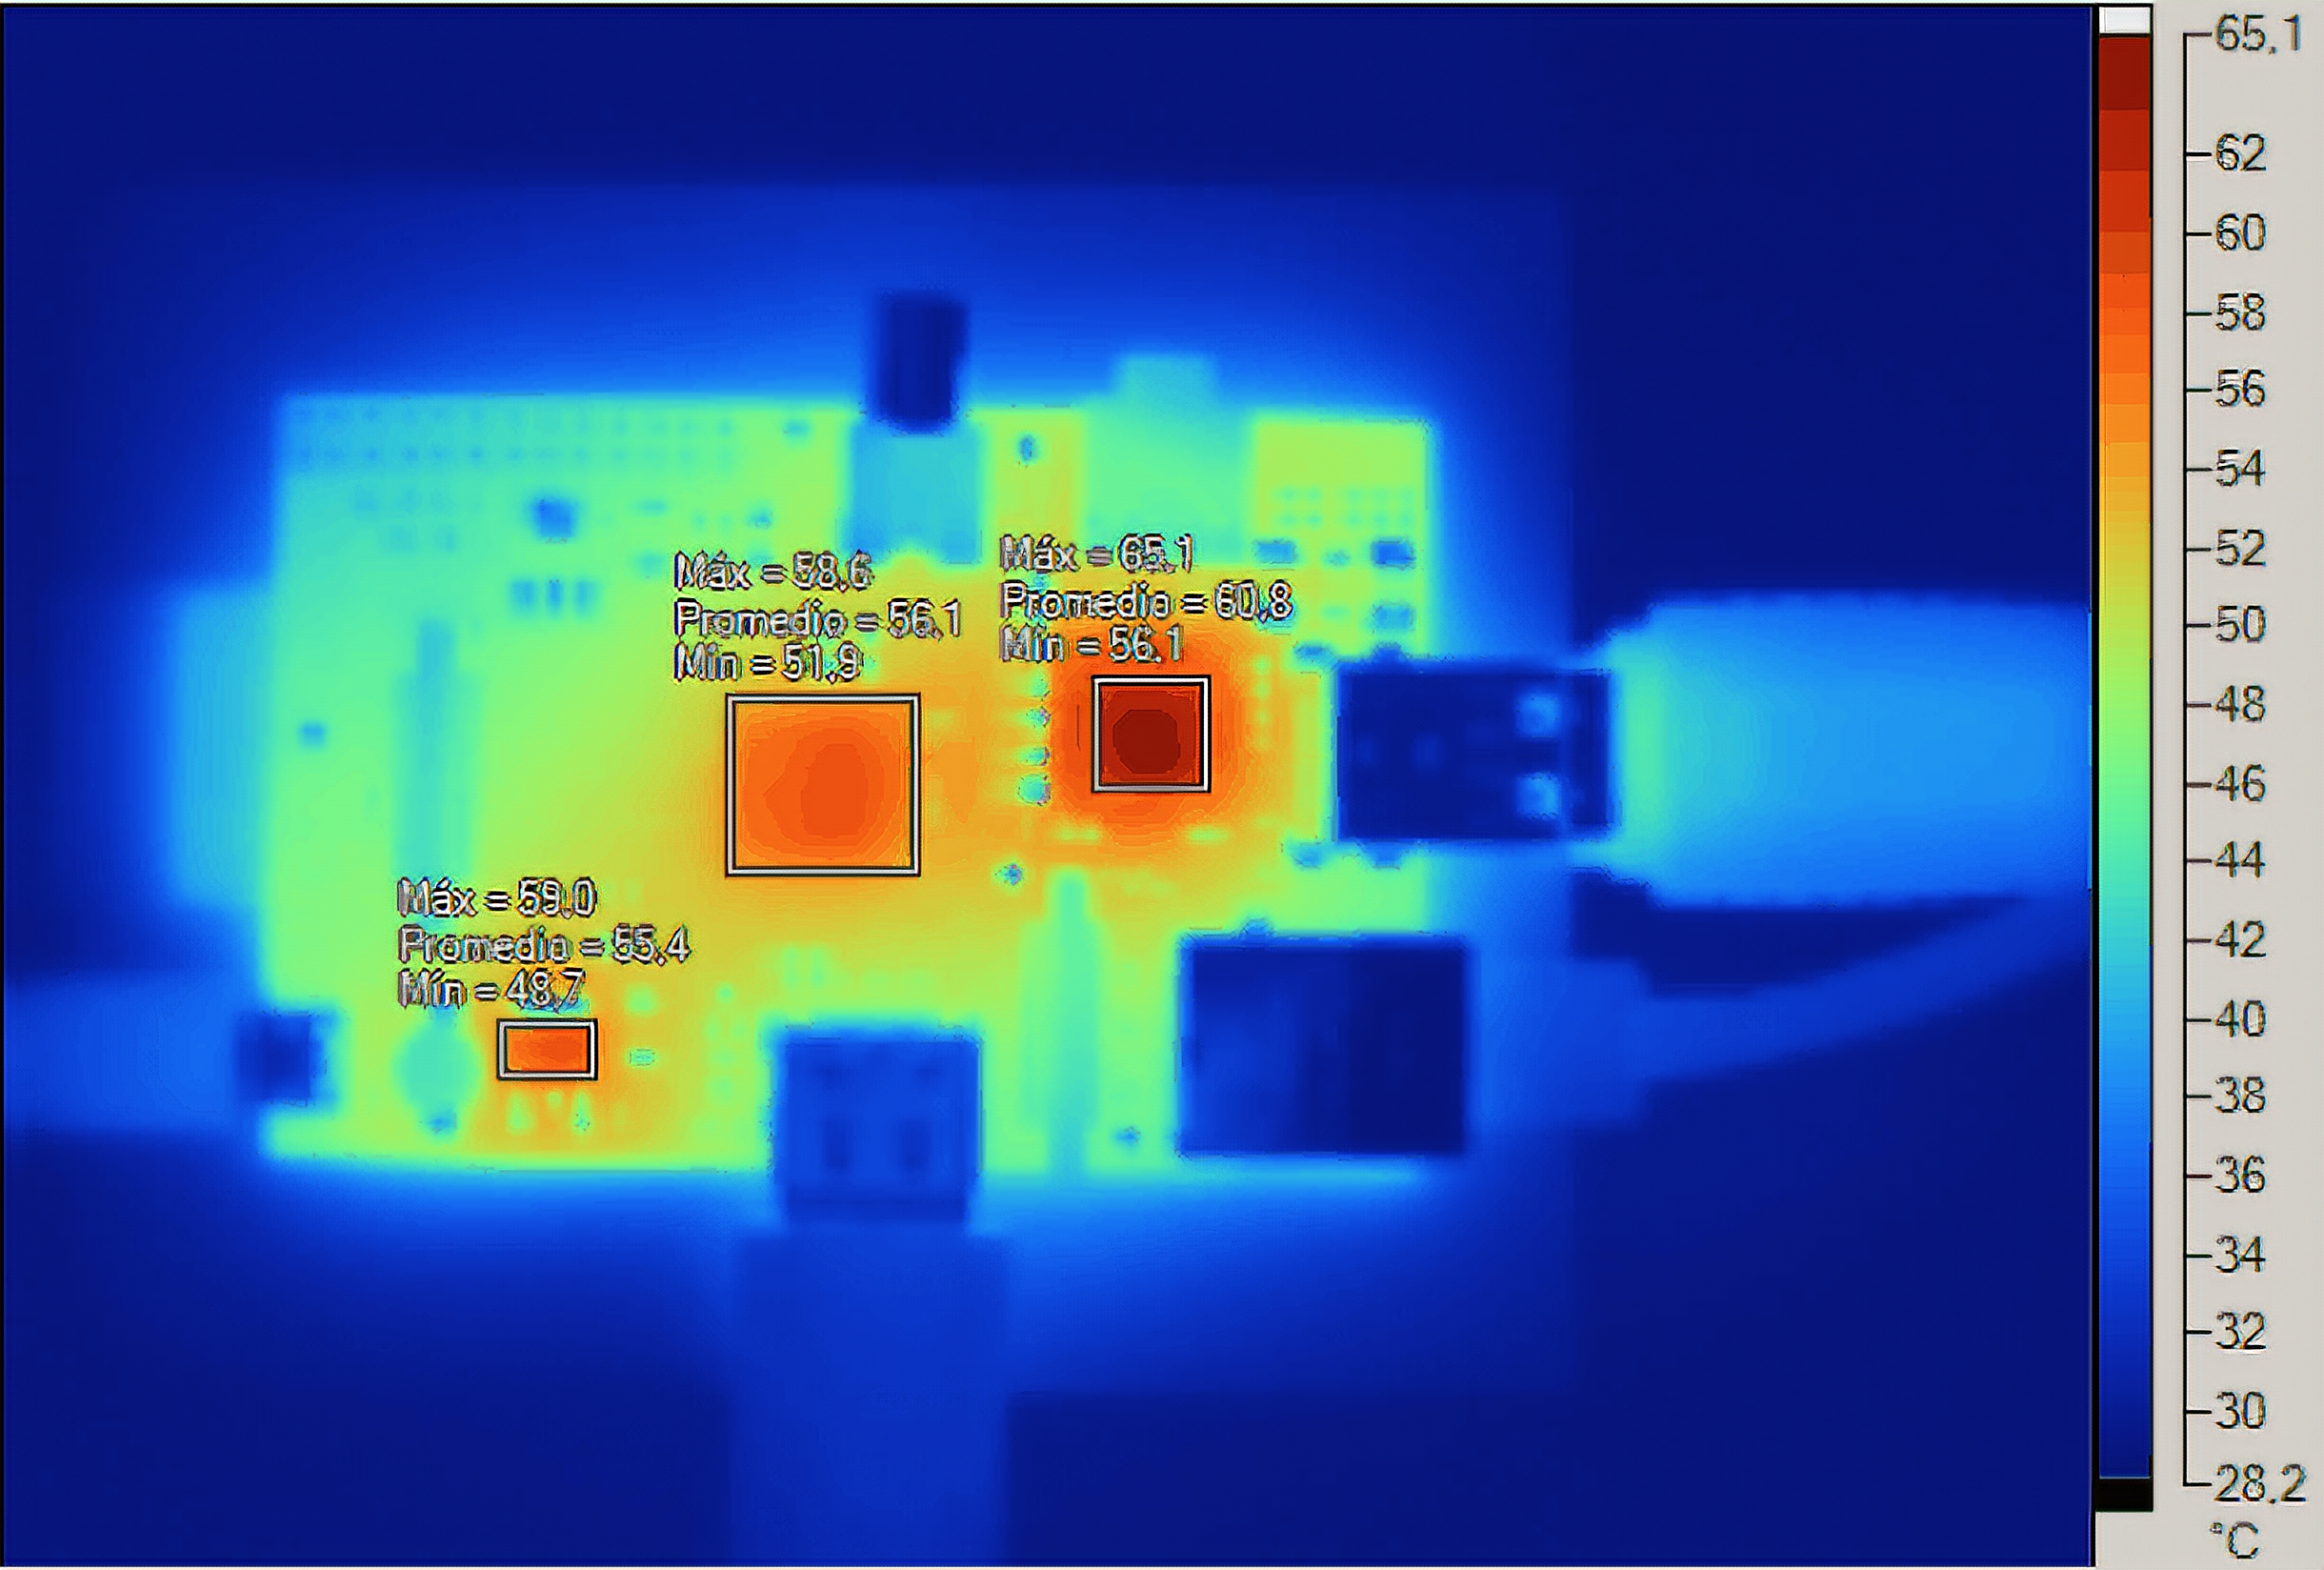
Generally speaking, even 140 °F (60 °C) is an average operating temperature for a processor, but who knows what can happen if the device is overloaded even in hot summer? Nothing would happen, but it was useless to dissuade me, so I started looking for a donor. Yes, it was possible to buy something more or less suitable, but it is not sporty. I would not have to look long if I knew whom to ask, and soon, a good friend of mine brought me such a radiator.
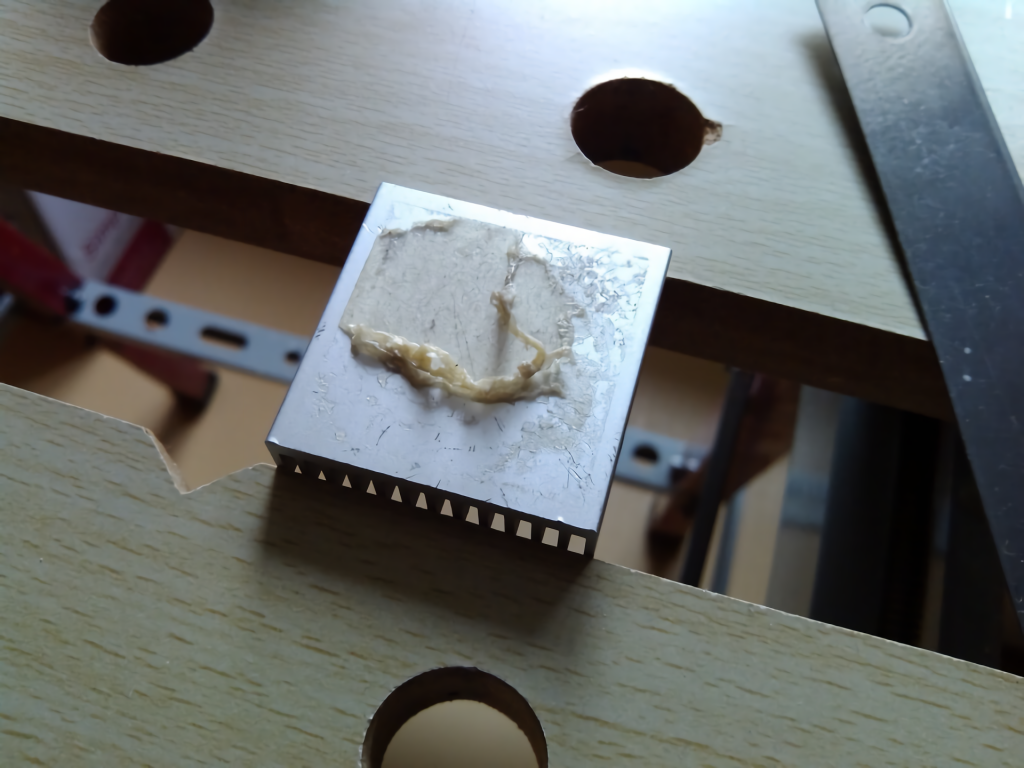
The first thing to do was to scrape off the remains of the old glue. I scraped off the main part with a metal ruler and removed the rest with acetone.
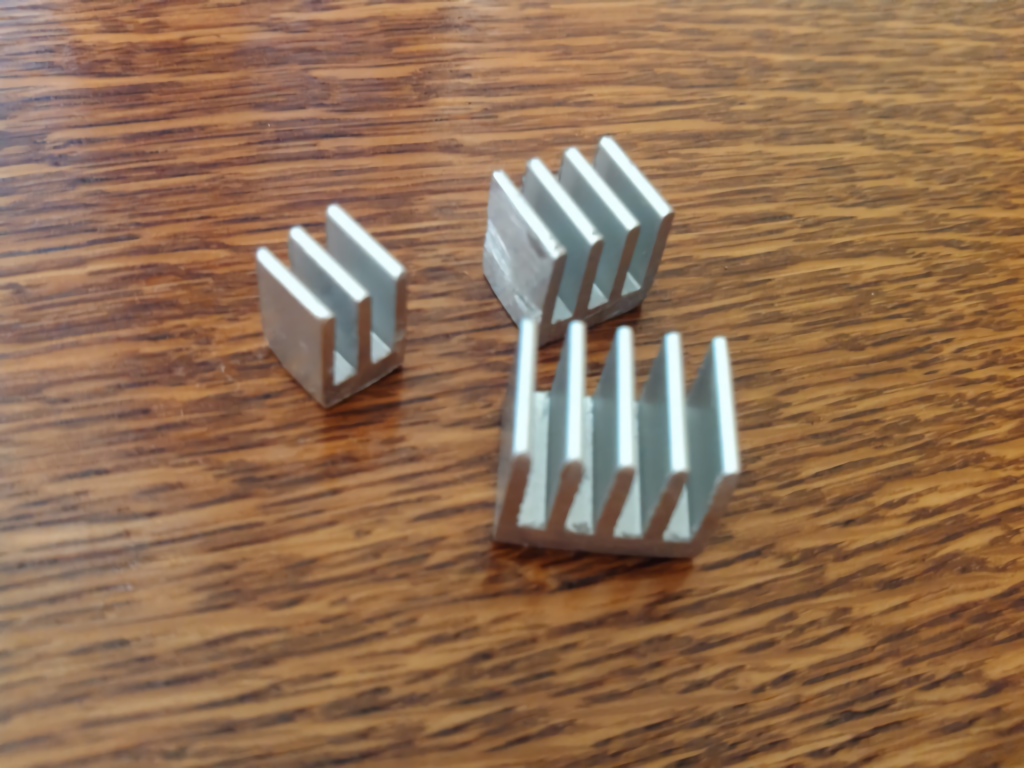
Then I measured the chip dimensions, marked it, took a metal hacksaw, and began to saw. It is worth making a note for those who are going to repeat my feat. Take into account that you can see off beautifully and evenly, 146% that you will have to bring a file to a decent look.
I made a reserve of 1-2 millimeters (by eye), and it was just enough. Then alignment file and sandpaper, the result was three small radiators. I did not strive for perfection: more or less even and okay. Now the only thing left was to glue them on.
Experiments
An inquisitive mind does not let me rest. I must try to check it. I have no thermometers, thermometers, and other measuring equipment. So I squeezed out some Python code for lack of anything better to do:
#!/usr/bin/python

from time import sleep

f = open('temp.txt','w')

for i in range(12) :
    sleep(600)
    cpuTemp = str(round(int(open('/sys/class/thermal/thermal_zone0/temp').read())/1e3, 1))
    print cpuTemp
    f.write(cpuTemp + 'n')

f.close
This gave me some CPU temperature values. In an attempt to visualize the information I got, I sketched out the following code on GnuPlot:
#! /usr/bin/gnuplot -persist

set terminal png size 800, 600
set output "result.png"
set grid xtics

set xlabel "Time, minutes"
set ylabel "Temperature, 260C" rotate by 90

set style line 1 lw 3 linecolor rgb "#FF0066"

plot "~/temp.txt" using (column(0)*10):1 w ls 1 notitle smooth csplines
Then I measured the results with the radiators in a similar way. I got the following result:
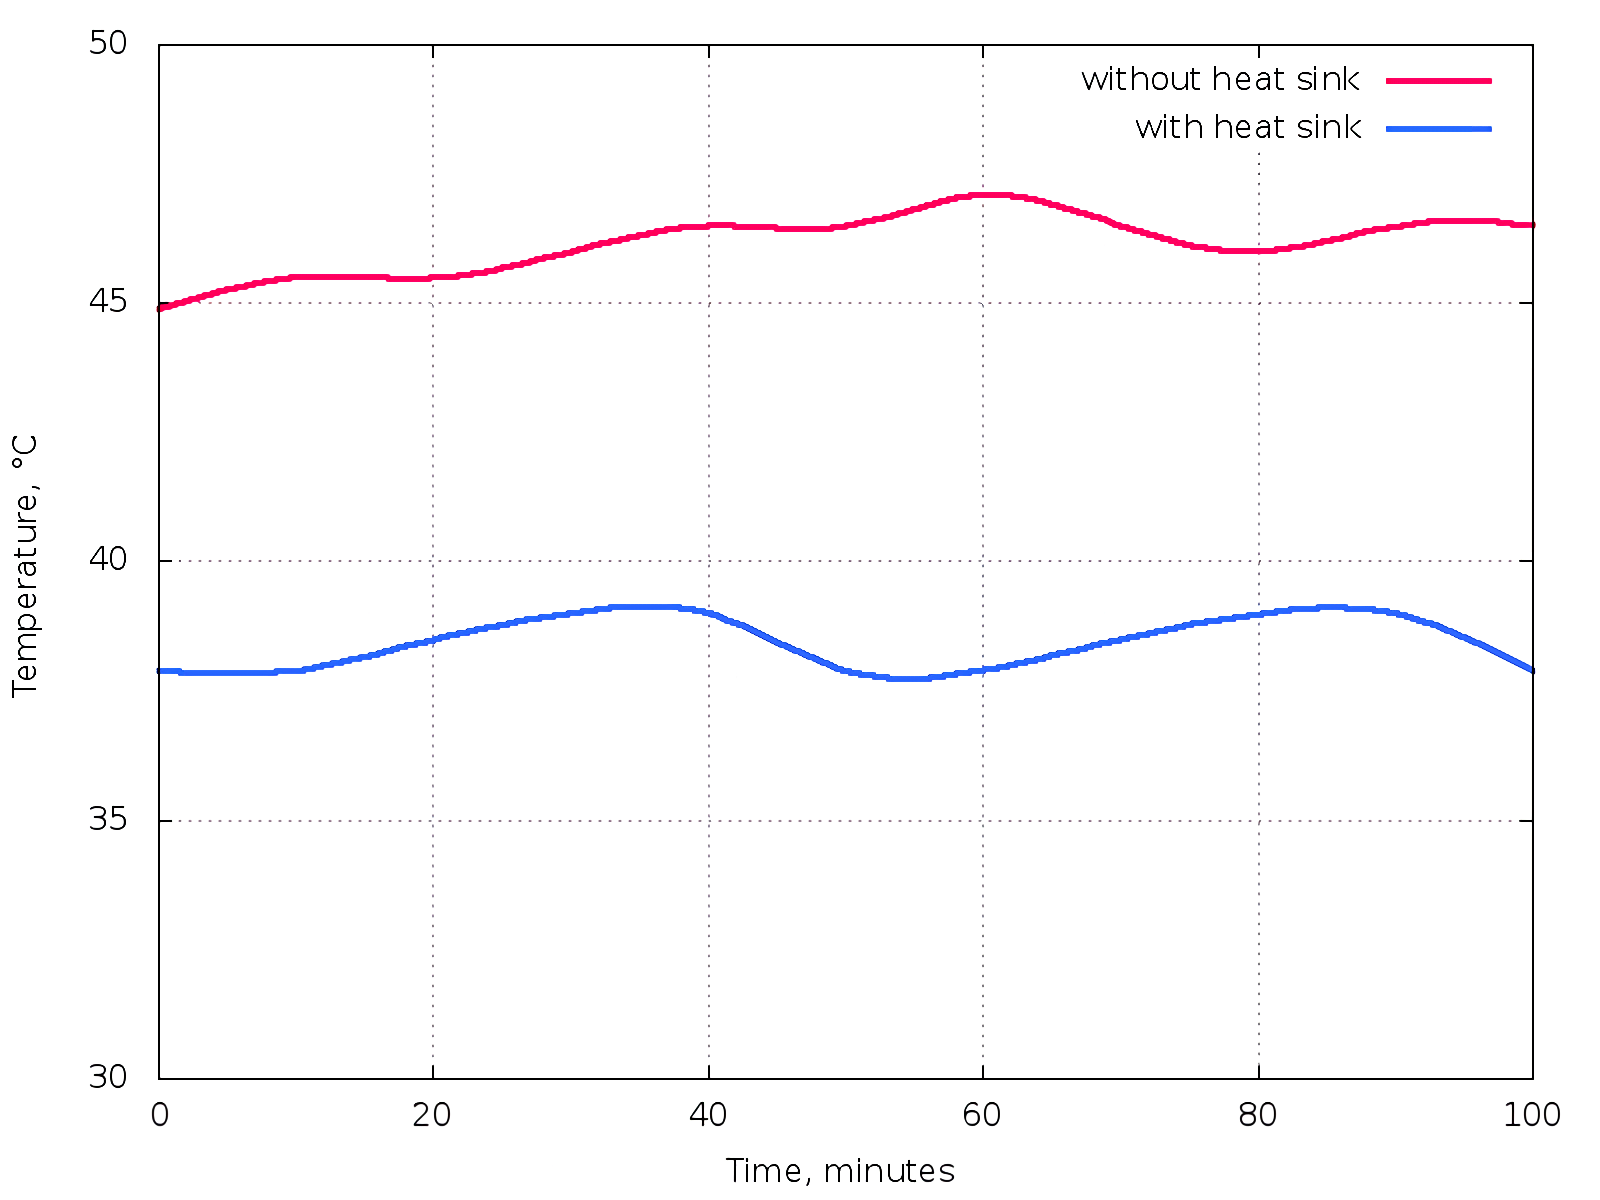
If anyone is interested, the code for GnuPlot in this case is
#! /usr/bin/gnuplot -persist

set terminal png size 800, 600
set output "results.png"
set key spacing 1.30
set grid xtics ytics

set xlabel "Time, minutes"
set ylabel "Temperature, 260C" rotate by 90

set yrange [44:48]
set xrange [0:100]

set style line 1 lw 3 linecolor rgb "#FF0066"
set style line 2 lw 3 linecolor rgb "#3366FF"

set multiplot

plot "~/temp.txt" using (column(0)*10):1 w ls 1 title "without heat sink "smooth csplines, /
     "~/temp_n.txt" using (column(0)*10):1 w ls 2 title "with heat sink" smooth csplines

unset multiplot


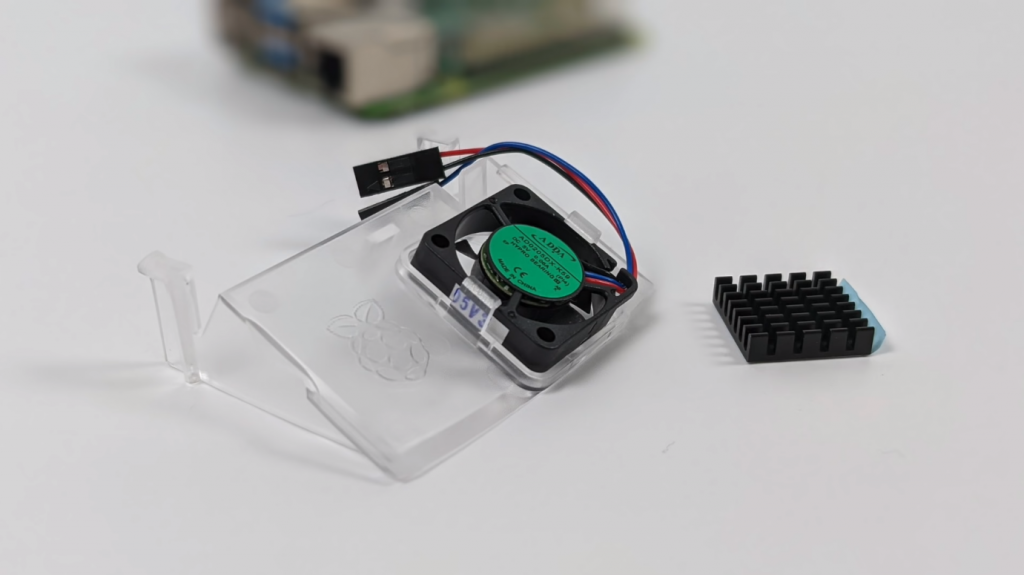
I installed a heatsink on my Raspberry Pi 3 and it was pretty easy. I just followed the instructions that came with the kit.
It’s been a while since I’ve done any kind of hardware hacking, so it was nice to get back into it. The whole process took me about an hour, including soldering the header onto the Pi itself.
Overall, I’m happy with how it turned out. The heatsink seems to be working well and my Pi is running a lot cooler now.