
Let’s look at how to program an AVR microcontroller using simple examples with detailed descriptions.
To program the controller, we only need 4 things which we will talk about below.
What We Need
So we need the following four things:
- the microcontroller itself;
- a programmer;
- a programming environment is installed;
- a little knowledge of assembly language or C.
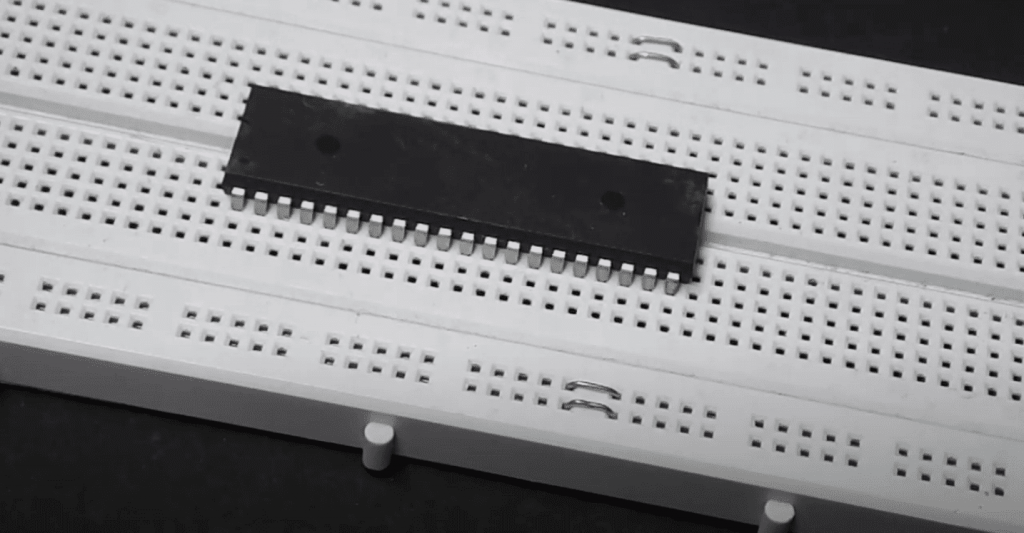
Choosing a Microcontroller
First, you need to choose a microcontroller. You can start with the budget ATINY2313 controller. It costs about $2 and is available in almost all radio stores.
That’s pretty much it, you have ordered it, and it was delivered to you. Next, you need to choose the type of programmer for the microcontroller.
Programmer
There are 2 types of programmers:
- Programmer with connection to the LPT port;
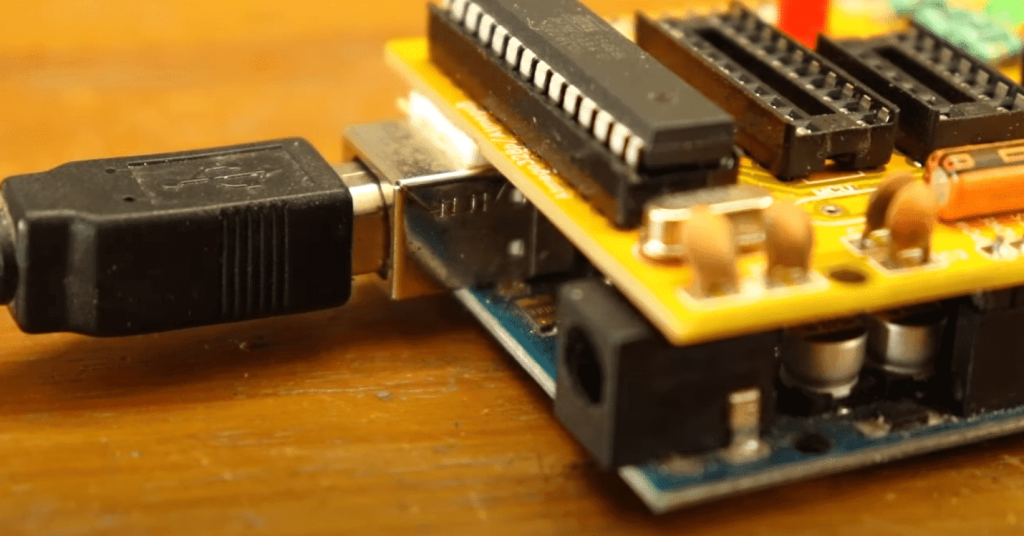
- USBASP, which is connected to the USB port.
The LPT port programmer can be made at home, and there are many schemes on the internet. USBASP programmer can also be made at home. But to use it, you need to buy an ATMEGA 8 Microcontroller, which costs about $3 – $4, and it must be pre-programmed to make our homebrew programmer work.
So the cheapest solution will be to buy a ready, factory-made programmer in the same radios or order it online for $ 3-4 and immediately program our controller without the hassle of etching circuit boards for the homemade programmer.
Another thing you need to make is an adapter board. You need only 5 pins of the microcontroller.
The board can also be made at home, and you just need to have skills in etching boards. If you buy such an adapter board, it will be a bit expensive.
Programming Environment
So, the last thing left is the programming environment. There are many different software products in which you can write programs, but you need to choose the right one for yourself. Atmel Studio is the right choice for those who know to program on an intermediate level. The CodeVision AVR version 1.24 would be a better choice for beginners.
We will write a simple program to control the LED connected to one of the outputs of the microcontroller.
In the File menu, we will choose the New command. This command will create our future project. When you select this command, the Create New File dialog box will open. In this dialog box, we must choose the type of file we want to create. We must choose a Source. Then an editor window will appear in which you can write the program. Let’s call this file LED and write a simple program:
#include // library for working with the Atiny2313 microcontroller
#include //delay library

void main(void) { // main function, in which the program is written
DDRB=0b111111; // setting the B port so that it sends information to the output

while(1){ //create a loop to make our program work in a loop
PORTB=0b0000001; // set bit 0 of port B to send 1 to the output
delay_ms(600); //set a delay
PORTB=0b00000000; //set it so that the 0th bit of port B sends a 0 on the output leg
delay_ms(1000); //set a delay
After writing the program, you will need to save the file. After that, select the command in the File menu:
New → Create New File → Project
The program asks us to use the AVR Code Wizard. Please do not use it yet. A blank window will open, and you will be asked to save your project.
Save it wherever you want. Next, in the Project menu, select Configure. Select the file in which you wrote your program and press Add.
After this action, your project will include the program file. After that, save the whole project.
From the program code, you create a HEX file, which you load directly into the microcontroller’s memory. To do that, select the Make command in the Project menu. The program will check your code for errors and if there are no errors, select the Compile command in the Project menu.
After that, your program will be in the LED.hex file in the location you defined when you saved your project. Then with many programs, we fill in the LED.hex file on the controller, connect the LED with a “+” to the pin of the microcontroller we are writing the program for and a “-” to a common ground, and power the LED on the controller.
If you have done everything correctly, the LED will blink.
FAQ
Can you program AVR with C++?
Many people have asked this question, and the answer remains unclear. Programming an AVR with C++ requires some knowledge in embedded programming and a lot of trial-and-error.
How many ports does AVR microcontroller have?
AVR microcontroller has four ports.
Where can AVR microcontroller be used?
An AVR microcontroller can be used to control the operation of many different devices, including things like robots, cars, and drones. It is a very popular device among hobbyists and electronics enthusiasts because it has many uses.
AVR microcontroller is a popular choice for embedded applications. It is easy to use, and it has an extensive library of pre-written software that can be downloaded from the manufacturer’s website.
Related Video: How to Use an AVR Microcontroller? | Microcontroller Programming
Final Words
In conclusion, thanks for reading this blog post, and hopefully, it helped you learn how to program an AVR microcontroller.


I started programming Atmel microcontrollers about 2 years ago and it has been a great experience. I have used them in a variety of projects, from simple LED blinkers to more complex projects like automated plant watering systems.
Overall, I have found Atmel microcontrollers to be very user-friendly and easy to work with. The programming language is straightforward and there is a lot of online documentation available if you need help.
If you’re thinking about getting into microcontroller programming, I would definitely recommend starting with an Atmel chip. In my opinion, they are the best option for beginners and offer a lot of features for more advanced users as well.
Thanks for sharing your experience!