
An oscilloscope is the next most commonly used instrument after the multimeter in electrical and electronic applications. In its essence, it is a modified voltmeter, through which you can not only measure the voltage but also analyze its shape, detect faults in the circuit and determine measures to fix them. In this article, we will tell you how to use the oscilloscope and consider the device’s principle of operation.
A General Principle of Operation
Without considering the device’s details, which, apart from the developers, in principle, users do not need, we can do with a description of its elements and their functional purpose.
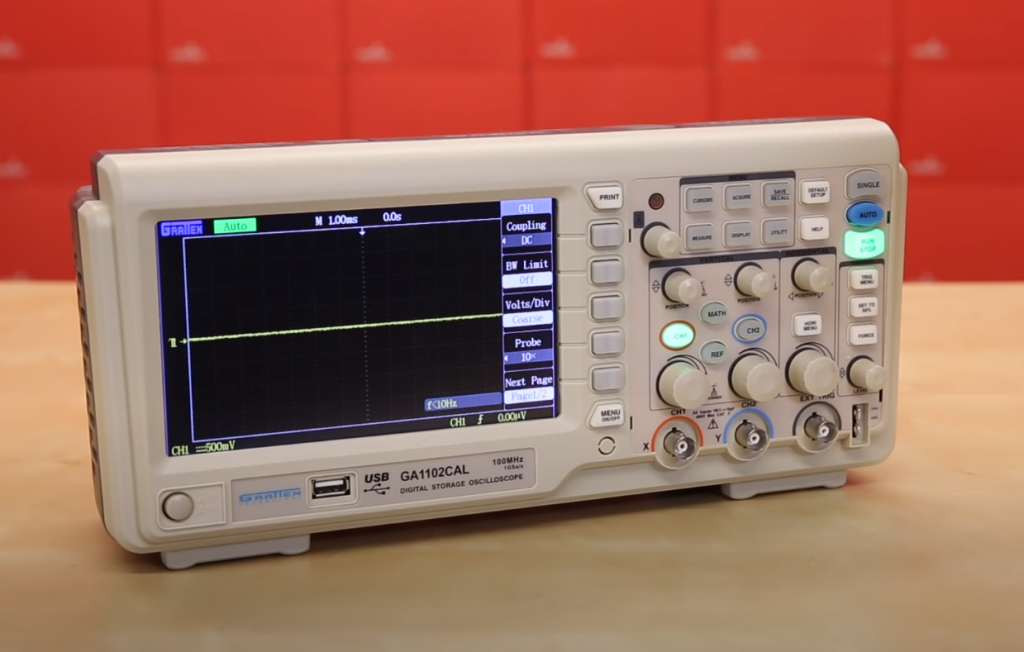
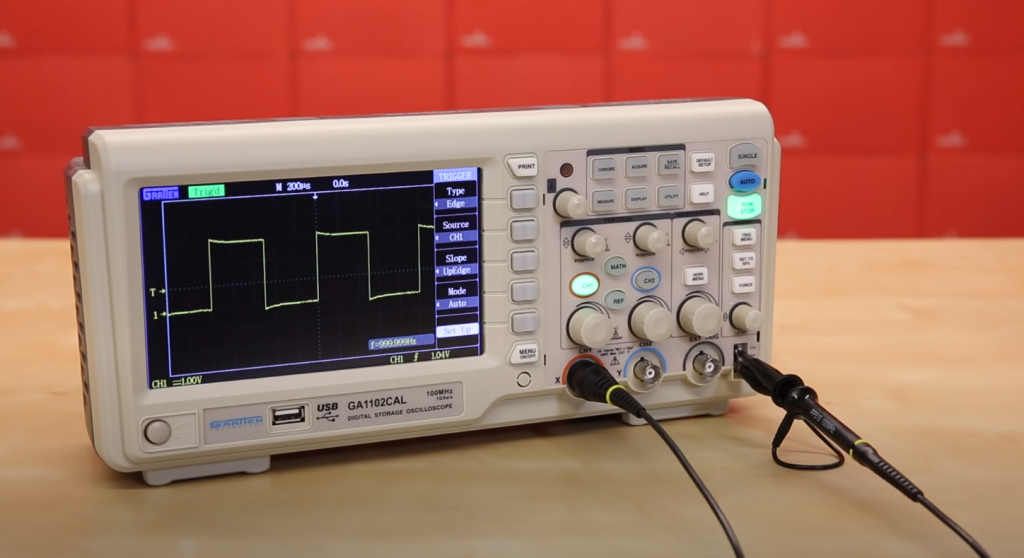
The main element of the oscilloscope is the display, which shows the pulses. The screen is divided into rectangles, the scale of which can be set by special knobs. The pulses displayed on display are to be read in this way. The cells placed vertically between the lower and upper boundaries of the pulses show the measured signal’s voltage in the specified scale. The cells placed horizontally convey the time parameters. Knowing the period of one pulse oscillation, you can easily calculate its frequency. The display of the signal on the device screen is called an “oscillogram”.
Many oscilloscope models are produced, from simple ones used in everyday life to the most complicated ones. The simplest devices have one channel, with a single ground signal probe. More sophisticated instruments have two channels. The most “advanced” oscilloscopes can have up to 6 channels. The number of channels indicates the instrument’s ability to analyze the corresponding number of signals and compare them.
When the probe is connected to any power source, the line will definitely show the available voltage, jumping up according to the set scale by a certain number of cells. If the probe is connected to “+”, the line goes up, and if it is connected to “-“, it goes down by the same number of cells.
Applications for Oscilloscopes
The scope of use of the devices is very wide. Viewing the behavior of the signal of electric current allows for a short time to diagnose and make a timely repair of any electrical device.
Through the oscilloscope, it is possible to:
- determine the time and voltage parameters of the signal, perform frequency calculation;
- trace changes in the signal form and analyze its nature;
- detect distortions in the right parts of the circuit;
- determine phase shift;
- to determine the ratio of noise to the useful signal, to identify the nature of the noise.
It can take hours to determine all the parameters with a multimeter, whereas with an oscilloscope, all the measurements can be done in a few minutes. Furthermore, many faults can only be detected with an oscilloscope. It can measure about one million measurements per second, so even short-term malfunctions will be detected by the oscilloscope.
Oscilloscopes are used in almost all areas of human activity, including:
- radio electronics;
- automotive engineering;
- shipbuilding;
- aviation;
- repair shops of various purposes;
- household and domestic purposes.
How to Set Up an Oscilloscope Correctly?
Ways to Amplify a Signal
Oscilloscopes of any type and brand are equipped with a signal regulator, which changes the image’s scale on the screen. For example, if you set the voltage scale of 1V per 1 cell and line up the screen with the height of 10 cells, then the signal transmitting voltage of 30V will not be noticeable. And in the opposite case, to view a low voltage oscillogram, you need to zoom in.
How the Sweep Controller Works
The principle of operation of the sweep regulator is similar to the voltage regulator’s function, only it operates with the horizontal axis – the time axis, changing the number of milliseconds per one cell. By reducing the value of the sweep, there is the possibility of a more detailed study of small parts of the displayed signal.
The sweep value must be increased to analyze the cyclic nature of the signal. The signal on the screen will “unfold,” and now you can use it to determine the values of frequency, type, and other parameters.
Synchronization Parameters Control Unit
The oscillogram is displayed until the last one runs out, then the picture starts again. Since the graph is shown at high speed, the screen shows the image in motion or something incomprehensible. The reason for this is quite simple: the new lines are superimposed on the already shown old lines with an inevitable shift both vertically and horizontally.
To eliminate the incomprehensible input signals and serves to control the parameters of the synchronization. Thus, if you take the synchronization voltage as 0V when studying a sinusoidal signal, its rendering will be presented, starting from this voltage value, and will end only when the screen ends. After that, the drawing will repeat the past way only from the next “zero”, showing a stable and smooth picture. In this case, all voltage changes will become clear and immediately noticeable.
In its simplest form, the synchronization unit has two regulating elements. The first one is used to change the start voltage setting. The second one is used to select the start type. By means of the second switch, it is possible to set the most important parameter: whether the picture will start when the sine wave drops to 0V or vice versa when it rises to zero. In most types of domestic oscilloscopes, the positions of the controls are called “Front” and “Decay”.
In models of a more complex type, there are other synchronization parameters. For example, the instrument can be synchronized with a signal not to be measured, with other external signals, as well as with a signal coming from the mains. Stabilization by such parameters is important when measuring specific signals, the cycling of which cannot be measured by other methods.
Operating Instructions
The oscilloscope needs to be calibrated before the operation. Check this tutorial to calibrate your oscilloscope properly. After plugging it in, the instrument must warm up and stabilize. As a rule, this takes 5 minutes. Use the knobs “Amplifier Y” and “Sweep” to set the beam to the screen center. After that, the brightness and focus are adjusted.
If you touch the generator output with the probe, you will see rectangular pulses of frequency 1 kHz and 500 mV on the screen, with the “Duration” knob in the 1ms (millisecond) position. If everything is okay, then our device is ready for operation.
When measuring the signal, the switches “Gain” and “Duration” are set to the extreme left positions. Gain raises the measurement range to clear, maximum distinguishable signals on the screen, and the knob “Duration” finds out what is the frequency of the input signal.
When the signal is fixed on the screen, the signal voltage, period (frequency) is measured with the measuring grid. Modern digital meters display this information directly on the device’s display, and the operator knows everything about the signal: voltage, duration, duty cycle, period. Here are brief explanation ends. We hope that now you know how to use the oscilloscope and what this measuring instrument is needed for.
Finally, I recommend watching the video instructions below, which show how to work with the most popular oscilloscopes models.
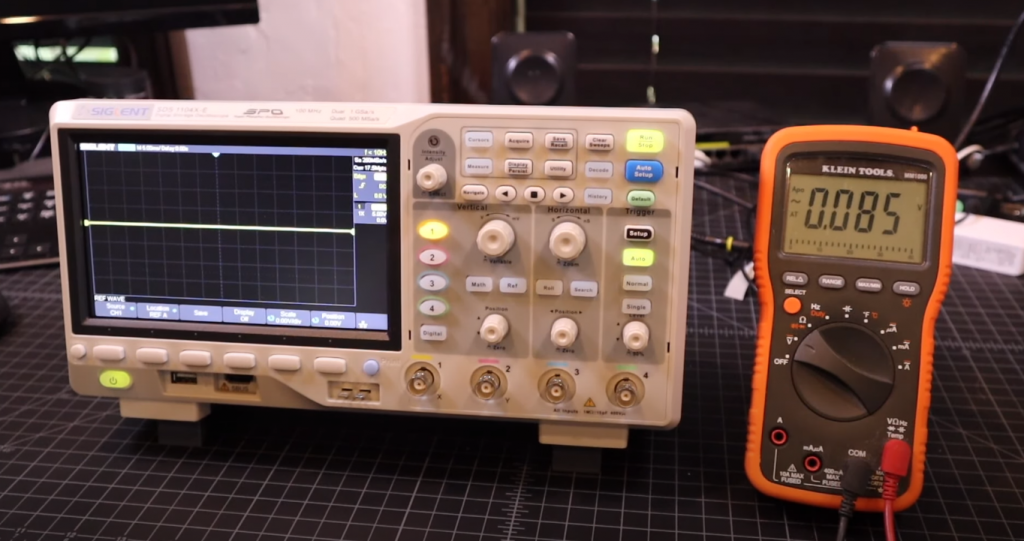
Siglent SDS1202X-E Oscilloscope Example of Using:
Rigol DS1054Z Oscilloscope Example of Using:
Which Oscilloscope Should You Choose?
These days, there is a huge choice of models and types of oscilloscopes, but it is impossible to prefer any device clearly. First of all, the devices are divided into two huge families:
- electron-beam;
- digital.
All older models of oscilloscopes are based on an electron-beam tube. Their peculiarity is higher accuracy in comparison with the digital ones. However, their dimensions, like all old electronics, are extremely inconvenient: oscilloscopes have a significant weight and dimensions, due to which their mobility leaves much to be desired.
Digital oscilloscopes, equipped with an LCD screen, are lightweight and compact, with more opportunities in terms of settings. Many models have the ability to save the data obtained from measurements, as well as display only the moment that indicates the failure.
In addition, oscilloscopes differ in the number of channels: as a rule, most models have from 1 to 6. But there are also professional oscilloscopes with a much higher number of channels. In most cases, a two-channel device will be enough to make simple measurements, but to work with complex equipment, more channels will be required.
There are also oscilloscopes combined in a single case with other electrical measuring instruments. This combination allows a lot of signal data to be obtained efficiently, quickly, and with high accuracy.
The latest development is computer programs that act as an oscilloscope. The probe is connected directly to the sound card of the computer. When making infrequent and uncomplicated measurements, the “Oscilloscope” software will be the best solution.
Frequently Asked Questions
Question #1. When choosing an oscilloscope, what is the optimal bandwidth?
The bandwidth of the instrument should slightly exceed the maximum frequency of the signals to be measured. For example, if the maximum signal frequency is 80 MHz, it is recommended to choose a 100 MHz bandwidth model.
Question #2. Is the cost of an oscilloscope a guarantee of its higher technical indicators?
Not always. When choosing an oscilloscope, you should think first of all about whether you need an expensive model just for your measurements. After all, many technical functions and “gadgets” can simply “stand idle” due to their uselessness.
Question #3. The device can not do the tasks anymore due to their complication. What do I do? Buy a new one?
Some oscilloscope series from well-known manufacturers allow you to increase the bandwidth in the future, i.e., to perform an upgrade. To do this, you do not need to take the device somewhere, just buy a digital key and enter the code in the appropriate menu.
Question #4. Sometimes there are such short-term anomalies that the oscilloscope cannot reproduce on the screen. How to detect them?
The digital backlight (phosphor) function does a great job of detecting short-term anomalies by displaying rarely occurring events in a different color on the screen. This makes them clearly visible on the screen.
Question #5. Can an inexpensive device that works properly in a laboratory environment be used to solve more serious problems for more complex equipment?
It is unlikely. The price is still largely dependent on the technical parameters of the oscilloscope. To solve more complex problems, you will either have to upgrade the existing device (if possible) or buy a new one. Professional oscilloscopes cannot cost less than 1500 dollars.
Typical Mistakes When Choosing and Working with an Oscilloscope
A huge number of mistakes when using an oscilloscope arise due to the fact that the user himself does not know all the features and capabilities of the device. Therefore, it is necessary to study the instructions and consult with more experienced users before using the oscilloscope, including on specialized Internet forums.
For work with galvanically isolated components of the equipment or with high voltages, it is a mistake to use an oscilloscope, the channels of which are dependent on each other. Also, each channel must be well isolated from the power supply of the oscilloscope itself and the other instrument’s other channels. The use of an improperly compensated probe can lead to serious errors that are unacceptable for maintaining the accuracy of an analog oscilloscope.
Video Tutorial: How to Use an Oscilloscope
Conclusions
The oscilloscope helps you to see the shape of the signal and whether it is there at all. This is important when designing devices and when repairing them. It should be noted that you can do without it, but then you will spend much more time diagnosing the device.
As a hobby, Amateur radio is a fascinating and, one might say, addictive activity. Many enter it in the wonderful school years, and over time, this hobby can become a profession for life. Even if it is not possible to get a higher radio engineering education, an independent study of electronics allows achieving very high results and successes.


I remember the first time I was shown how to use an oscilloscope. I was in my high school physics class and our teacher wanted us to see the waveforms of different electrical signals. We hooked up a few wires and took some measurements. It was all very confusing to me at the time.
Now, as an engineer, I use oscilloscopes all the time. They are a vital tool for understanding electronic circuits. If you want to learn how to use an oscilloscope, I suggest finding a tutorial online or attending a workshop.
There are many different ways to use an oscilloscope. You can measure voltage, current, and resistance. You can also look at the waveforms of different signals to understand how they work. Oscilloscopes are a powerful tool that every engineer should know how to use.