
The calibration of an oscilloscope is one of the most difficult procedures to master. It can take a lot of time and effort to get it right. But, by following these steps, you will be able to calibrate your scope faster and with more success.
Calibrating an Oscilloscope Step-by-Step Guide
The following describes the steps you need to take to calibrate the oscilloscope. Don’t forget that every oscilloscope can be different from the depicted sample, and the controls of different models can have different names.
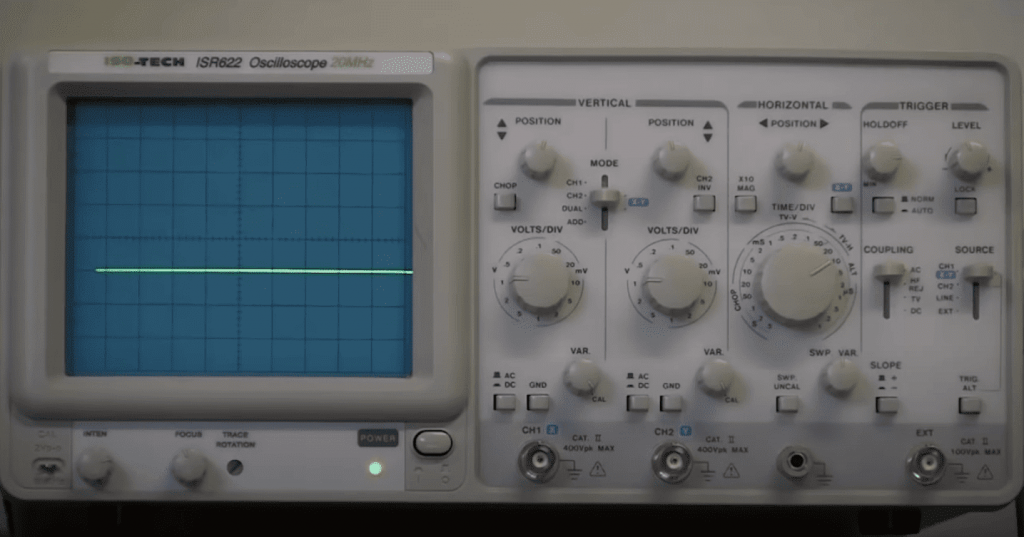
- Turn on the oscilloscope. If the oscilloscope screen has a CRT display, you should allow time for the instrument to warm up the tube until a dot or line appears on the screen.
- Set the time sweep knob to 1ms. This value is the middle ground for calibrating the instrument.
- Set the Volts/Split knob to 0.5 V. This voltage is also close to the optimum value for the initial calibration of the instrument, considering that we are mostly dealing with low voltage DC circuits.
- Set the sync control knob to the “Auto” position (or in the middle if the oscilloscope that does not have an automatic sync source selection function). Select internal synchronization and the signal type is AC (no DC component).
- Set the beam position selection knobs (up/down and right/left) to the “Auto” position; if the existing oscilloscope does not support Auto Image Adjustment, set them so that you can see the beam on the screen.
- Connect the leads with metal probes to the input of the instrument. If the oscilloscope has two channels (i.e. two inputs), use channel A.
- Set the signal type switch to GND (ground) if the oscilloscope has such a position. On some oscilloscope samples, this switch may be called “Signal decoupling”.
- Connect the ground probe of the test leads to the special ground contact on the body of the instrument. If the oscilloscope does not have a dedicated ground terminal, connect the probe clip to any open (unpainted) point on the case, such as a screw head.
- If the oscilloscope has a Signal Type switch, set it to the middle position to ground the lead. If you do not have this switch, you can simply touch the lead to the same ground point or connect the probes to each other.
- Use the vertical position knob to position the beam in the first cell from the bottom.
- Use the horizontal position knob to position the beam approximately in the middle of the screen. It is not necessary to do this with millimeter accuracy.
- If the oscilloscope has a signal type switch set it back to the position of measuring the constant component of signals, otherwise just remove the probe from the ground socket.
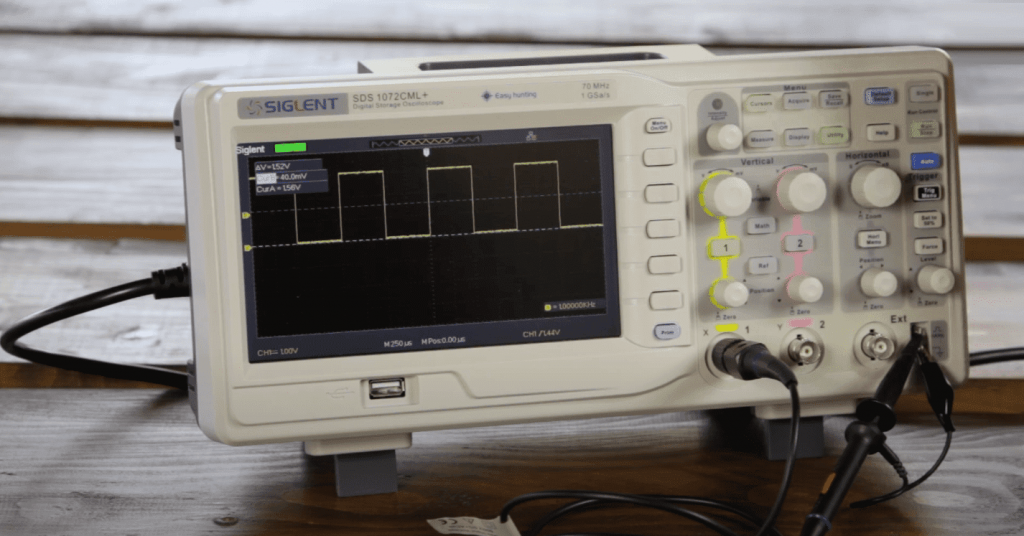
Note: A rectangular signal of known amplitude and frequency will appear on the screen when you calibrate the instrument to an internal source. Its parameters are necessarily present in the device’s documentation or are simply written on the case next to the calibration socket. Use the control knobs to match the signal on the screen to its proper shape.
FAQ
Do you have to calibrate the oscilloscope?
In order to maintain the integrity of the research, you need to calibrate your oscilloscope.
How often do oscilloscopes need to be calibrated?
Most oscilloscopes are calibrated once every 12 months. A properly calibrated oscilloscope will show accurate readings. The measurement is taken by comparing the signal on one channel with a signal on another channel.
How much does it cost to calibrate an oscilloscope?
This question is not so easy to answer. It all depends on some factors. The price of the oscilloscope is not the only factor in calibration. You should also take into account the lab, which will do the calibration, and your location. In general, it is a good idea to contact an oscilloscope manufacturer and get an exact price of calibration for your model particular device.
Why should probes be calibrated?
This is a very important process to ensure that the testing equipment is working correctly.
In the world of engineering and manufacturing, calibration has become a standard procedure for many types of instruments, tools, and machines. Once calibrated, these instruments produce accurate and reliable results.
Calibration can be done by checking the accuracy against an accepted standard or comparing some measurements to expectations.
Why is it important to properly calibrate the oscilloscope before its usage?
The purpose of calibration is to set the performance of the oscilloscope to a particular frequency or range that is used in the circuit.
In order for an oscilloscope to work correctly, it needs to be properly calibrated. It is important for accuracy and consistency because it needs to reflect what is happening in the circuit accurately.
The calibration can be done manually by adjusting the controls on the scope, but it is good practice to check with the manufacturer’s manual for specific instructions.
Why is accuracy important in an oscilloscope?
Accuracy is the main reason why most customers buy an oscilloscope. It tells them how precisely their instrument or device is measuring and displaying voltage, current, and frequency.
In an oscilloscope, accuracy defines how well it can measure a signal. However, it also depends on the bandwidth of the oscilloscope. The higher the bandwidth of the oscilloscope, the more accurate it is at reading signals with a higher frequency.
An instrument with high accuracy should be able to measure a signal to within one percent of its true value in volts or amps (or cycles per second). If it cannot do this then its measurements are not accurate enough for most uses in engineering and research where high accuracy is needed for safety reasons as well as when you need reproducible results.
Why are oscilloscope measurements often in error?
The error in an oscilloscope’s measurement can be due to the calibration error that happens when the instrument is not set up properly. The reading error is an issue of misreading a scale or entering incorrect values into the scope.
Do I need to calibrate a Rigol DS1054Z?
The first thing you should do when you get your Rigol DS1054Z is to calibrate it. Calibrating a Rigol DS1054Z is necessary to ensure that the device gives you accurate measurements and good performance over time.
Do I need to calibrate a Siglent SDS1202X-E?
It is important to calibrate your Siglent SDS1202X-E because it is a digital oscilloscope. The calibration process allows you to get the best performance from your oscilloscope.
Calibrating a Siglent SDS1202X-E is not difficult, but it could be time-consuming if you are unfamiliar with the process.
Do I need to calibrate an Autel MaxiScope MP408?
The calibration process is an important part of the Autel MaxiScope MP408 and should not be overlooked.
The calibration process ensures that your device will provide accurate readings on your car’s engine and other systems, so it’s important to follow the steps outlined in the manual to ensure you get accurate data.
Video Tutorial: How to Calibrate an Oscilloscope
Final Words
You just learned how to calibrate an oscilloscope! This is a basic skill that will help you with your electronics projects. Now that you have a basic understanding of parts, circuits, and how to calibrate an oscilloscope, let’s start making some noise!
Some similar posts:


I remember the first time I had to calibrate an oscilloscope. I was a young engineer, fresh out of college and eager to prove myself. My boss handed me the calibration manual and said, “You’re the expert on this stuff. Calibrate it.” I took the manual and went to my workstation.
I spent the next hour carefully following the instructions in the manual. When I was done, I proudly presented my work to my boss. He looked at it for a moment and then said, “This isn’t right. Do it again.” I was crestfallen.
I spent the next day redoing the calibration, this time double-checking my work against the manual. When I was finished, I went to my boss and showed him my work. This time he nodded his approval and said, “Good job.
Thanks for sharing, Paul!