

In the Linux world, there are specialized distributions designed for specific tasks – deploying various servers, working environments for software development, and so on. One of these distributions is Kali Linux. Its main audience – professionals in the field of information resources testing and those who at amateur and professional level engaged in pen-testing and hacking. Kali supports various hardware platforms, including Raspberry. Kali Linux on the Raspberry Pi can be an indispensable helper for an IT security or hacker.
 This book focused on the Kali Linux platform itself and helps you understand and maximize Kali from the ground up. Whether you’re a veteran or newbie, this is the best place to start with Kali Linux, the security professional’s platform of choice.
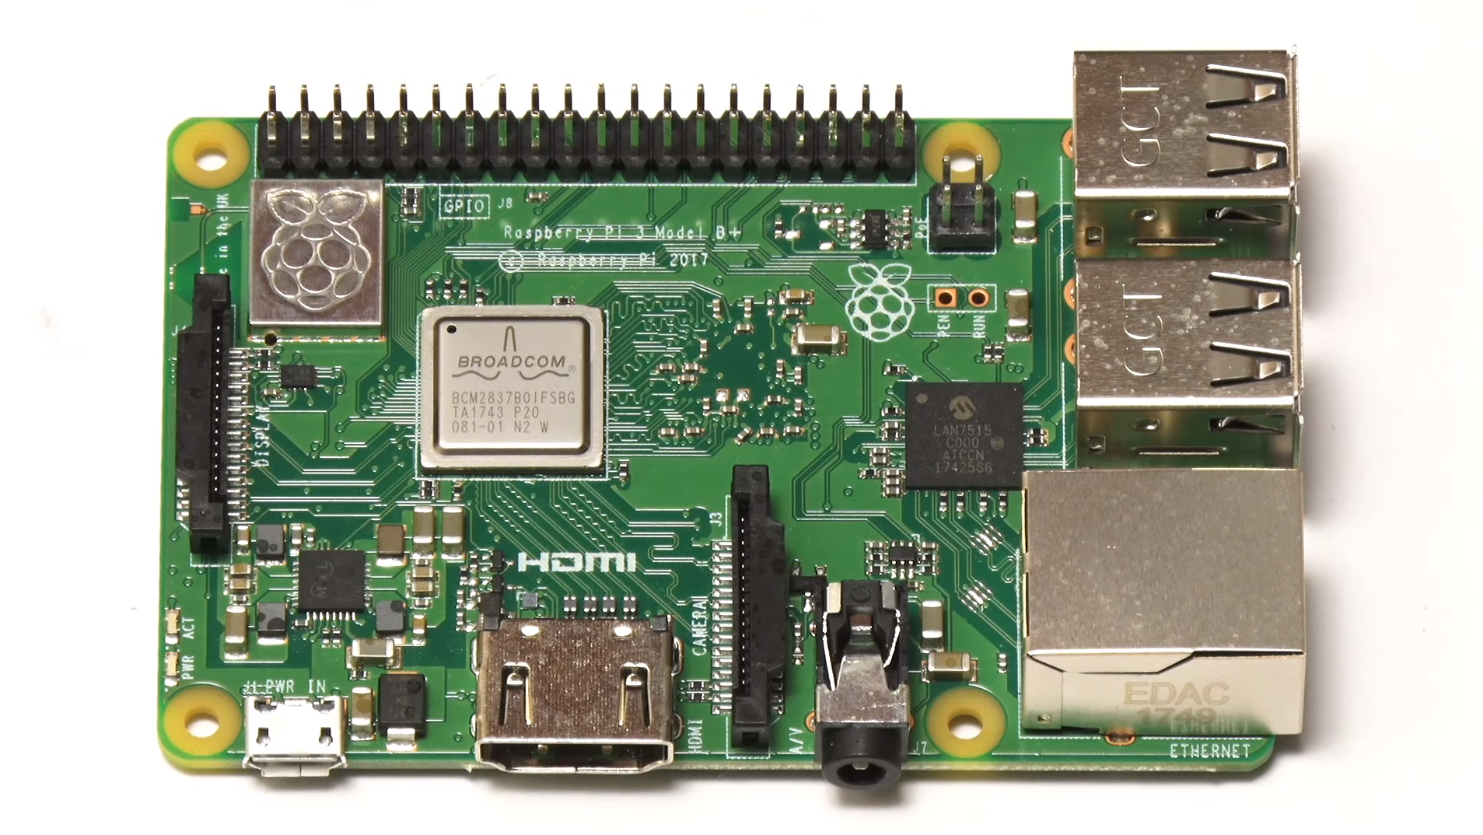
Below we will look at an example of deploying Kali on a Raspberry Pi 3 B+.
Why Raspberry Pi 3 B
This model of Raspberry Pi appeared in 2018. The developer equipped it with a more powerful, compared to past versions, processor, as well as a set of network interfaces – Wi-Fi, wired Ethernet, Bluetooth. Such a hardware platform allows using Pi with an installed specialized set of software for different tasks.
Kali developer quickly enough released a distribution with support for the new Raspberry Pi, which develops to this day. This version of Linux is well-tuned, stable, and has a large community that is always ready to support newcomers and answer their questions.
The same goes for the Pi 3 B+ platform itself. It’s a simple, affordable, and powerful solution that offers professional-level capabilities relatively modestly. For example, Pi is used for proof-of-concept attacks in cyberweapons development.
But it is important to understand that the Raspberry Pi is not a supercomputer. Operations like password brute-forcing are beyond the power of its hardware. More precisely, it is possible to start it, but the process will take an extremely long time. However, this problem can also be solved programmatically by migrating calculations to cloud services.
Hacking Capabilities
The Pi 3 B+ is equipped with a Gigabit Ethernet controller and high-speed Wi-Fi, making it a great tool for networking or, for example, deploying a small web proxy or NAS server. Its networking capabilities make it a versatile “cracker” for burglars and pen-testers. And the 64-bit 1.4GHz quad-core processor gives the system enough performance for most testing or hacking tasks (except, as already mentioned, brute-force attacks on passwords).
Kali Linux supports the Raspberry from the start and is ready for action as soon as it’s launched. Both monitor-keyboard and networking via SSH are available. And if the Pi is paired with a battery pack, the user gets a “pocket hacker” that can be used anywhere.
Installing Kali Linux
To deploy Kali on the Raspberry, you will need:
- The Raspberry Pi 3 Model B+ platform itself;
- power cord;
- a memory card, preferably 16GB or more;
- monitor, keyboard, and mouse for initial setup (optional);
- RJ-45 cable;
- router.
Next, you need to download the latest official operating system image.
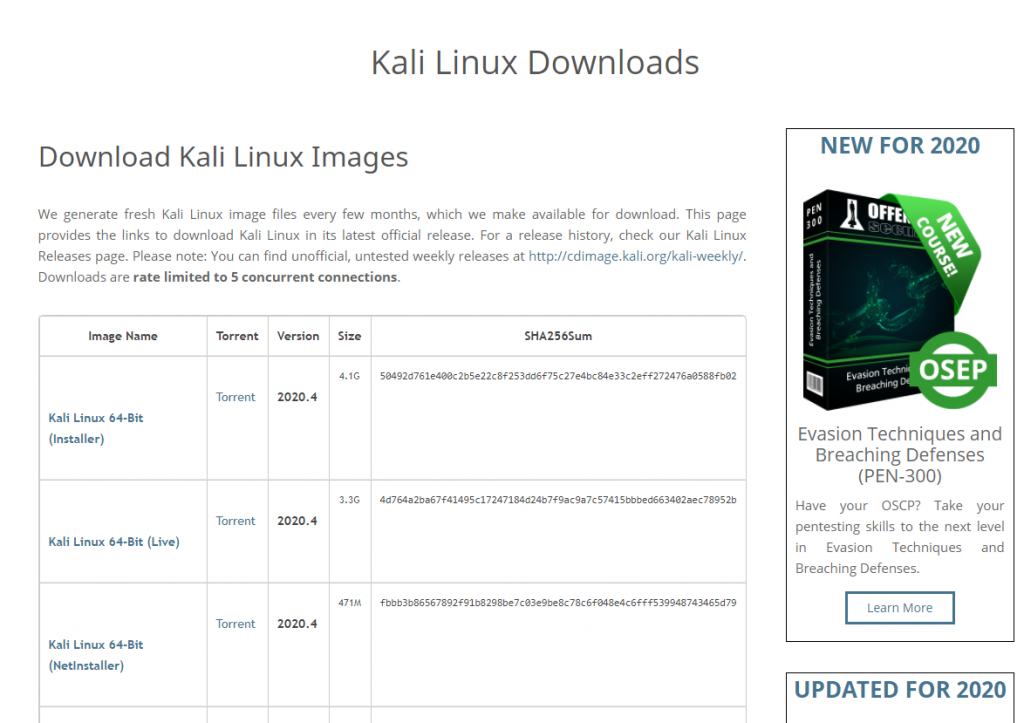
To get the Pi version, you can find a link to the ARM images on the same page below:
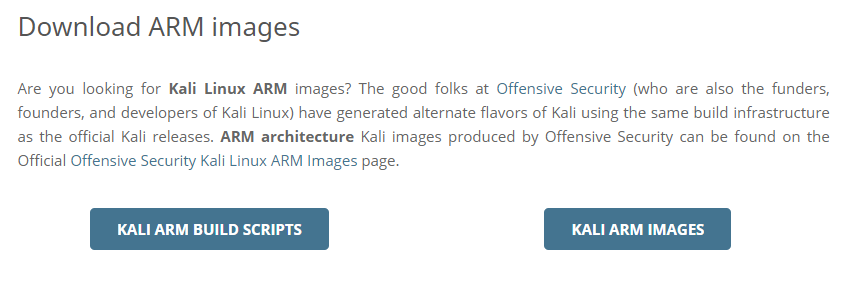
Click on Kali Arm Images and find the Raspberry Pi Foundation section.
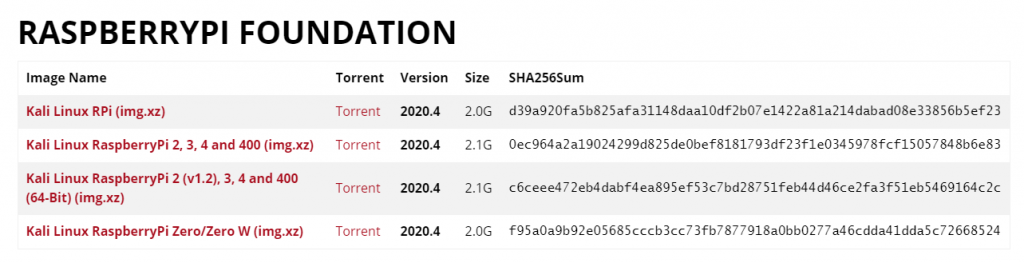
And download the version of the image you’re interested in – in this case, that would be Kali Linux Raspberry Pi 2, 3, and 4. You can download directly or via torrent. There are checksums next to the image to verify it.
Once the distribution is downloaded, you need to deploy it to the memory card. In Windows, you can do this with the Win32DiskImager or Etcher utilities in Linux and Mac environments with the standard dd utility.
The Etcher interface is simple: select the image, select the target disk, and the Flash button – write the image to disk.

In the case of dd, it is a bit more complicated. Example command:
root@kali:~ dd if=image.img of=/dev/sdb bs=512k
This assumes that:
- The image name is image.img;
- It is located in the root directory of the user root;
- the memory card is mounted to /dev/sdb.
The if option specifies the source image, of specifies the target device, bs specifies the cluster size.
The writing process will take up to 10-15 minutes, depending on the card’s speed.
dd does not show copying progress by default. In versions of gnu coreutils 8.4 and higher, it is possible to add the parameter status=progress to the command, and then it will show the operation status:root@kali:~ dd if=image.img of=/dev/sdb bs=512k status=progress![]()
When the process is complete, you can insert the memory card into the Raspberry and do the first run.
Setting up
After the first run, Kali will make some more adjustments, and the device can reboot again. You can monitor the process through a monitor connected to the HDMI output. In general, a monitor and keyboard/mouse are not needed as Kali SSH starts automatically, and the system is immediately ready for a remote LAN connection.
First Entry
You need to find out the network device’s address, for example, with the nmap scanner or just in the table of connected clients on the router. When the IP-address is known, connect to it with any convenient ssh-client.
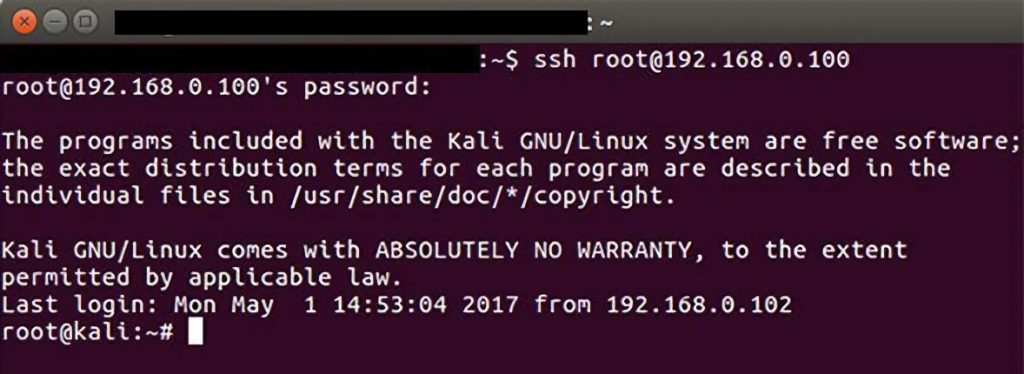
If you have a monitor and input devices, you can log in to the local desktop with the same credentials.
Disk Space Extension
After startup, it is advisable to configure the disk configuration by extending the image to its entire space. The easiest way to do it is from the console (locally or via SSH). Here is an example of how to do it.
Run fdisk:
sudo fdisk /dev/mmcblk0
Choose commands one by one:
Command (m for help): p
Output:
Device Boot Start End Sectors Size Id Type
/dev/mmcblk0p1 1 125000 125000 61M c W95 FAT32 (LBA)
/dev/mmcblk0p2 125001 15523839 15398839 7.4G 83 Linux
Note the start, end, and size values might be different from the example.
Next, the repartitioning itself is performed.
Deleting a partition:
Command (m for help): d
Partition number (1,2, default 2): 2 (select partition)
Create a new one:
Command (m for help): n
Specify Primary partition type:
Select (default p): p
Select the number again:
Partition number (2-4, default 2): 2
Set the sectors:
First sector (125001-31116287, default 126976): 125001 (as in the output after p)
Last sector, +sectors or +size{K,M,G,T,P} (125001-31116287, default 31116287)
And apply the changes.
Command (m for help): w
sudo resize2fs /dev/mmcblk0p2

After that, you need to reboot the Raspberry Pi with the command reboot.
Changing the root Password
The first thing you need to do to secure the system is to change your own root password. This is done by using the standard passwd command.

You should also remove the default pi account if it is present:
deluser -remove-all-files pi
Replacing SSH Keys
It is extremely important to change the ssh keys on the device, as they are the same by default in freshly deployed Kali distributions.
To do this, run the following commands in the console:
cd /etc/ssh/.
dpkg-reconfigure openssh-server
update-rc.d -f ssh remove
update-rc.d -f ssh defaults
service ssh restart
update-rc.d -f ssh enable 2 3 4 5
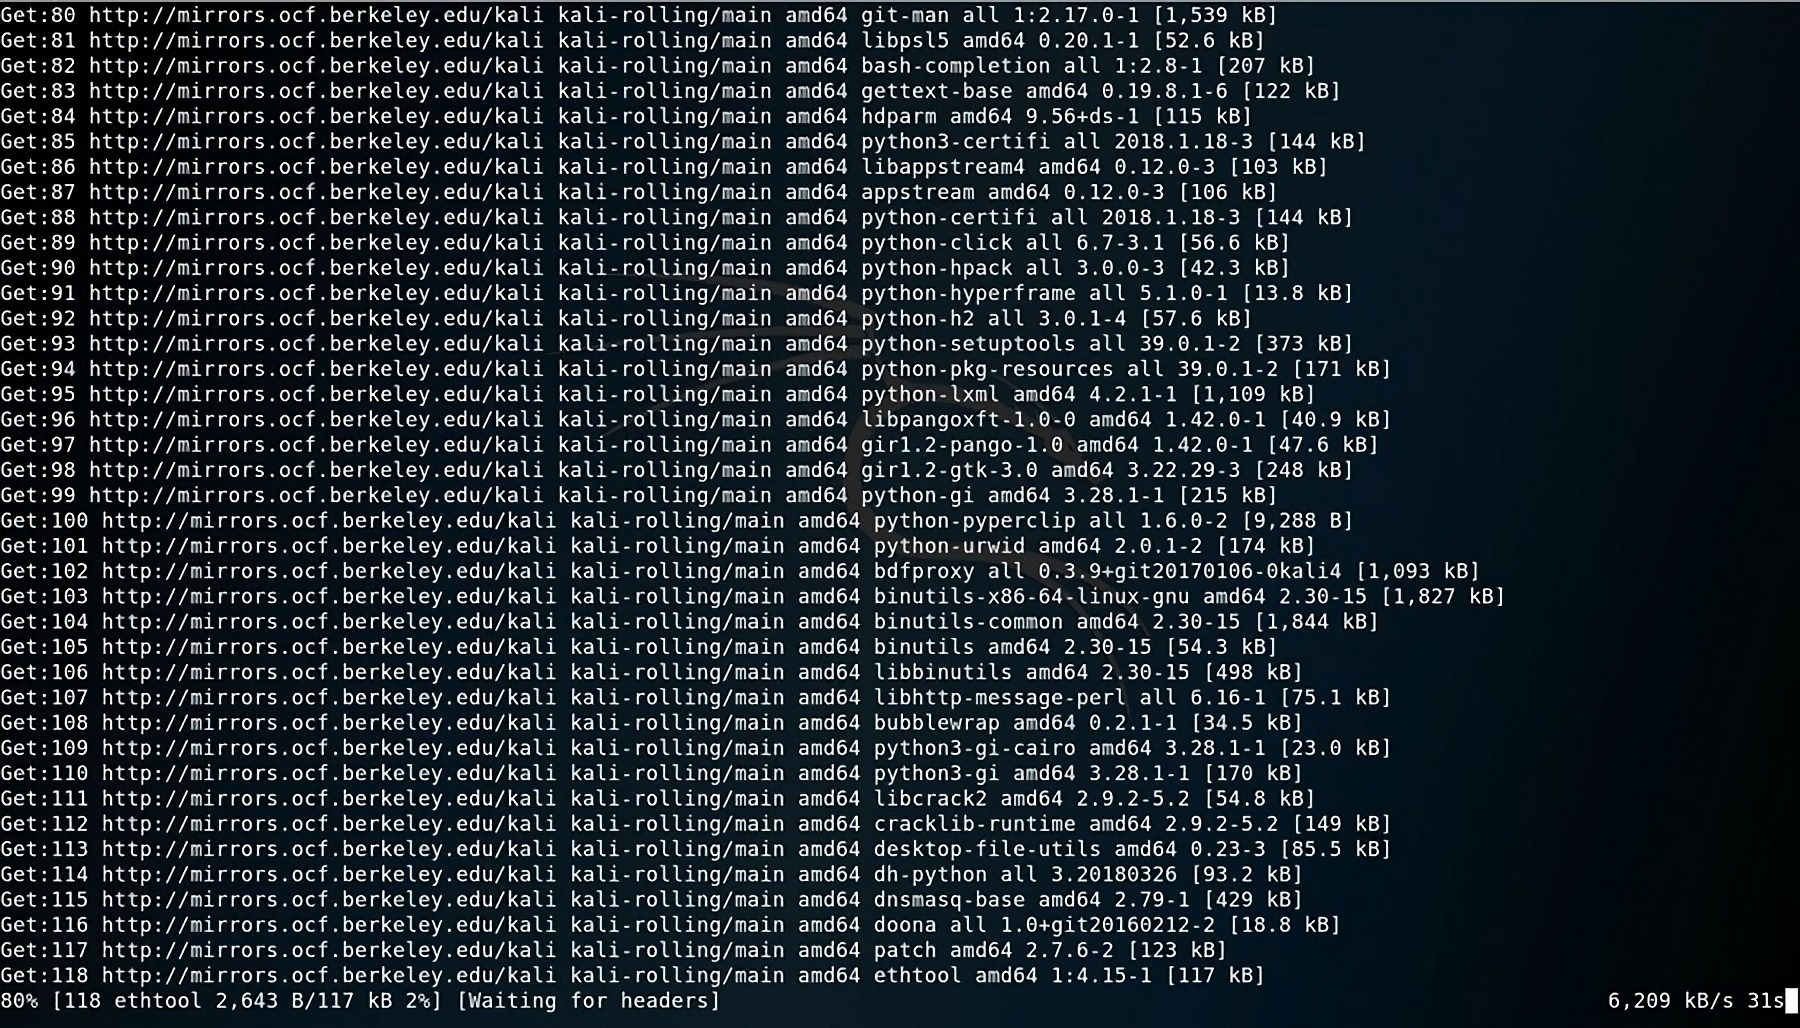
Updating Packages
When the first preparations are done, you can update the packages present in your system. It is advisable not to skip this step to ensure that you get the latest system and application software and security updates.
Kali supports the standard method of fetching software via repositories, so just run the following command sequence:
apt-get update
apt-get upgrade
apt-get dist-upgrade
This will make sure that the system receives and installs all the updates that are available for it.
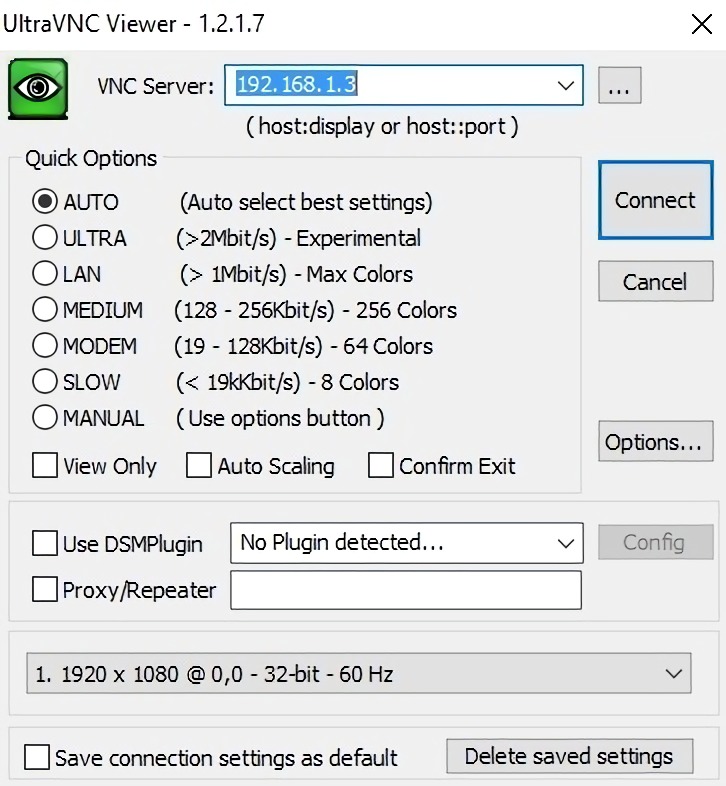
Installing a Graphical Remote Control VNC Environment
You can manage Kali via VNC. In order to do that, you will need to install a VNC server.
apt-get install tightvncserver
Once the program and dependencies have been downloaded, the server should be started. Example:
vncserver :1 -geometry 1920x1080 -depth 24 -dpi 96
The command above specifies the screen resolution and color depth. The parameters may be different in each case.
When the server is up and running, it’s ready to accept connections. You can access it with any handy VNC client:
Installing RDP
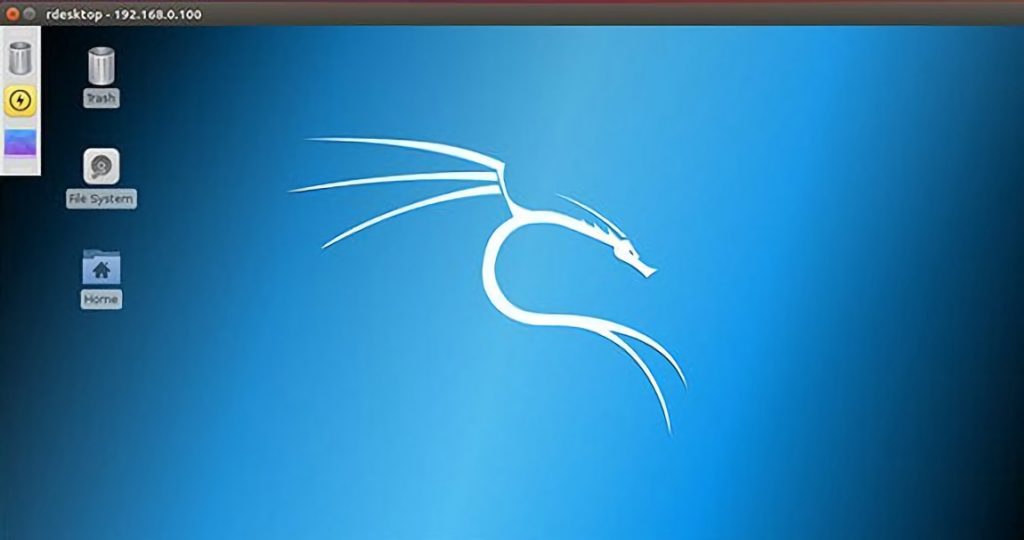
For remote access, you can connect using the standard Windows Remote Desktop protocol.
Let’s install the xrdp server:
apt-get install xrdp
And start its service.
service xrdp start
service xrdp-sesman start
Add the service to the startup list to make it start automatically:
update-rc.d xrdp enable
If everything is done successfully, you will be able to connect to the system as an RDP client. Example for Rdesktop from the Linux distribution:

At this point, the basic configuration is done, and the system is ready to be explored and experimented on.
Conclusion
Kali is a powerful and interesting specialized Linux distribution appreciated by IT security professionals and “dark scene” players, who many are used to calling hackers. Combined with Kali Linux, the Raspberry Pi 3 B with its advanced hardware features gives almost unlimited space for security testing projects (called penetration testing), network hacking, and other tasks.
The RPi with Kali on board turns into a handy, compact, and versatile tool, a kind of a “picklock” for a specialist. With it, you can cost-effectively build a system for cybersecurity tasks, even at the enterprise level: the Kali Linux toolkit contains all the necessary software and utilities, and the Pi 3 B+ provides them with a suitable hardware platform.


I decided to install Kali Linux on my Raspberry Pi after reading about its many features online. I had never installed an operating system on a Raspberry Pi before, so I followed the instructions very carefully. The process was much easier than I thought it would be and only took a few minutes.
Now that Kali Linux is up and running on my Raspberry Pi, I can enjoy all of the features that it has to offer. I am looking forward to using it for ethical hacking and penetration testing projects.
Thanks for sharing!