
In contrast to previous Raspberry Pi versions, the Android may be relatively easy to install on RPi3 or 4. Not last, but relatively fresh – v7.1. But before you consider how to do it, you should warn about one thing.
Once the company Google said that in the future, maybe it will release the “Green robot” under the “Raspberry.” But now, all versions of Android for Raspberry Pi are custom assemblies. This means that their performance is not guaranteed. In this case, with 100% probability, users who have installed Android on the RPi will face various difficulties over time, some of which, quite likely, will be very difficult or even impossible to overcome. Therefore, before installing this system, you need to think carefully about the feasibility of this solution.
Why install Android on Raspberry Pi?
There are several reasons why some may want to install the “Green robot” on Raspberry Pi. The main of them:
- familiar interface;
- access to Android TV;
- playback of games, designed for Android;
- use of Android applications.
If you want to use the Android on Raspberry Pi 3 or 4 with the specified goals, then first read the text below.
Why is it not recommended to install Android on Raspberry Pi?
Although Android’s interface is for many people familiar, interacting with him with the mouse is not as convenient as with a touchscreen. But this is not the main problem. More importantly, the fact that a sufficiently heavy GUI on the “Raspberry” will slow down or crash. This will reduce its convenience to nothing.
On the RPi can work Android TV, but it is quite possible that he will periodically crash. It will be very unpleasant if, in the middle of the movie, the application will crash, finish its work, and then will not start without troubleshooting.
The problem with the playback of games. Raspberry Pi has relatively weak hardware – much less powerful than on many modern phones. Therefore, it is out of the question to play some more or less modern demanding games. Also, when controlling with a joystick, you should be ready to slow down.
With the applications, you can work but should be prepared for the same problem as with Android TV. Programs with a high probability will crash.
In most cases, to use Android on Raspberry Pi is uncomfortable. It is much easier to work with Raspberry. On it, you can easily watch movies and videos from YouTube and use various services through their web-interface.
How to install Android 7.1 on the Raspberry Pi?
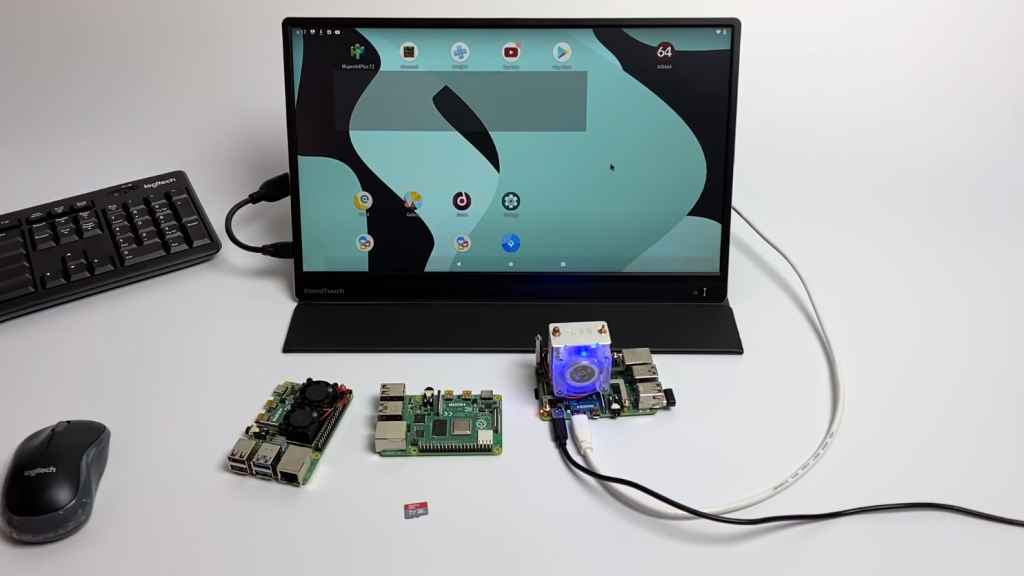
If you did decide to install the system from Google, then, first of all, you will need to prepare:
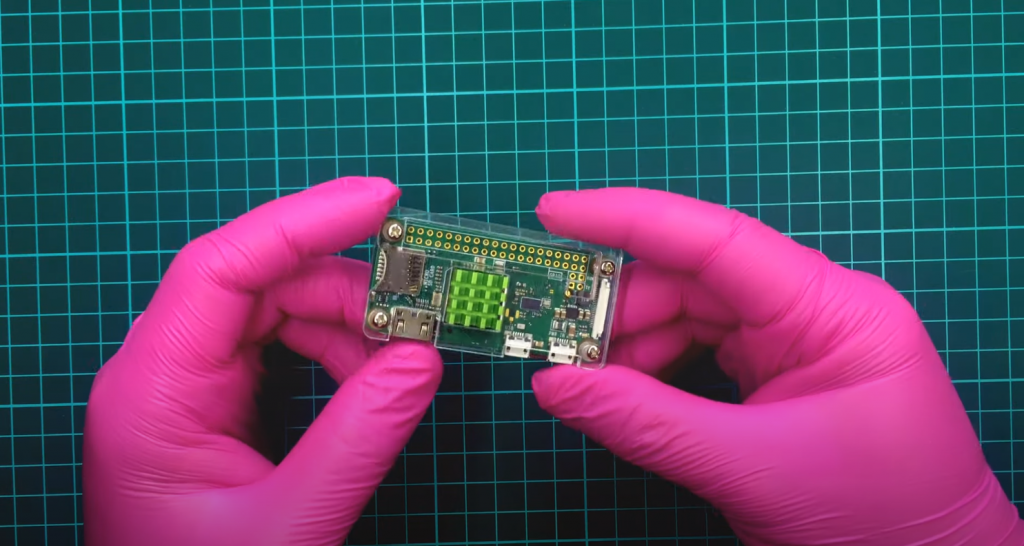
- the single-board Raspberry Pi 3 or 4;
- the computer (better Linux, and if it is on Windows, a virtual machine with the corresponding system);
- a power supply for it;
- a 16 gigabytes memory card or more;
- monitor and HDMI cable;
- a set of special software.
The most important thing is the software. Adapted for the “Raspberry” version of Android can be downloaded at this address. You will also need a script through which Play Market will be installed. And, of course, you will need a utility through which the “Green robot” will be recorded on a flash drive. This is Etcher.
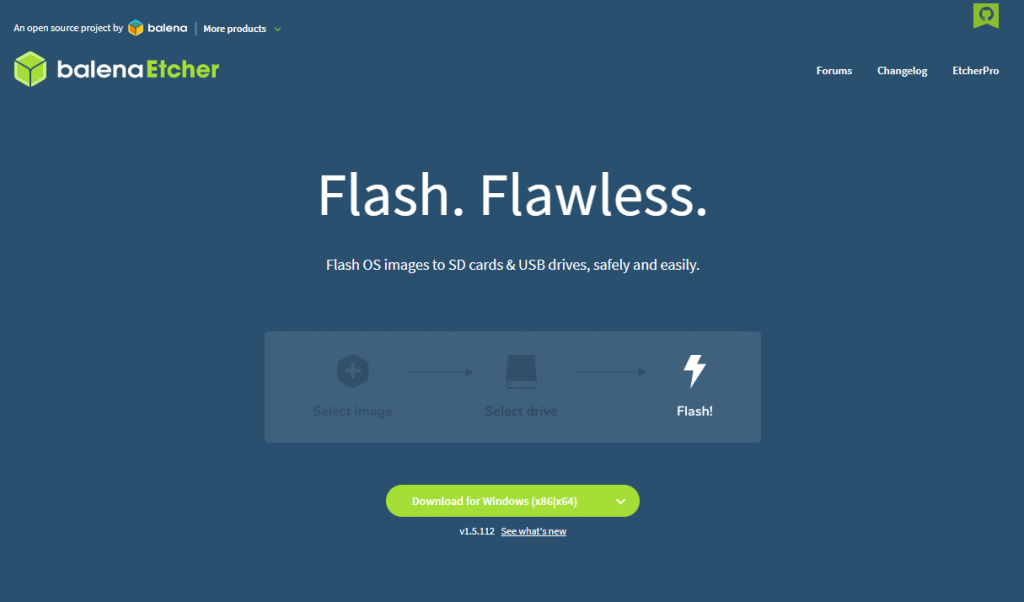
After you have downloaded everything you need and inserted the MicroSD into the card reader, you need to run Etcher. The screen with the Select Image button will be displayed. You should click on it and select the image with Android from the directory he previously uploaded.
Then the button Flash will be active. You need to click on it – this will start the process of writing files to the memory card. When the progress bar is fully filled, you can pull the card out of the reader and insert it in the “Raspberry.”
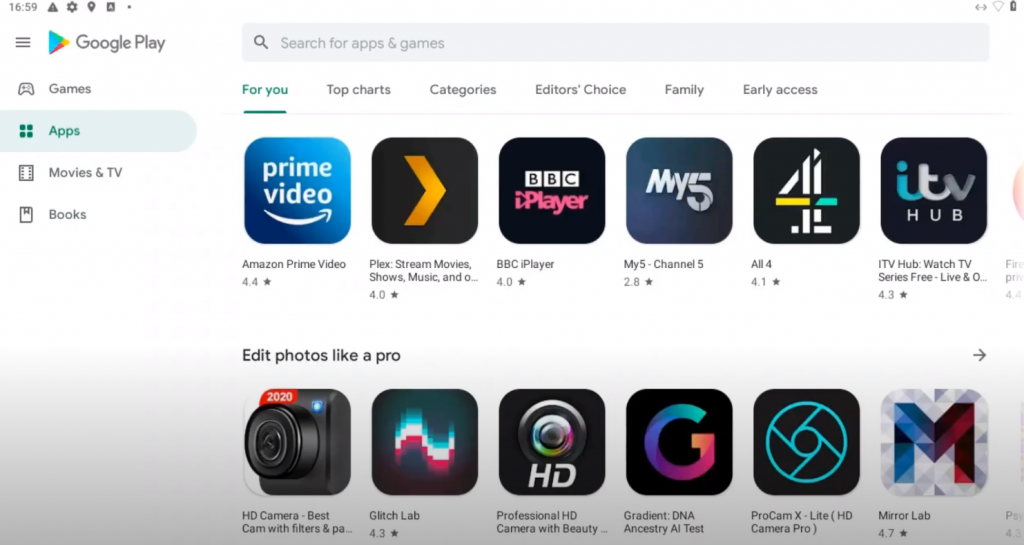
This is it. Now the Raspberry Pi Android 7 is installed. But the Android installation on Raspberry Pi is not yet complete. For minimum use of the system, you will need one thing – a working Play Market.
How to install Play Market on the Raspberry Pi?
The installation of the application store is the most difficult task in the whole process under consideration. But it is not as difficult as it seems at first sight.
First, you need to turn on “Raspberry” and wait for a full load of Android. After that, you need to activate WiFi and connect to your network. The router will automatically give him the address. He will need to know the address. It is not difficult to do. You need to go to “Settings” and go to the section called “About the device”. The “Status” item shall be present there. You should select it, and the IP address of the device will be displayed. It will have a form: 198.168.xx.
Now that the IP is written, you need to run the script that was previously downloaded. Actually, this is what you need a Linux or Mac OS computer for. But before sending it for execution, you need to open it in an editor. In this file, there is a line ADB_ADRESS. Its value (the address which is given in quotes) should be changed to Raspberry Pi IP. You should get something like this: ADB_ADDRESS = "192.168.x.xx". After that, you have to save your changes.
You also have to make sure that the values of the lines: SHOW_HELP, ARCHITECTURE, PACKAGE_NAME, and INIT_FILE have the following values: false, arm, pico and /etc/init.d/gapps respectively. If not, then you have to enter the specified values.
Now it remains to install android-tools-adb and Lzip from the repository. When this is done, you will need to enter the console’s command: adb connect ADB_ADDRESS, and then run the script as follows: sudo chmod u+x ./gapps.sh, sudo ./gapps.sh. The first command will give the execution rights, and the second will launch the script itself. Beforehand, of course, you should go to the directory where the gapps.sh file is located.
That’s it. The “Green Robot” is now completely ready to go. In conclusion, it should be noted that the Android installation on the Raspberry Pi 3 model b is no different from the installation of the usual model, as it has the same processor.


I decided to install Android on my Raspberry Pi 4 after reading about how other people had done it and hearing about its potential. I wasn’t sure if it would work well, but I was pleasantly surprised. The process was pretty easy and Android ran smoothly on my Pi 4.
I’m really happy with how everything turned out and I’m excited to explore all the possibilities that Android on my Raspberry Pi 4 opens up for me. I think this is a great option for anyone who wants to experiment with running Android on a computer.