
The Arduino random function returns a pseudorandom number, which means that the random number generation sequence is still predictable. The randomSeed function allows you to place a variable or constant into the random function to generate more random values. In this article, let’s figure out how to correctly set a random number in a range in the Arduino IDE.
The Arduino has a couple of ready-made functions to work with pseudorandom numbers. Let’s look at them:
random(max);– returns a pseudorandom number between 0 and (max – 1). max takes unsigned long, that is, from 0 to 4,294,967,295.random(min, max);– returns a pseudorandom number in the range from min to (max – 1). max takes unsigned long, i.e. 0 to 4,294,967,295.randomSeed(value);– give the pseudorandom number generator a new reference point for the count. Value is any number of unsigned long types, so we have 2^32 (4,294,967,295) sets of pseudorandom numbers on the Arduino.
How to generate random numbers so that the sequence is new every time? There are options:
- Set a random number in
randomSeed()when running the program. How to do this? I will tell you below. - If the device interacts somehow with the external world, or even the user, then you can feed
randomSeedthe current time since the start of the program, i.e.,millis()ormicros()functions when some hardware random events happen (button presses, sensor actuation, data acceptance, etc.). This is a great solution, by the way! We callrandomSeed(micros())and that’s it.
Arduino Random Number Generation Using random()
For this, we will need:
- Arduino Uno / Arduino Nano / Arduino Mega
- The
random (min, max)function allows you to return a pseudorandom number in the range given by min and max values. But, first, let’s look at examples with different data types.
Arduino Random int
In the presented example, the selected data type is a byte, which stores integers in the range from 0 to 250. You can also use other data types: int, long, unsigned long, unsigned int, and others. The desired range (min, max) is set accordingly.
byte data;

void setup() {
   Serial.begin(9600);
}

void loop() {
   data = random(100, 200); // arduino random number in range
   Serial.println(data);
   delay(250);
}
Arduino Random float
The microcontroller can only generate integers. Therefore, to get a float data type with two decimal places, you must generate an integer separately and add decimal fractions to it. An example of such a program:
float data;
float data1;
float data2;

void setup() {
   Serial.begin(9600);
}

void loop() {
   data1 = random(0, 10); // generate the integers
   data1 = random(0, 100); // generate the numbers after the decimal point
   data = data1 + data2 / 100; // sum the resulting values
   Serial.println(data);
   delay(250);
}
Arduino Random Numbers Using randomSeed()
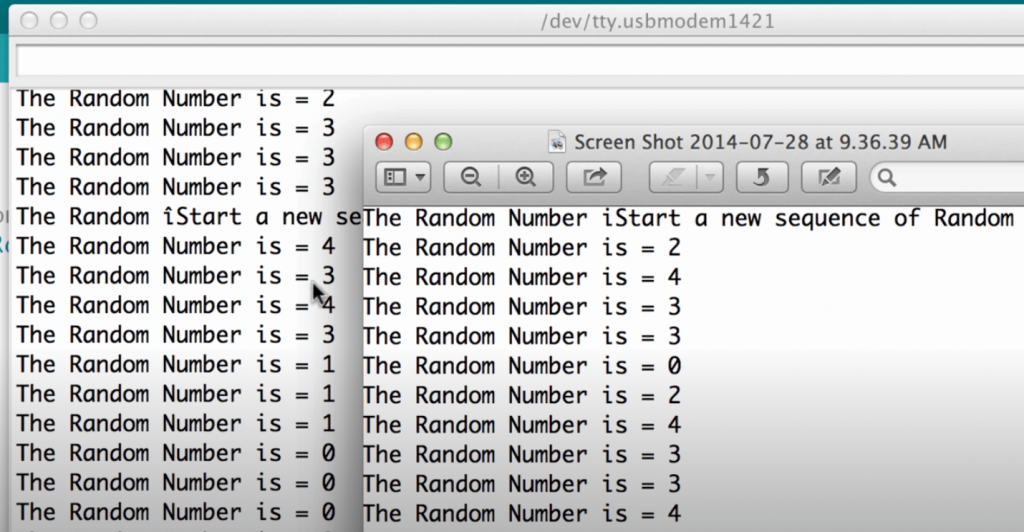
Note that the random sequence of numbers is repeated each time the program is restarted in all of the examples above. This can be avoided by using the Arduino randomSeed function. randomSeed allows you to place a variable in the random function. Then, use millis, analogRead, or other options to randomize the number generation.
int data;

void setup() {
   Serial.begin(9600);
   randomSeed(analogRead(A1)); // nothing is connected to pin A1
}

void loop() {
   data = random(100, 200); // arduino random number in range
   Serial.println(data);
   delay(250);
}
Each time the program is restarted, the pseudorandom number generator will be initialized with randomSeed(analogRead(A1)); from a random value due to “noise” on the port. You can use any free port for this since all analog outputs pick up random noise from the environment – radio waves, electromagnetic interference from computers, cell phones, etc.
Related Video: Using Random Numbers with Arduino
Final Words
In conclusion, it is essential to have a good understanding of the types of random numbers that are used in Arduino programming. It is also important to know which type of random number generator to use in a given scenario. In most cases, a pseudorandom number generator is sufficient for generating realistic-looking but repeatable data.


I was always interested in random number generators. My dad is a mathematician, and he would always tell me stories about the importance of randomness in our world. When I was old enough, I decided to experiment with building my own random number generator using an Arduino board.
It took me a while to figure out the code, but I eventually got it working. The Arduino board generated a stream of random numbers that I could use for various purposes. I was able to use the random numbers to create games, simulate real-world scenarios, and even create my own encryption algorithm.
The possibilities are endless with a random number generator. With an Arduino board, anyone can create their ownrandom number generator and start exploring the world of probability and statistics.