
In many cases, it may be useful to have one fairly powerful embedded computer (which may act as Raspberry Pi), which can communicate with many sensors located in different places, controlled by simple microcontrollers of the Arduino family. At the same time, Raspberry Pi has enough power to transmit data over secure HTTPS channels to the cloud, as well as to interact with the user through an advanced interface (for example, when running Windows 10).
There are several connection scenarios for connecting Arduino to Raspberry Pi:
- It is using an explicit serial data channel. There are difficulties associated with different power levels: Raspberry Pi runs at 3.3V, while Arduino uses 5 volts. At the same time, it is recommended to use special level converters to ensure a safe connection.
- The use of serial bus I2C, which allows connecting to one Raspberry Pi up to 128 Arduino devices in slave mode, and such connection also does not require level converters.
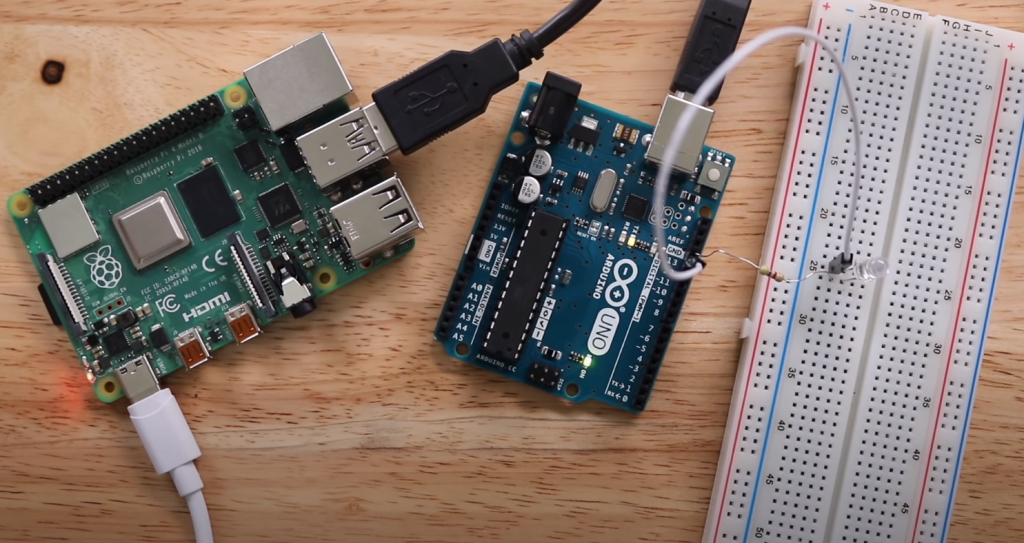
- Connection via USB is probably the easiest way because it is enough to plug the Arduino through a standard cable into the Raspberry Pi USB socket. This is the way we will consider.
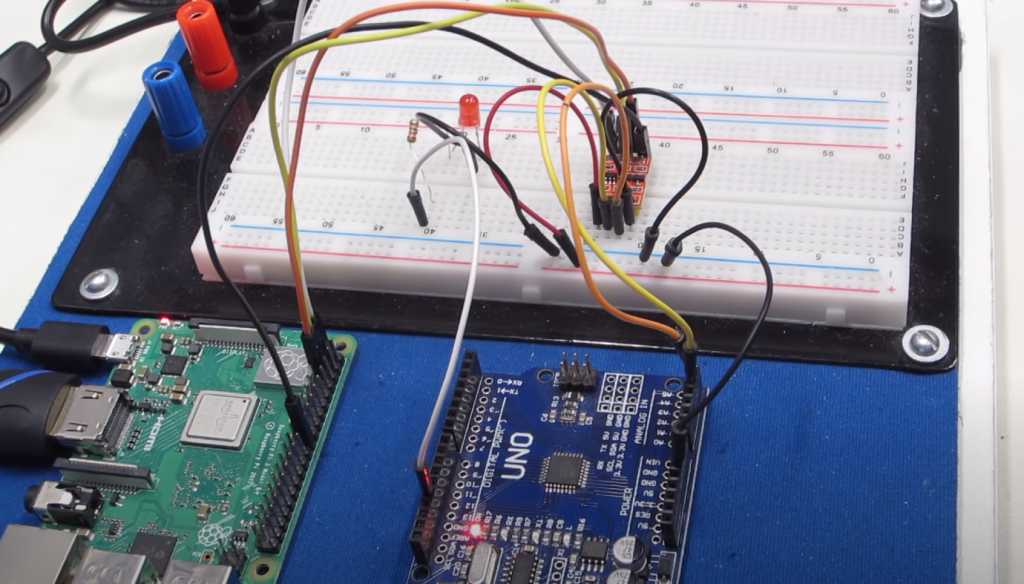
As an example, let’s consider a simple temperature and pressure sensor BMP-180, connected to the Arduino Uno on a standard circuit. After that, the Arduino controller is plugged into the Raspberry Pi USB socket, and the Raspberry Pi itself is then connected in the usual way to the power supply, monitor, etc.
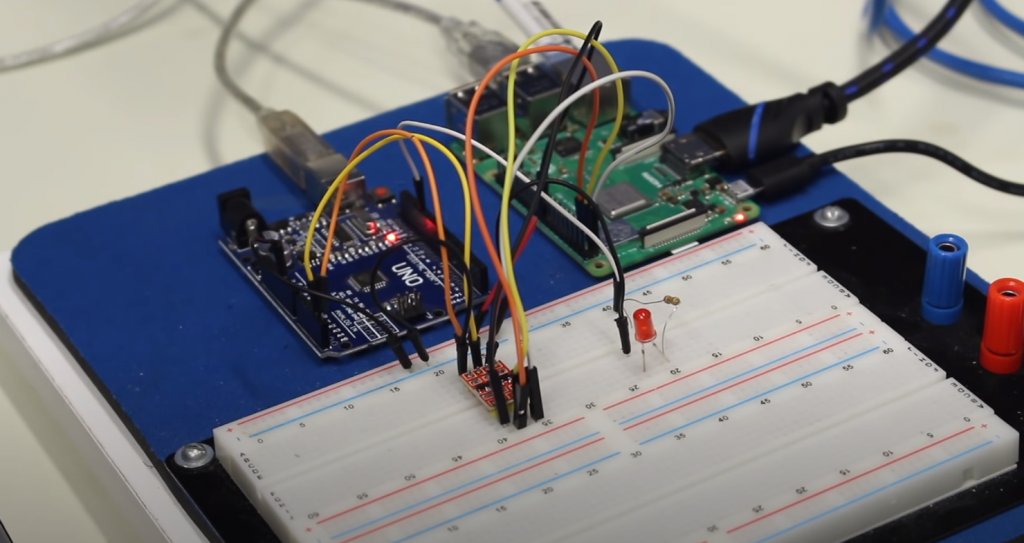
At such a connection, the communication between the Arduino and Raspberry takes place via the serial port. It is necessary to fill in the required sketch on the Arduino in advance (before connection) – in our case. It is a simple program that reads pressure and temperature values from the sensor and prints them as text into the serial channel (temperature is marked with the symbol T and pressure – P):
#include <Wire.h>
#include <BMP180.h>

BMP180 barometer;

void setup()
{
  Serial.begin(9600);
  Wire.begin();
  barometer = BMP180();
  if(barometer.EnsureConnected())
  {
    barometer.SoftReset();
    barometer.Initialize();
  }
  else
  {
    Serial.println("E");
  }
}

void loop()
{
  if(barometer.IsConnected)
  {
    long pres = barometer.GetPressure();
    float temp = barometer.GetTemperature();
    Serial.print("P"); Serial.println(pres);
    Serial.print("T"); Serial.println(temp);
    delay(1000);
  }
}
Let’s check the sketch’s performance in the Arduino IDE by opening the serial port monitor – we should see the emerging temperature and pressure values. Note the speed – the program set the speed of 9600 baud. The same settings should be at the serial port monitor.
Now let’s download Raspberry Pi – in my example, I’m using Pidora as the base operating system and the classic model of Raspberry Pi. However, you may as well use Raspberry Pi 2 and Windows 10.
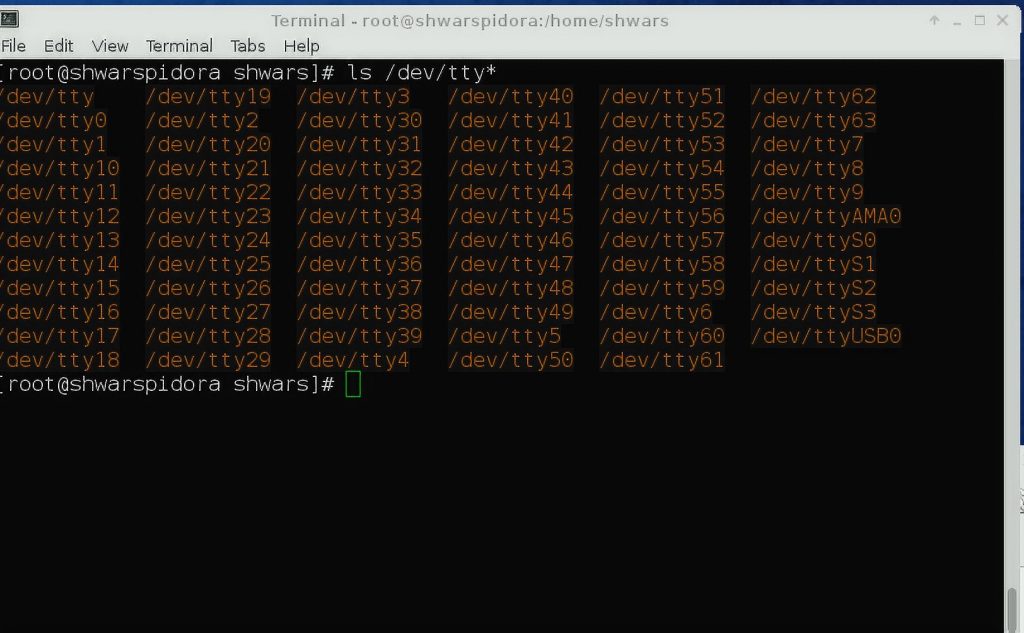
The first thing to do is to determine which serial port will be responsible for communicating with the Arduino-Controller. The easiest way to do this is as follows: when the Arduino board is switched off, we look at all available serial terminals (ls /dev/tty*), then we plug the board into the USB port, and after a while, we see the list of terminals again. The device that appeared on the list will be the required port. In my case, it was /dev/ttyUSB0 but depending on the port number, the system distribution used, and other factors, this name can be very different.
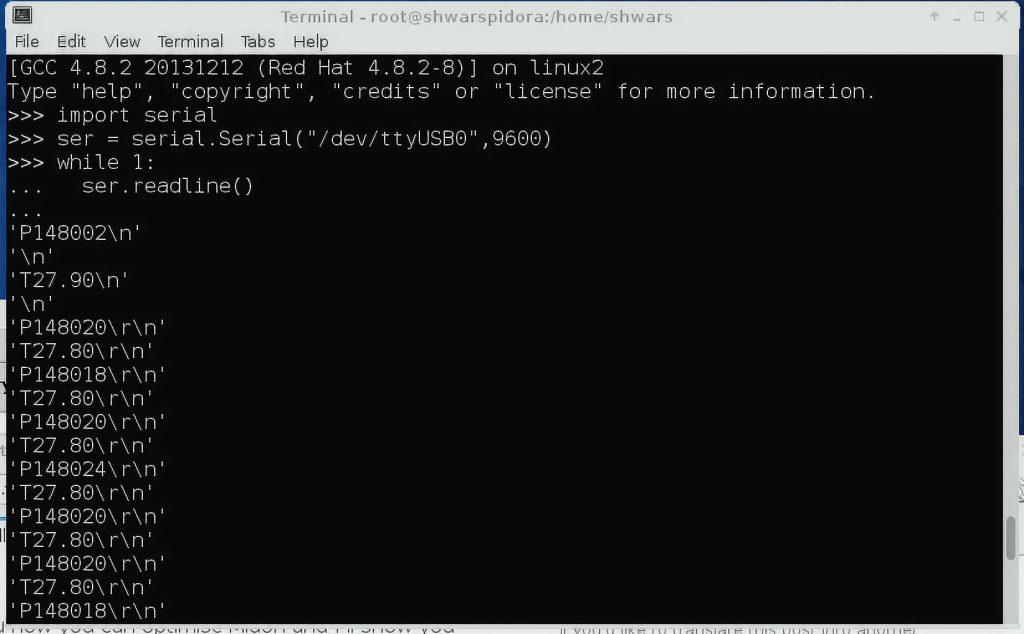
Now we can use any means of communication with the serial port to accept values from the sensor transmitted by Arduino. Most often, it is convenient to use Python and the serial library. For example, the next simple script typed directly into REPL will display all data coming from the serial port:
import serial
ser = serial.Serial("/dev/ttyUSB0",9600)
while 1:
   ser.readline()
Below you can see how this script is executed in the terminal window on Raspberry Pi:
After that, receiving data in the required form and then sending it to the cloud or saving it to a local database is a technical matter.


