
In this tutorial, we will learn the connection to Arduino Uno, a very unusual sensor, which is designed to help us detect a flame!
Of course, you can detect a flame with a temperature sensor, for example. After all, everything that burns is often heated to a huge temperature. But this option has two negative points. First, the temperature sensor can suffer if you bring it very close to the fire. And it is not very convenient to poke into everything with the sensor. And secondly, the temperature sensor will not be able to detect the flame! In other words, the detection will be mediated, which is not always acceptable.
Another option is to use a thermal imaging camera based on microbolometers. Such devices allow building a temperature map of all visible surfaces in real-time. But a thermal imaging camera is too expensive for hobby projects, and it does not detect flames directly.
How Does an Arduino Flame Sensor Work?
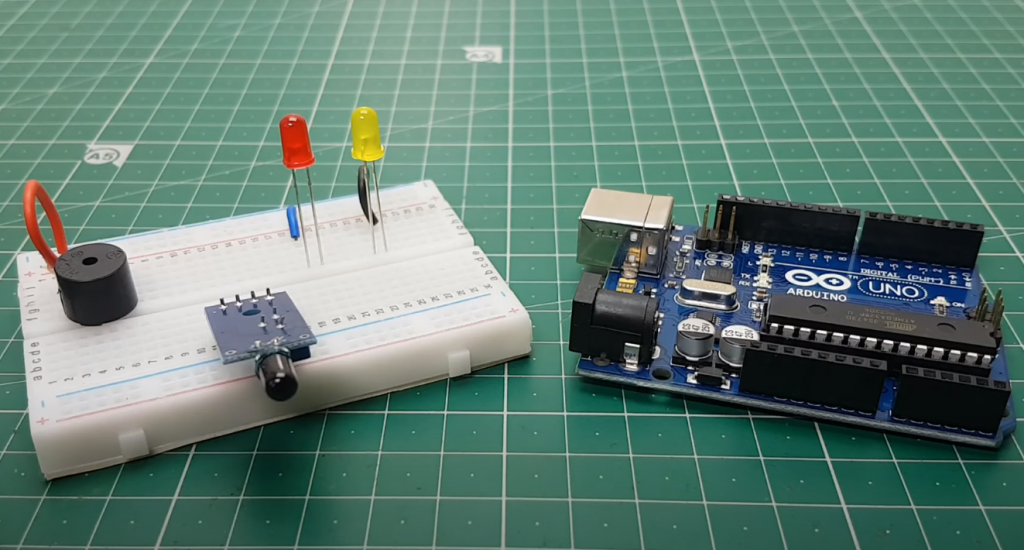
Arduino’s fire sensor is produced in two versions – with three or four contacts, and the flame sensor pinout is located in the picture below. Both options have a digital output — the fire sensor switches on an indicator. The output shows a truth signal (logical unit) if a flame is detected and a lie (logical zero) if there is no flame within the infrared receiver’s visibility.
The four-legged flame sensor has an additional analog output, which reports a signal’s presence and its characteristics. In this way, the sensor can detect not only the presence of an open flame but also its scale. The IR sensor reacts to radiation in the range of 750 – 1100 nm. In practice, the sensor reacts not only to fire but also to the sun or incandescent bulb.
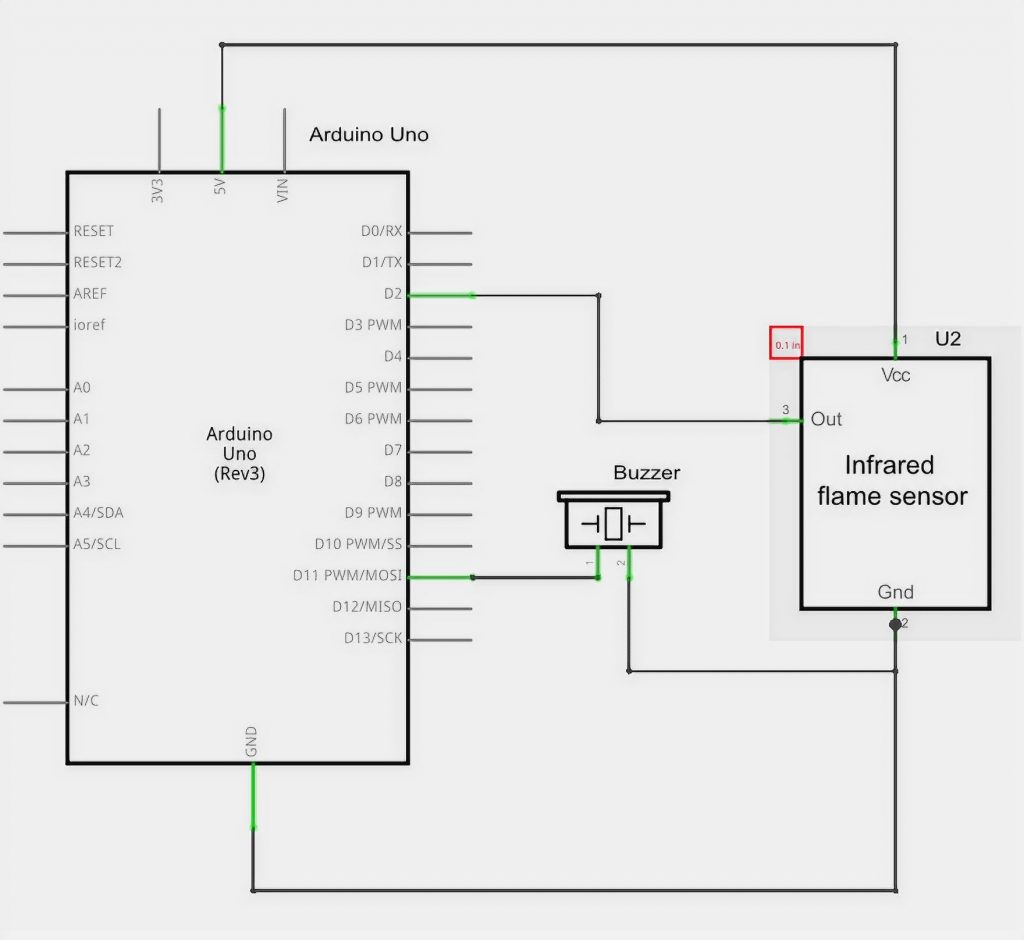
In addition to the IR receiver on the module is placed a substring resistor to calibrate the sensitivity of the sensor and other radio elements with the designation. The scheme for connecting the sensor to the Arduino board is located in the picture below. In the examples, we use the A1 port as a digital and analog input. In the sketch, you can change the port and use it for signal processing any microcontroller.
Flame Sensor Usage
The flame Sensor is used in robotic firefighters. For these robots are arranged whole competitions, participants’ task is to find and extinguish the fire in a maze.
Our fire sensor will allow us to create a simple and effective firefighting robot for such competitions in the future.
Infrared sensor fire captures the radiation in the range of 760 – 1100 nm, typical of a candle flame. In practice, this sensor reacts to the flame and the sun and even to room lamps. The photodiode should be covered with an opaque material on the sides to avoid parasitic light. For better filtration of foreign light sources, a low-frequency detection algorithm is used when detecting flame with this sensor. This is possible because a candle’s flame changes its intensity with a frequency of 15-20 Hz.
Connection
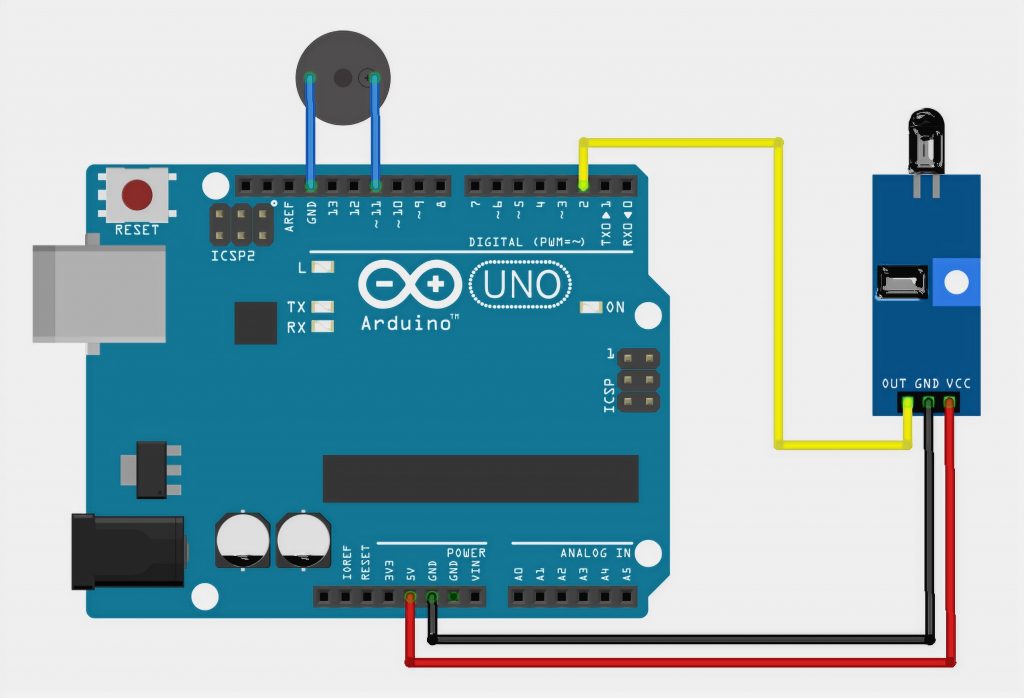
The digital fire sensor that we connect has only three outputs:
- Vcc – power +5V;
- Gnd – earth;
- Out is a signal.
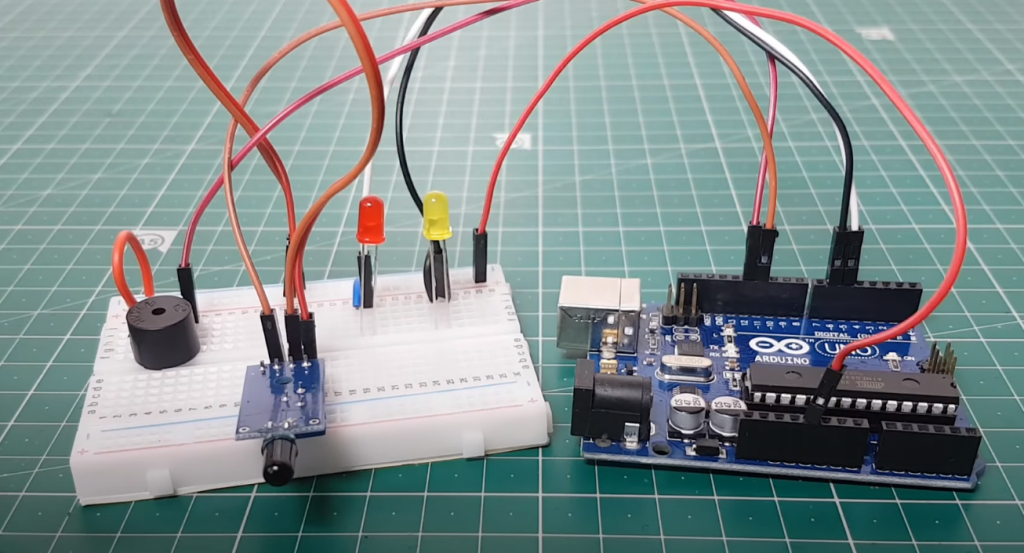
Vcc and Gnd sensor we connect to the corresponding pins Arduino Uno, and Out throw on any free leg. In our case, connect Out with digital input number 2. The basic connection diagram looks as follows.
Appearance of the template
Now that the sensor is connected, you can safely write a code!
Sketch for Digital Flame Sensor (KY-026)
#define flamePin A1 // specify a name for port A1
#define ledPin 13 // set a name for port 13

int flame;

void setup() {
   Serial.begin(9600);
   pinMode(flamePin, INPUT);
   pinMode(ledPin, OUTPUT);
}

void loop() {

   flame = digitalRead(flamePin); // read sensor data

   Serial.print("Flame Sensor - "); // display data on the monitor
   Serial.println(flame);

   if (flame == HIGH)
      digitalWrite(ledPin, HIGH);
   else
      digitalWrite(ledPin, LOW);
}
Explanation of the code
- To receive the digital signal from the KY-026 sensor, port A1 is used, which can be changed in the sketch to any general-purpose port;
- This sensor has a “logical unit” signal on the digital output when an open flame appears up to 1 meter away from the IR receiver.
Sketch for Analog Flame Sensor (KY-026)
#define flamePin A1 // specify a name for port A1
#define ledPin 13 // set a name for port 13

int flame;

void setup() {
   Serial.begin(9600);
   pinMode(flamePin, INPUT);
   pinMode(ledPin, OUTPUT);
   analogWrite(flamePin, LOW);
}

void loop() {

   flame = analogRead(flamePin); // read sensor data

   Serial.print("Flame Sensor - "); // display data on the monitor
   Serial.println(flame);

   if (flame >= 100)
      digitalWrite(ledPin, HIGH);
   if (flame < 100)
      digitalWrite(ledPin, LOW);
}
Explanation of the code
- An analog port is used to receive the signal, which can be changed. The data from the sensor is displayed on the Arduino IDE port monitor.
- In the condition that the flame value will turn on and off, the LED should be set to your own. You can check how to connect LED to Arduino here.
Conclusion
We have assembled the simplest fire alarm system that reacts to infrared flame radiation. By adding the sensitivity setting and hysteresis, you will get a very useful device in your home.


I never thought I’d be the one to say this, but using a flame sensor with an Arduino was one of the best decisions I’ve ever made. I was a little hesitant at first, thinking that it would be too difficult to set up. But once I got started, it was a breeze.
Not only did the flame sensor make my life easier, it also made my projects more accurate. I used to have to rely on manually inputting data into my Arduino, which was time-consuming and often led to errors. With the flame sensor, I could simply place it near the source of the fire and let it do its job.
Overall, I’m extremely happy with how well the flame sensor worked with my Arduino. It made my projects more efficient and accurate, and saved me a lot of time in the long run.