It’s hard to imagine that something as small as a Raspberry Pi can have so much functionality. Besides serving as a “boring” analog to Wi-Fi or as a Tor router to protect your connection, this device can act as a media center or even be used for a computer retro game with an emulator.
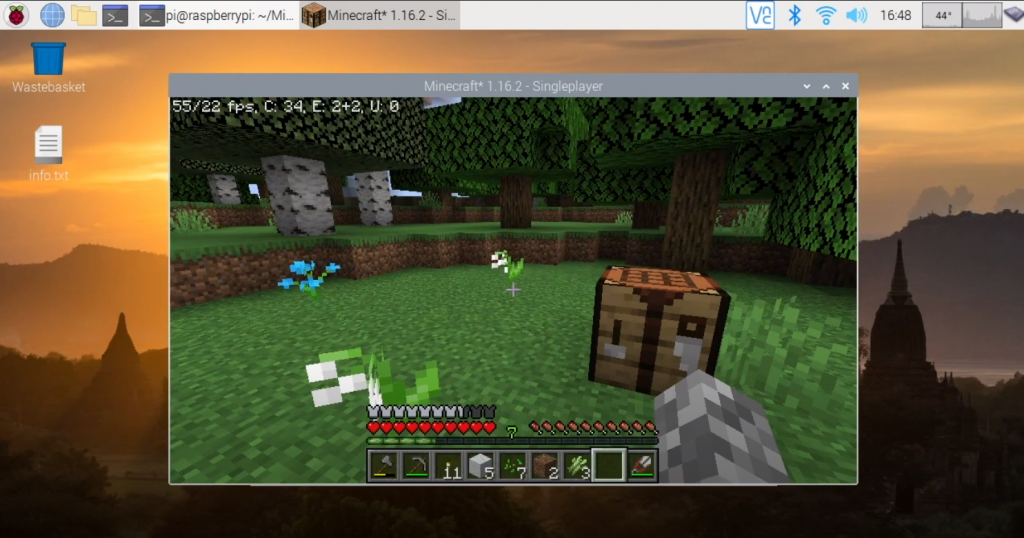
The Raspberry Pi computer allows Minecraft fans and avid gamers to create their own game server with access from other devices such as PCs, tablets, or smartphones.
When doing an installation with NOOBS, you’ll be prompted to choose the appropriate operating system. But for our Minecraft server, we recommend installing Raspbian, a version of Debian Linux adapted for the Raspberry Pi. That’s all the steps you need to install your own Minecraft server.
Installing Minecraft on Your Raspberry Pi
Although there is a Minecraft: Pi Edition for Raspberry Pi devices – it is too simple and not suitable for our purposes.
Let’s say we have a Raspberry Pi device up and running. To make the Minecraft server work correctly, we need to make your Raspbian operating system’s settings. But first, you need to update all the software. To do this, go to the Terminal window and successively run the commands sudo apt update and sudo apt upgrade.
Further configuration of the operating system should not cause problems. Use sudo raspi-config command to get access to edit additional parameters:
- Under Advanced Options > Memory Split, you should update the value to 16 MB
- In the Boot Options > Desktop/CLI menu, check the Console
- Activate SHH access under Advanced Options > SSH
- Make changes to Advanced > Expand Filesystem
After making all the changes, reboot the device. Then open Terminal again and enter the command sudo hostname -I (capital letter – i) to see the device’s IP address – we will need it for further work.
Next, let’s move on to installing the server. But instead of the official version, we will use the free program Nukkit, which allows us to install the server Minecraft:Pocket Edition.
To do this, we need to install Java. This can be done by using the command sudo apt install oracle-java8-jdk. After that, you need to create a directory mkdir nukkit and enter it with the command cd nukkit.
Finally, you can start installing Nukkit itself by running the command wget-O nukkit.jar http://ci.mengcraft.com:8080/job/nukkit/lastSuccessfulBuild/artifact/target/nukkit-1.0-SNAPSHOT.jar. After that, you need to run Nukkit with the command sudo java -jar nukkit.jar.
Minecraft Server Setup
To configure the installed Nukkit platform, aka Minecraft server, you want to make changes to the configuration data files nukkit.yml and server.properties.
First, let’s open them by entering the command sudo nano and the Terminal window’s file name.
Next, it is recommended to set the maximum number of players in the “max-players=” field. If you are playing against another player, enter a value in the field “difficulty=”, where 0 is the easiest difficulty.
After all the changes, the configuration files must be saved and closed by pressing the key combination CTRL + X.
Otherwise, to start the Minecraft server, you will have to enter the command sudo java -jar nukkit.jar in the Terminal window every time.
Connecting to a Server
You can connect to a working Minecraft server from any other device by following simple steps: Play > Servers > Add Server, specifying the server name and IP address, which we saw earlier.
If done rightly, you will get access to the connected server and start the game with a pre-configured limit.
Conclusion
That’s all you require to do – your own Minecraft game server running on your Raspberry Pi. If you leave it running, you’ll have a Minecraft world on all the time you can connect to and use. It is a great solution for children who enjoy Minecraft: hosting the server themselves on your local network keeps their online activity secure – at least to the extent that they are playing the popular game.

