
A lot of people have a Raspberry Pi sitting around and don’t know what to do with it. Well, if you want to have some retro fun, then this tutorial is for you! In this article, we will show how to install RetroPie on the Raspberry Pi so that you can play all your favorite classic video games from yesteryear. If you are ready to get started with your retro gaming experience, read on below!
Required Equipment
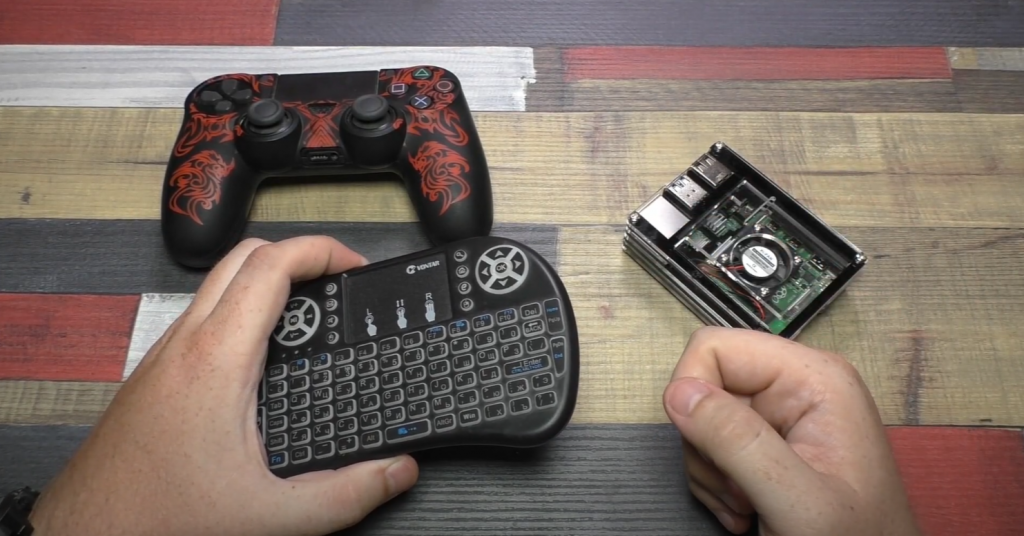
- Raspberry Pi (I’m using a Raspberry Pi 4)
- PC with a card reader
- MicroSD card (I’m using a 64 GB one)
- A mouse and keyboard for setup purposes
- USB flash drive
- Raspberry Pi Imager (you can find it here)
Step-by-Step Guide How to Install RetroPie on Raspberry Pi
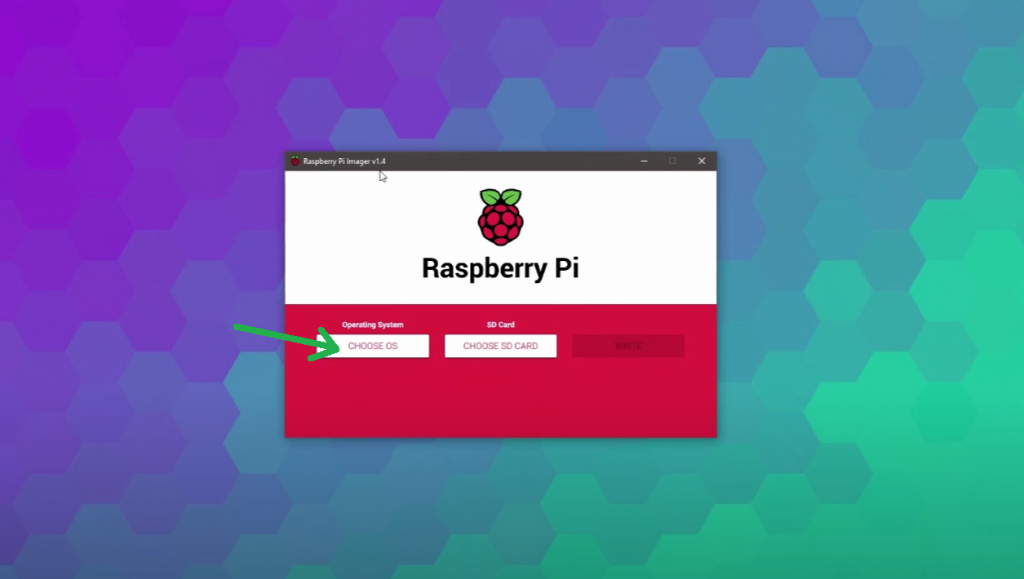
- On your PC, open Raspberry Pi Imager and choose the operating system.
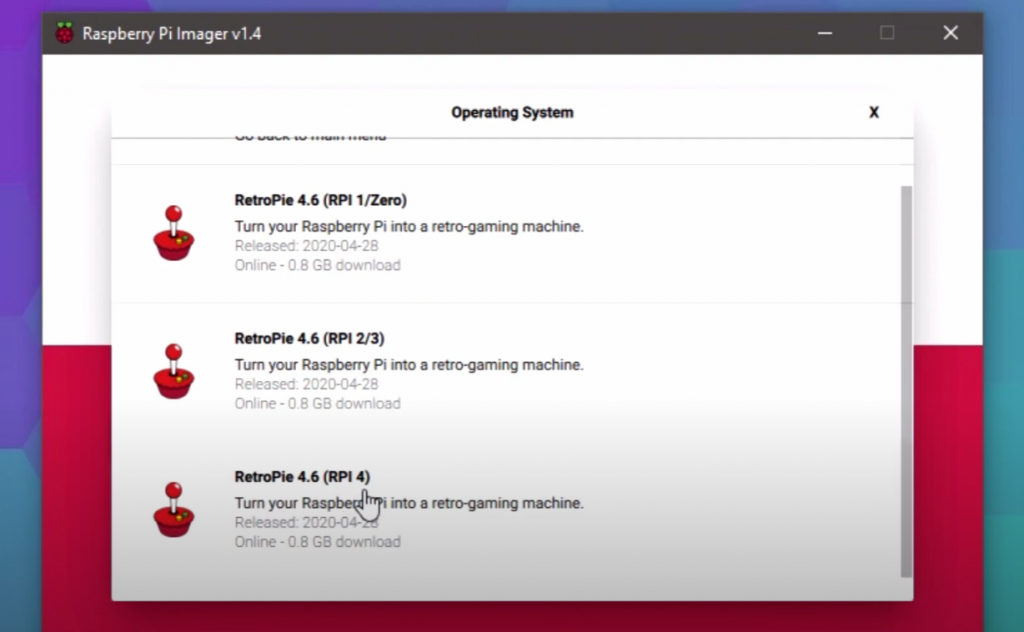
- Choose RetroPie.
- Select the variant of RetroPie for your Raspberry Pi device.
- Insert the microSD card and choose it.
- To write RetroPie to the microSD card, click on “WRITE”.
- First, take the microSD card from the Raspberry Pi 4. Next, put it into your console. Then plug in a controller to your console. Pair the controller by pressing a button on it and then press a button on your Bluetooth-ready device.
- Plug the Raspberry Pi in and wait for it to be recognized.
- Set your controller up according to the instructions in the manual. The RetroPie asks you to set up a lot of buttons. But you don’t need all of them. For example, if I press this button, it will mean that I don’t want to change this setting.
- To close the settings menu and return to the main menu, press the A button on your controller.
How to Add Games to RetroPie?
To add games to the RetroPie, you need a USB flash drive. However, games from older consoles are under copyright protection. If you download them, they might be illegal because you can’t rip them. It would be best if you did not do this at your own risk.
To add games to the RetroPie, you need:
- Create a folder called
retropieon your PC, and insert a FAT32 or exFAT formatted USB flash drive. - After you’ve inserted the USB flash drive, RetroPie will create a folder structure inside the
retropiefolder on it. - Remove the USB flash drive from your device and insert it into your PC.
- Copy your games to the
retropiefolder. - Remove the flash drive from your PC and insert it into a USB port on the Raspberry Pi 4. The time it takes is based on how many games are downloaded. It might take just minutes for a few games, but hours for more than one game.
- Then take the USB flash drive out and press START in EmulationStation to restart it. Then select Restart Emulationstation/Restart System from the menu. The games list will now update and show any computers or video game consoles for which there are games.
FAQ
Can I download RetroPie directly to Raspberry Pi?
RetroPie Manager is running on your Raspberry Pi, but it can be controlled with a web browser on any computer. You may simply upload a ROM or new emulator to your Raspberry Pi using the web browser! Then, select what sort of file you’re going to install by clicking the Manage ROM files button.
Is RetroPie legal?
It is illegal to download ROMs or emulators that you do not own or don’t have permission for. If the game has been released, it should be legal for RetroPie to play them. However, there are some games that are still under copyright protection and may not work with the emulator. This means downloading these files will most likely break your country’s law.
What can a Raspberry Pi 4 emulate?
Almost all PlayStation, N64, and Dreamcast games work on the Pi4. That means that the Pi4 can play anything that came out before 1999. It is also able to play partial Saturn games, which are playable.
How much RAM do you need for RetroPie?
A 4/8GB Pi 4 is good if you want to use your Raspberry Pi 4 as a desktop for Linux and also RetroPie. But, 2GB is enough if you are only using it for RetroPie. You could also consider the Pi 400, which has a faster CPU but only has 4GB of RAM.
Can the Raspberry Pi 4 run Gamecube?
It is possible to play some of the games on a Raspberry Pi 4. Admittedly, the Pi is more like a virtual machine than a retro gaming platform, but it may still be better than trying out lesser-known platforms. It has even been forked into an unfinished Xbox emulator, which is interesting.
Is Recalbox better than RetroPie?
You can customize RetroPie more than Recalbox. For example, RetroPie has shaders and emulator options that you can change, but Recalbox does not. Plus, there are more emulators for RetroPie than for Recalbox.
Do you need Raspbian for RetroPie?
Please be advised that RetroPie is not an operating system. It runs on Raspbian. You can install it yourself on your Raspberry Pi, too. Check differences between NOOBS and Raspbian here.
Related Video: Building the Ultimate Retro Console! Raspberry Pi 4 (8Gb) Retro Pi Tutorial
Final Words
In conclusion, RetroPie is a fantastic emulator for Raspberry Pi. It can emulate almost all PlayStation, N64, and Dreamcast games, as well as partial Saturn games. In addition, there are so many emulators available on the web which you could use to play your favorite Android or iOS game directly on your PC without any sort of lag or trouble! If this sounds like something that might interest you, please feel free to check out our website and find more information there!


I’m not a huge gamer, but when I saw that the new Raspberry Pi 4 could run RetroPie, I was intrigued. I follow some tech bloggers and saw that a lot of people were excited about this little computer, so I decided to buy one and give it a try.
I’m glad I did! The setup process was really easy and only took me about an hour. I followed your guide, which walked me through everything step-by-step. Now I have a fully functioning retro gaming console that can play any game from my childhood.
The best part is that the games look and play great on my big TV screen. And because the Raspberry Pi 4 is so affordable, it didn’t break the bank.